5.Dashboard ↑ Back to Top
When you are done with both the Configuration Steps & API Key Authentication, get ready to explore the app.
The Dashboard of the app is the first point of interaction between you and your automation process. Available on the top left corner is the HOME tab, or as we call it, the Dashboard.
This interactive dashboard of the NeweggBusiness provides vital information about your entire selling process.
App Dashboard will display
Product Information
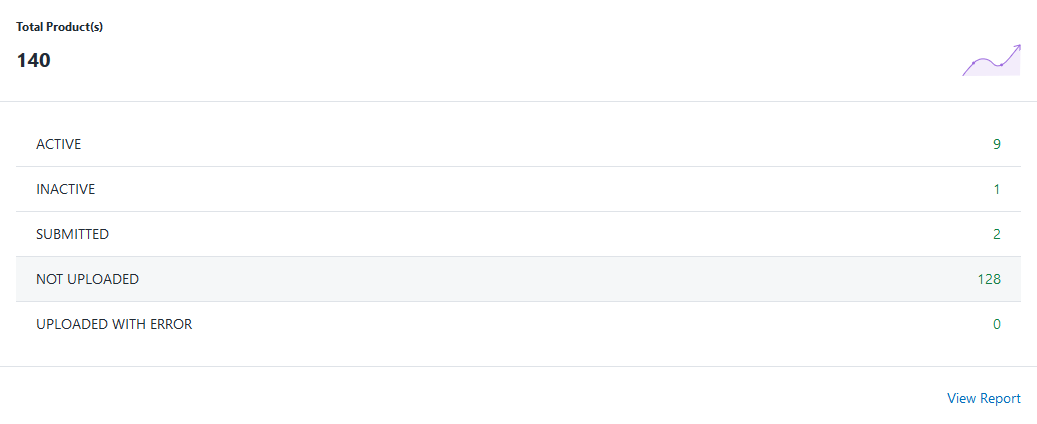
It gives the complete details related to the products you have. You’ll know everything with more details like how many products are currently Active, Inactive, Submitted, Not uploaded, and Uploaded with Error on NeweggBusiness.
The product information section looks as shown in the following figure

FAQs
Check out the answers to the Frequently Asked Questions to make things clear.
Blogs
Get assistance from the various links to the blogs to get a hunch in boosting the Sales on NeweggBusiness.
Your Profile Information
You can take a glimpse at your Profile by clicking on Welcome, followed by clicking on Your Profile button, which is to the right on the topmost bar of the app. It appears like this

After clicking on the Account button, you will get redirected to the following Profile info page.
It consists of 2 Sections:
-
- Shop Details
- Notifications
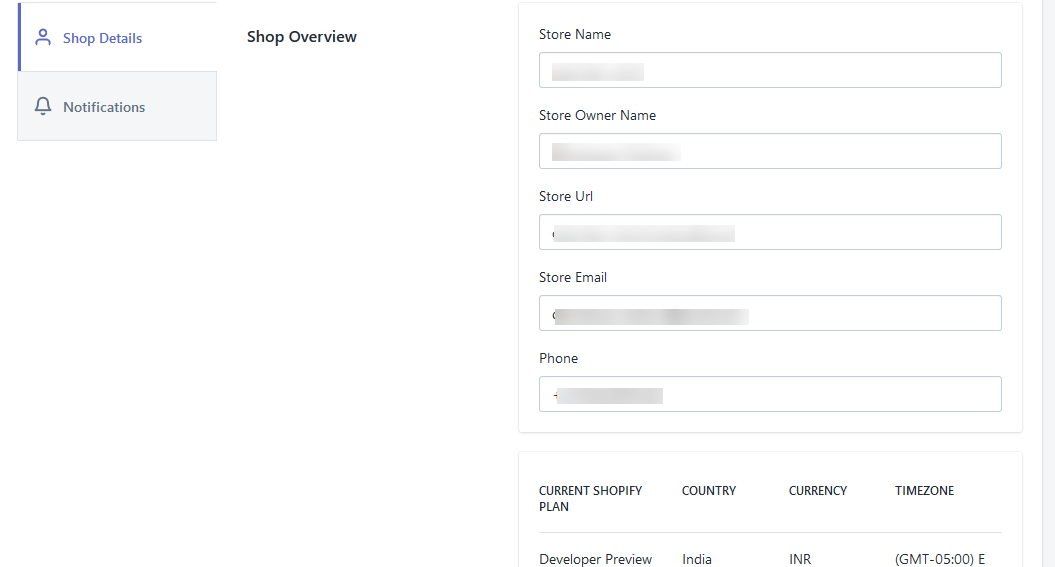
The Shop Details section includes Shop Overview, it is the section that contains Store related information like the Store Name, Store Owner’s Name, Store URL, Phone Number, and other Store related details like Current Plan, Country, Currency, and Time Zone.

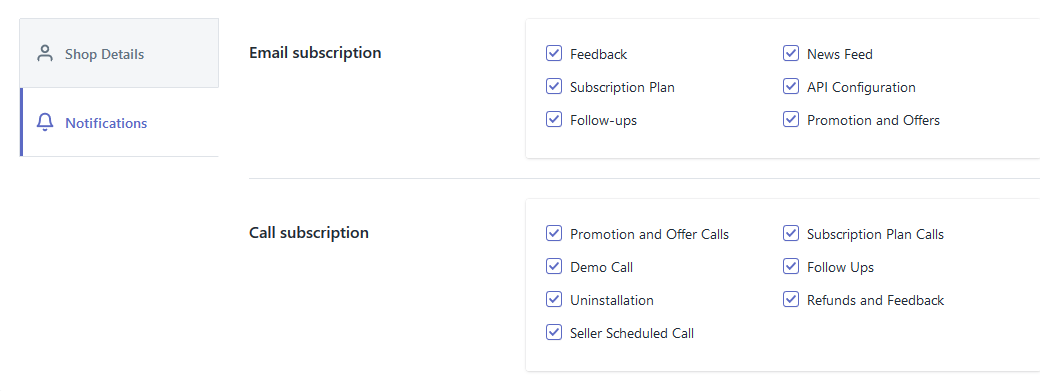
The Notifications section consists of the information related to your Email & Call subscriptions. You can Enable or Disable them anytime, take a look here


