
Manage OnBuy Products
To manage OnBuy Products
- Go to the Prestashop admin panel.
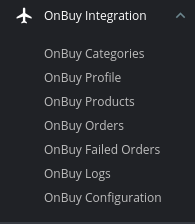
- In the left navigation panel, place cursor on OnBuy Module menu.
The menu appears as shown in the following figure:
- Once you click on the Products, you’re redirected to screen containing all the information and related operation you can perform on your Prestashop store products.
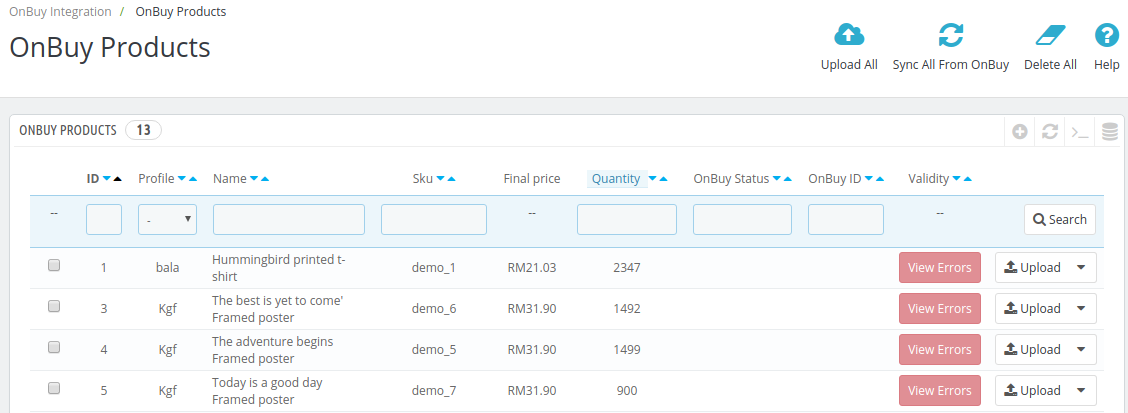
- In the Product Settings, do the following steps:
- In the ID box, the auto-generated product ID for your products in the module.
- In the Profile, you can see the name of the profile.
- In the Name box, you can see the name of the item.
- In the SKU box, you can see the unique identifier of the item.
- In the Final Price box, you can see the price of the item at OnBuy.
- In the Quantity box, you can see the total no. of the quantity of the item.
- In the Status box, you can see the status of the item (as saved while creating product profile)
- In the Validity box, you can see the time duration for the item.
- In the Upload All, use this button if you want to upload all of the listings at once on the OnBuy.
- In the Sync All from OnBuy, use this button to sync all inventories and prices on OnBuy.
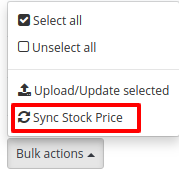
To sync Stock Price
- Click on Bulk Actions. The tab expands then click on the ‘Sync Stock Price’ button to sync the stock price to OnBuy.
×


