- Overview
- Installation of Amazon Prestashop Integration Module
- Amazon Prestashop Integration Configuration Settings
- Cron Setup on cPanel
- Manage Amazon Accounts
- Manage Amazon Profiles
- Manage Amazon Products
- Manage Orders
- Manage Failed Orders
- Manage Feeds
- Amazon Logs
- Manage Reports
- Manage Option Mapping
- Carrier Mapping
- Shipping Codes

6.Manage Amazon Profiles ↑ Back to Top
To add a new profile
- Go to your Prestashop admin panel.
- On the left navigation bar, place the cursor on Amazon Integration as shown:
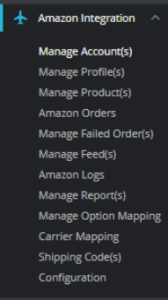
- Go to Manage Profiles Section.
The page appears as shown in the figure:

- Here all the profiles are mentioned.
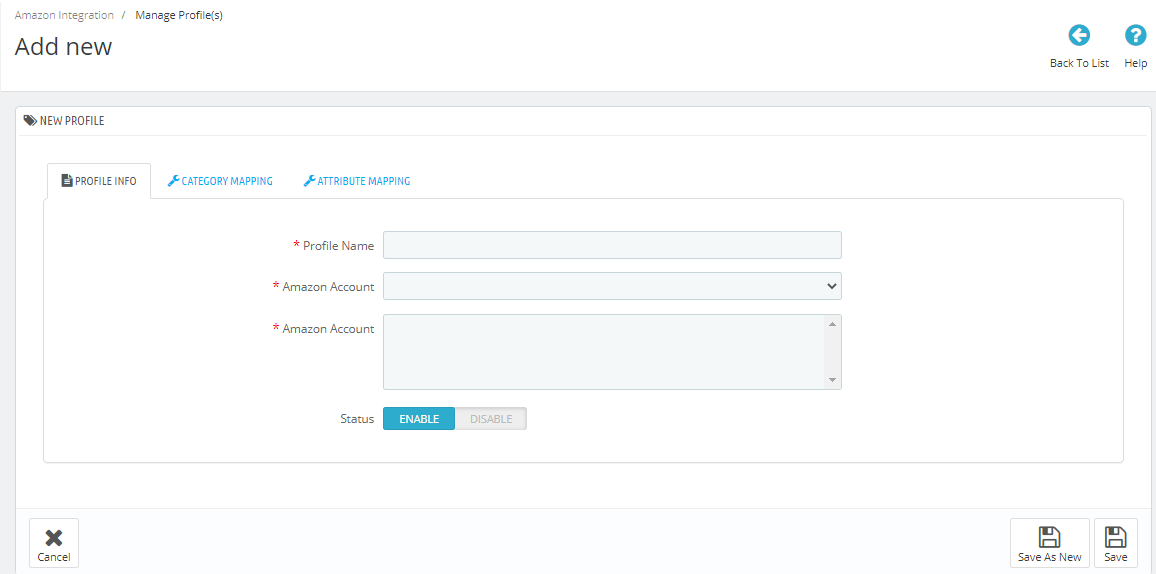
- Now to add a new profile click on Add a new profile (+) Button mentioned and you will be redirected to Amazon New Profile Page:
 .
.
- In the Profile Name, enter the name of the profile.
- Choose the desired Amazon Account for which you have created this profile.
- In the Status select Enable or Disable to activate the profile.
- Now click on the Category Mapping section and the section expands as:
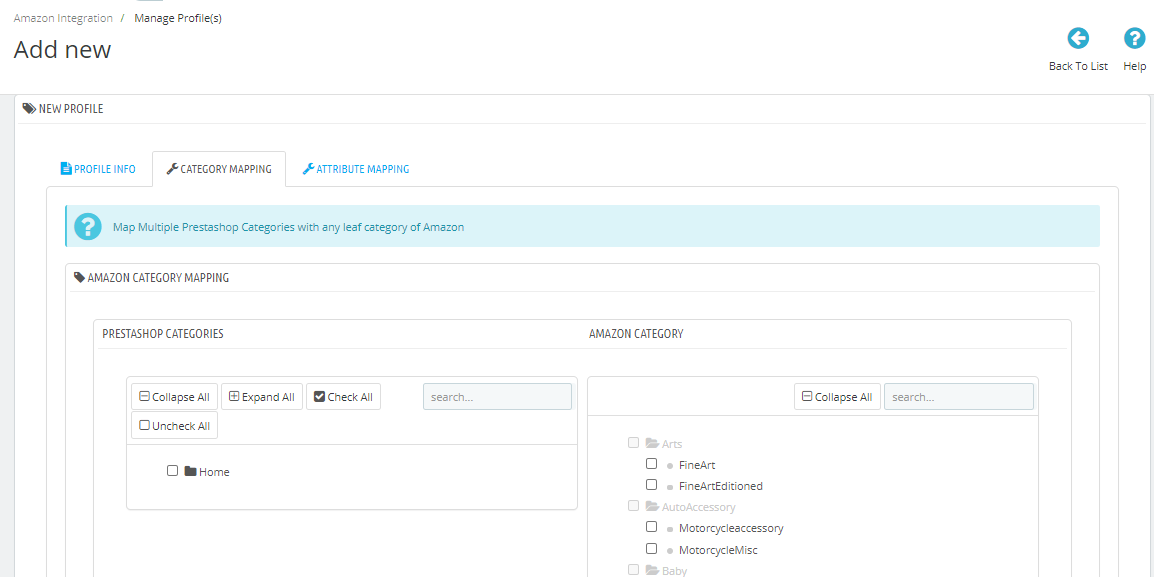
- Here all the PrestaShop Categories are mentioned on the right and the Amazon Categories are mentioned on the left.
- Map the desired categories and move on to the Attribute Mapping:
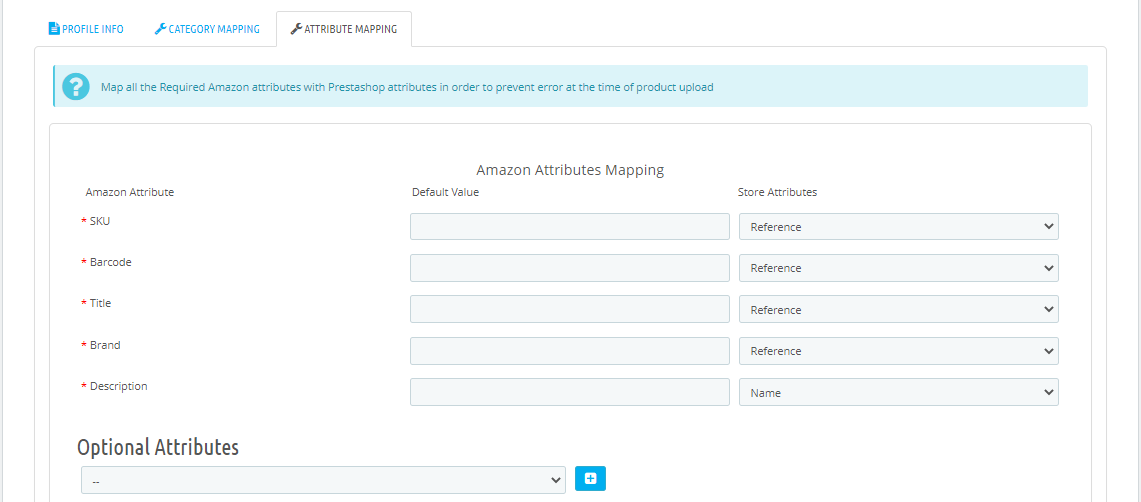
- Map the required Amazon attribute with your store attributes on the right. The fields marked with * are mandatory.
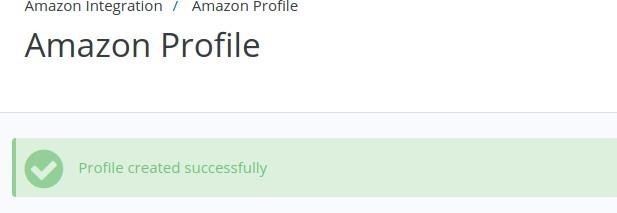
- Click on save and the new profile will be created and a success message appears:
×


