
Manage Amazon Accounts
This tab contains the information about entering the Amazon Account details so as to synchronize your items at Prestashop store with a specific Amazon account.
To set up the Amazon account settings in the PrestaShop Admin panel
- Go to the Prestashop Admin panel.
- In the left navigation panel, place cursor on Amazon Prestashop Module menu. The menu appears as shown in the following figure:
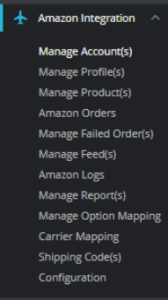
- Go to Manage Accounts.
The page appears as shown in the figure:
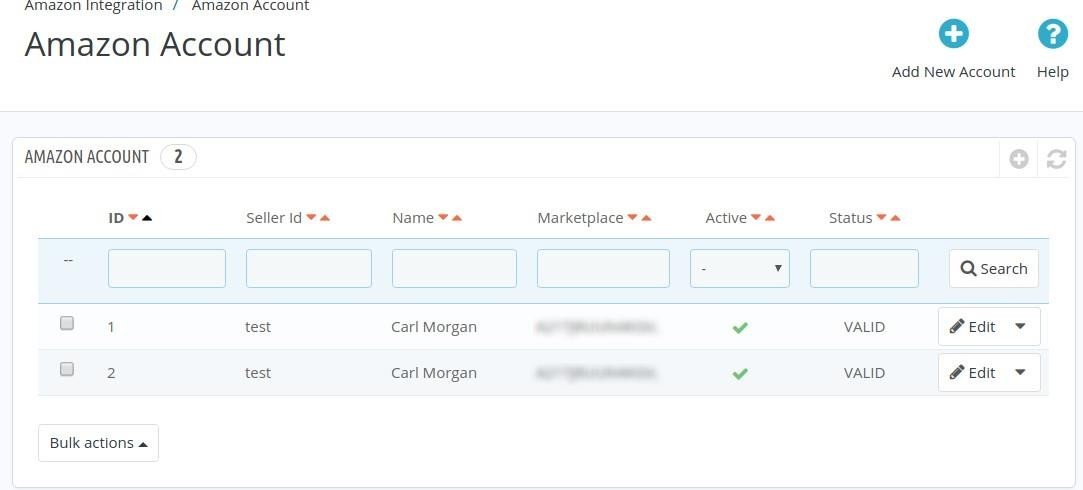
- Here all the accounts are listed with the details like the account’s ID, Account Name, Seller ID, Account Active (whether it’s live or test), its status. Sellers can also edit the account as well.
Note: As Amazon offers unique accounts for different countries, a merchant may have different accounts for different countries. - To add a new account, click the button by the same name in the Top-right corner.
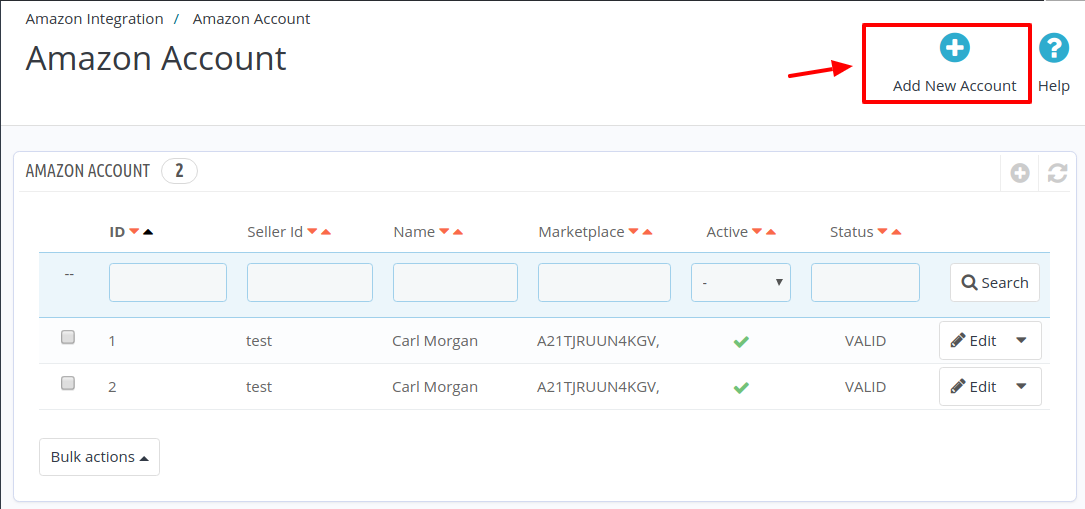
- Once you click it, a new page opens up as shown in the figure below:
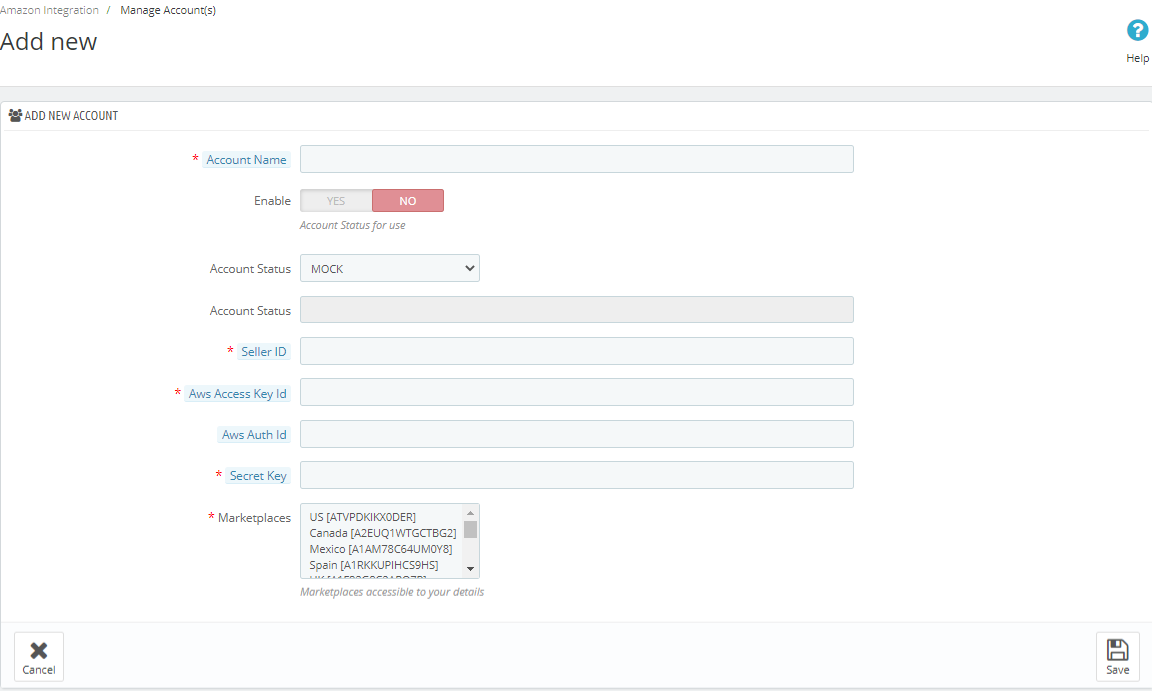
- Enter the desired Account Name.
- Select Yes in Enable, if you want to use the Cedcommerce Developer account for integration and synchronization.
- In Account Status, select the mode as Mock or Live. By selecting live all the changes you perform in the account will get reflected on Amazon. The account status you selected will be displayed in the next column
- In Authorize Via CedCommerce, select Yes if you want the authorization to be done from our end.
- To know the information that you need to fill in this section(Seller Id, Aws Access Key Id, Secret Key), you need to go to the Amazon seller account. For that,
- Log in to the Amazon seller account.
- On the top right side of the Amazon seller central, place cursor on Settings.
- When the menu appears, click User Permission.
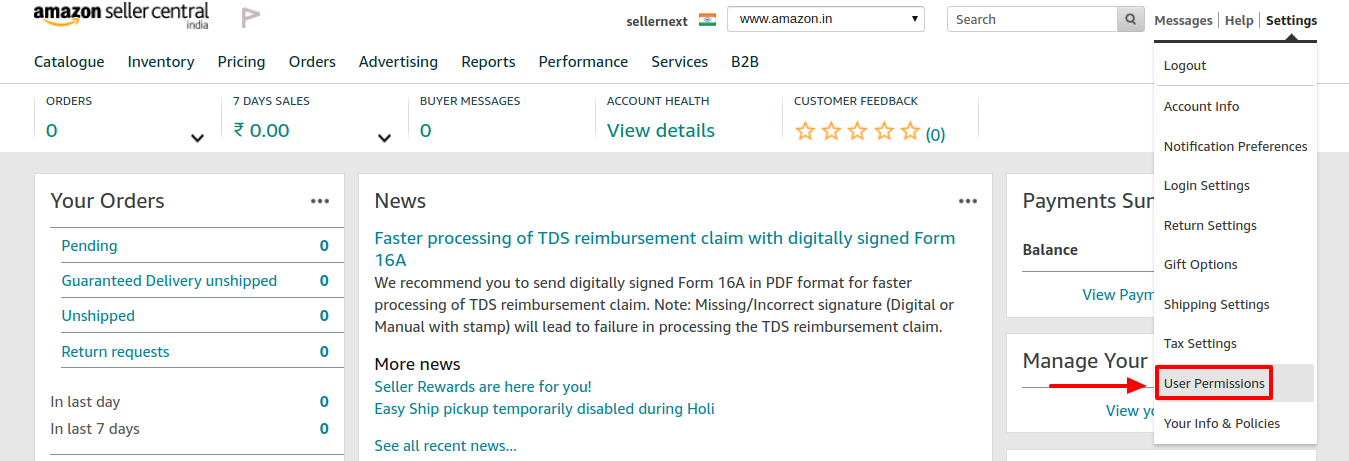
- You will be navigated to the User Permission page which looks like this:
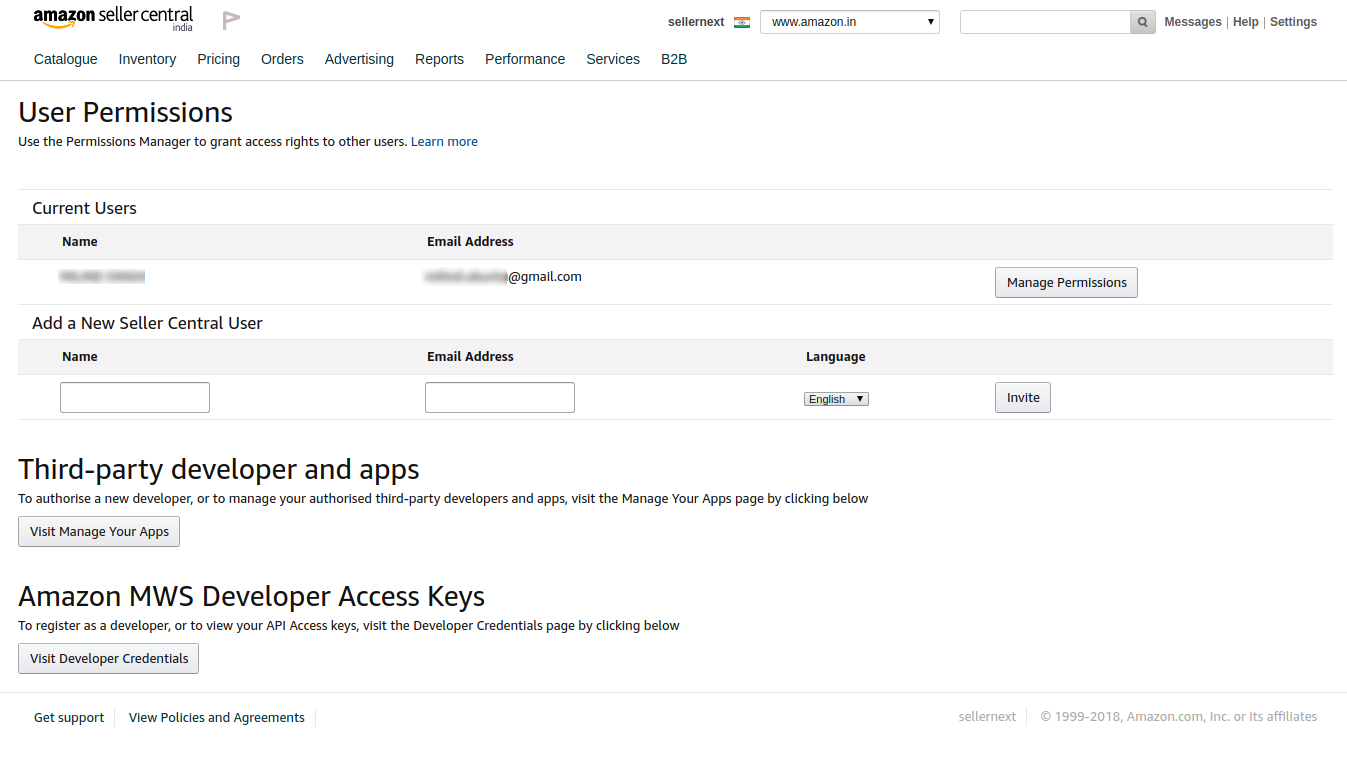
- Here you will have three cases:
-
Case 1: You already have an Amazon developer account.
- Well, in this case, you need to scroll down to Amazon MWS Developer Access Keys section and click on View Developer Credential Buttons.

- On clicking you will be redirected to the Developer Central Page where all the desired info is listed:
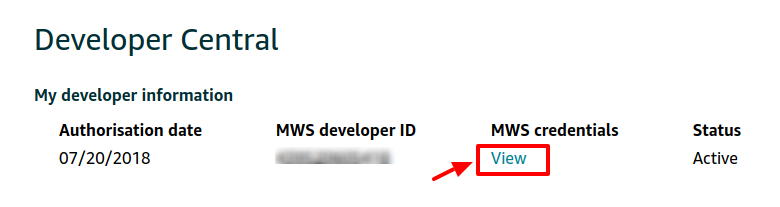
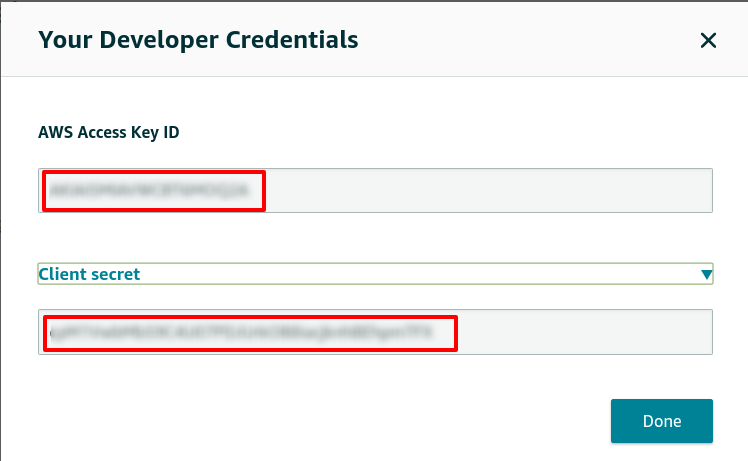
- Click on View Button and all the details will appear:
 |
|
The required Aws Acess Key Id and the Secret Key is mentioned here.
- Well, in this case, you need to scroll down to Amazon MWS Developer Access Keys section and click on View Developer Credential Buttons.
-
NOTE: Move on to case 2 or 3 Only if you Don’t have a Developer Account.
Case 2: You don’t have a developer account and you wish us to use our developer keys.
- Go to the User Permission page of the Amazon Seller Central and move to the Third-party developer and apps. The page appears as shown:

- Click on Visit Manage Your Apps Button and you’ll be redirected to Manage your Apps Page.
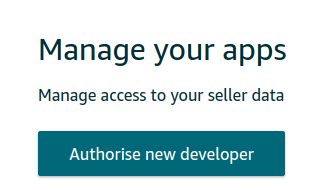
- Click on Authorize new Developer to allow CedCommerce to aid in creating a amazon developer account for you.
- You will be redirected to
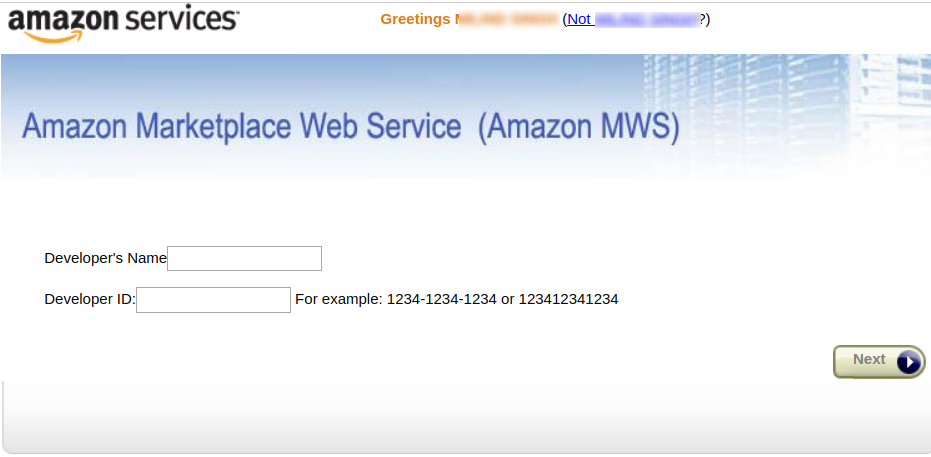
- Enter the Name and ID provided by one of our customer executives and you are good to go.
Case 3: You do not have a seller account and you want to create your own account.
- In this case go to the User Permission Page of the Amazon Seller Central.Click on Visit Developer Credentials under the heading Amazon MWS Developer Access Keys.
- A form opens up for new sellers to register.
- Fill the form and retrieve the access key as the same in case 1.
- In this case go to the User Permission Page of the Amazon Seller Central.Click on Visit Developer Credentials under the heading Amazon MWS Developer Access Keys.
Once you get the Aws Acess Key Id and the Secret Key from here move back to the panel to fill all these necessary details.
- Go to the User Permission page of the Amazon Seller Central and move to the Third-party developer and apps. The page appears as shown:
- After that select your marketplace.
- Click on the save button and the new account will be listed on the accounts section.
×


