
Cron Setup on cPanel
To set up the configuration settings in the Prestashop Admin panel
-
- Go to the Prestashop Admin panel.
- In the left navigation panel, place cursor on the Wish Integration menu.
The menu appears as shown in the following figure:
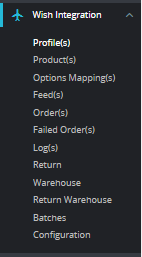
- Click on Configuration.
The Configuration page appears as shown in the following figure:
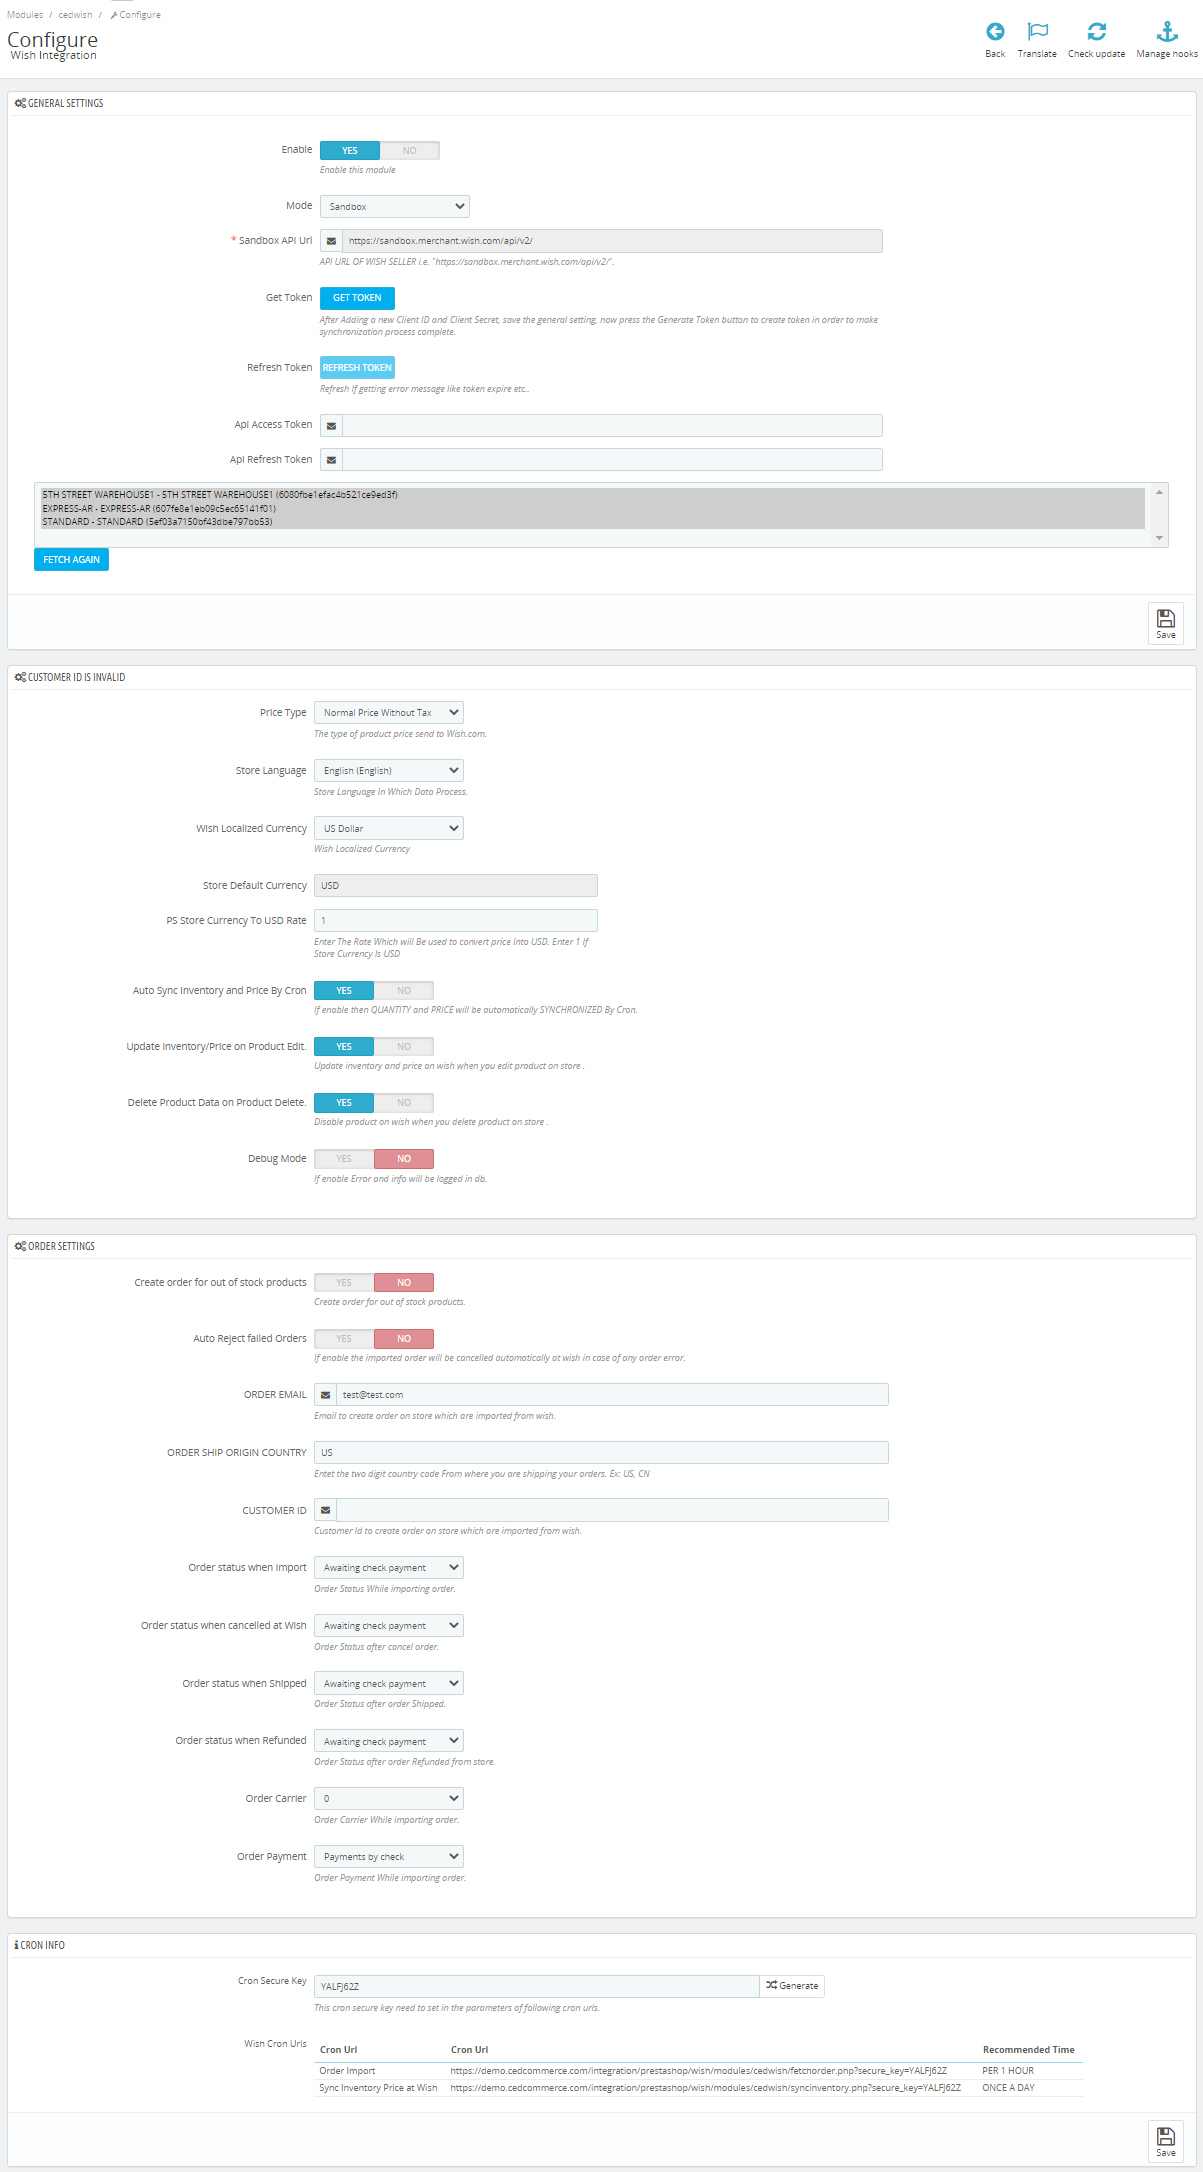
- Go to General Settings.
The tab appears as shown below:
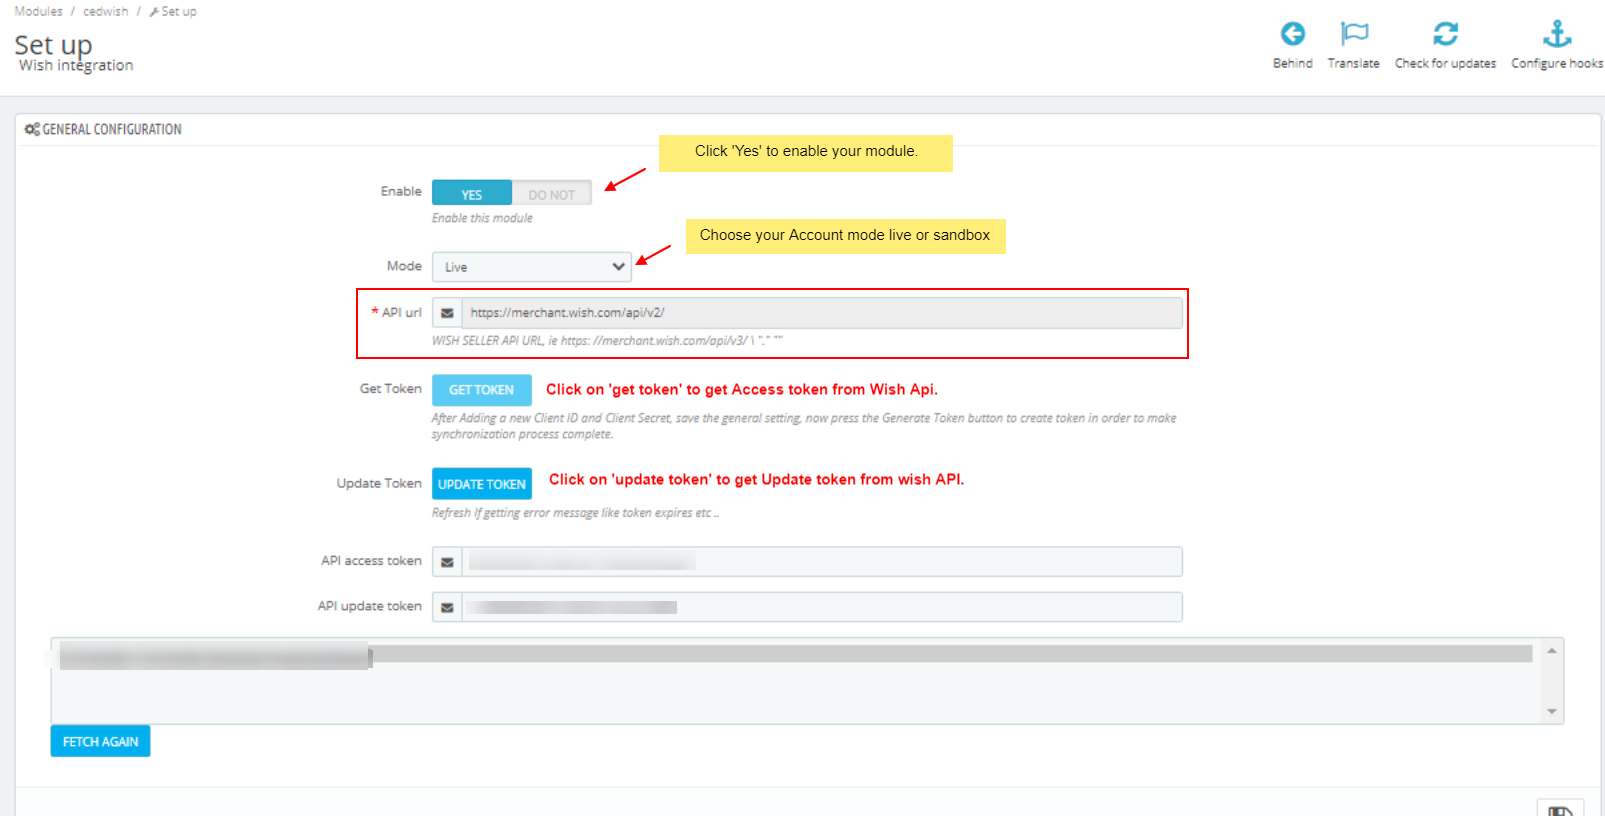
- In the General Settings, do the following information.
- In the Enable part, select Yes so that your module gets enabled.
- In the mode bar. You may select Live or Sandbox according to the need of your system.Once you choose your Account Mode, Click on ‘Get Token’ button it will redirect to Wish Merchant Account.
- Login into your Merchant Account.
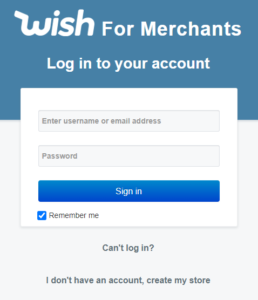
- Once logged it, it will asked you permission.
The page appears as shown below:
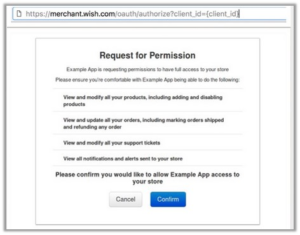
- Click on confirm button to allow the permission. Once clicked it will redirect back to backoffice.
- Your API Access Token and API Refresh Token get filled automatically.
- After that, click on ‘Fetch Again’ to fetch additonal details.
- Login into your Merchant Account.
- Once done with this section, click on Save button on the right corner of the same section.
- Now Go to Product Settings section.
The tab appears as shown in figure:

- In the Product Settings, do the following steps:
- In the Price Type, select either Normal Price Without Tax or Normal Price With Tax. Note that this is the type of product price to be sent to Wish.com.
- In the Store Language, select the language in which you want the data to be processed.
- In Wish Localized Currency, Choose your currency on which you need to sell on Wish.
- In Store Default Currency, you can set here if any default currency you want to use.
- In PS Store Currency To USD Rate, enter the rate which will be used to convert price into USD. Enter 1 if your store currency is USD.
- In Auto Sync Inventory and Price By Cron, select ‘Yes’ to enable the auto sync inventory and price cron which update automatically at particular time interval.
- In the Update Inventory/Price on Product Edit, select Yes or No, if you want the inventory and price to be updated on wish when you edit product on store.
- In the Delete Product Data on Product Delete, select Yes or No, if you want to disable product on Wish when you delete product on store.
- In Debug mode, select ‘Yes’ to enable the debug mode if any exception or error occurs due to module so you can see message in log section.
- Now Go to Order Settings.
The tab appears as shown in the following figure:
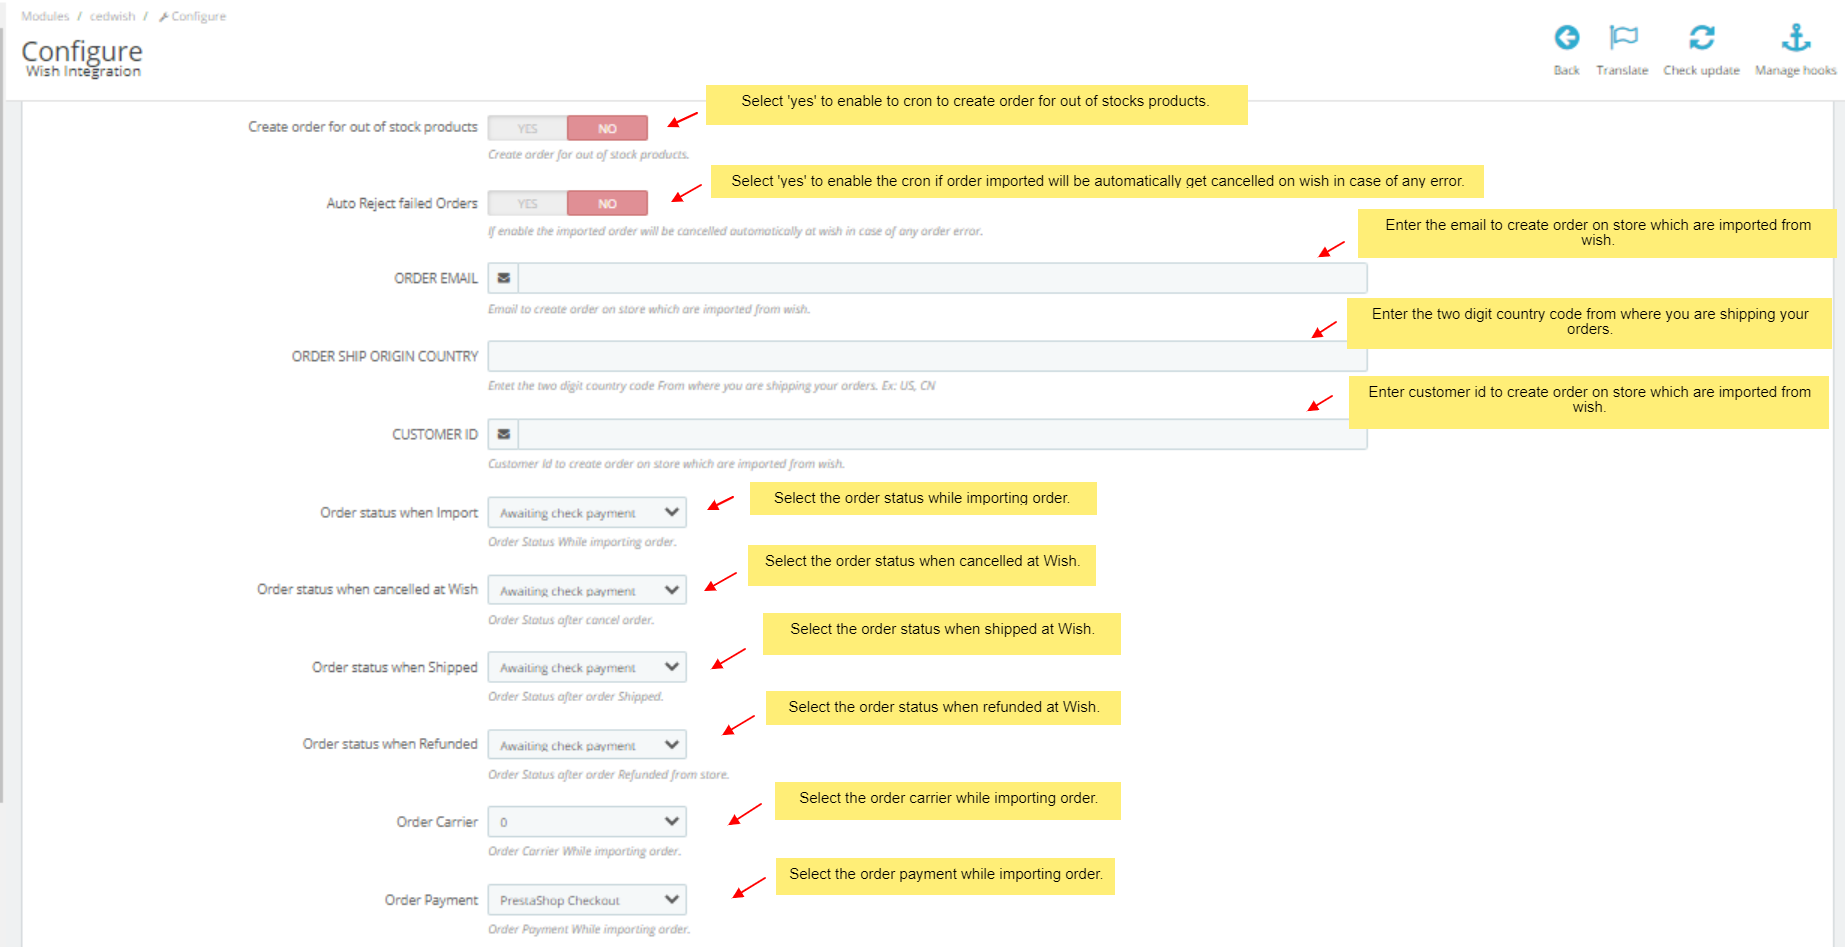
- In the Order Settings, do the following steps:
- In
- In the Auto Reject Failed Orders, select Yes if you want to enable the imported order(s) to be cancelled automatically at Wish in case of any order error.
- In the ORDER EMAIL, enter the email id to create orders in it which are imported from wish.
- In Order Ship Origin country, Enter the two digit country code from where you are shipping your orders. Ex: US, CN
-
In the CUSTOMER ID, enter the ID for customers to be created, for orders which are imported from Wish.
-
In the Order status when Import, select the order status while importing the order.
-
In the Order status when cancelled at Wish, select the status to appear when the order has been cancelled.
-
In the Order status when shipped, select the order status to appear when the order has been shipped.
- In the Order status when refunded, select the order status to appear when the order has been refunded.
- In the Order Carrier, select the order carrier set for particular orders while importing the Wish order.
- In the Order Payment, select the order payment method set for each order while importing the wish order.
- Lastly, Go to Cron Settings.
The tab appears as shown in the figure:

- In the Cron Settings, do the following steps:
- In Cron Secure Key, you can make a combination of secure key consisting of the alphabet, number, and special characters.
- You may see cron URL, name and recommended time.
- Click the Save button and the configuration will be saved.
×


