
Add A New Agent
To add a new agent
- Go to the Admin panel.
- On the left navigation bar, click the SUPPORT SYSTEM menu.
The menu appears as shown in the following figure:
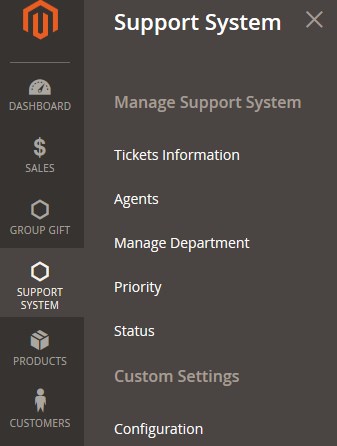
- Click Agents.
The Agents page appears as shown in the following figure:
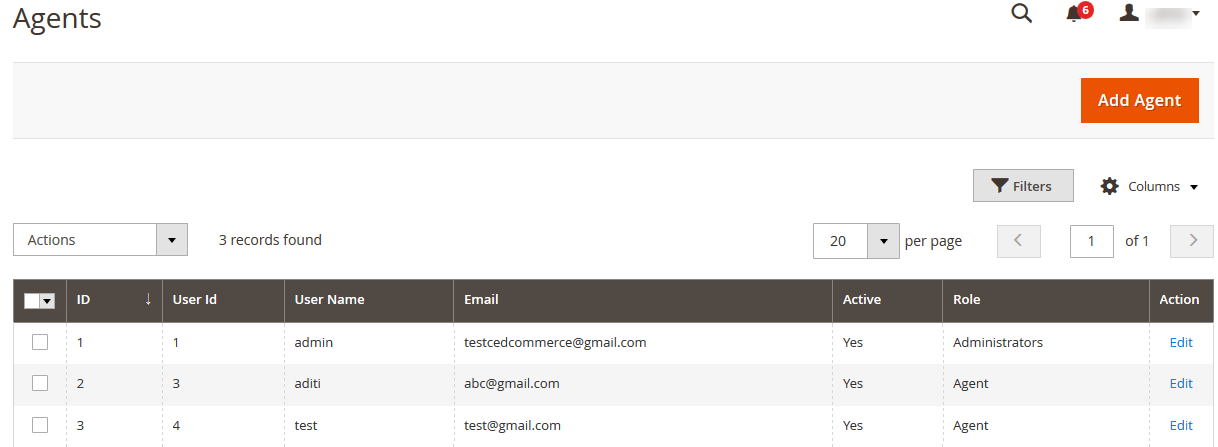
All the created agents appear on this page. The admin can view all the Agents details at one glance. - Click the Add Agent button.
A page appears as shown in the following figure:
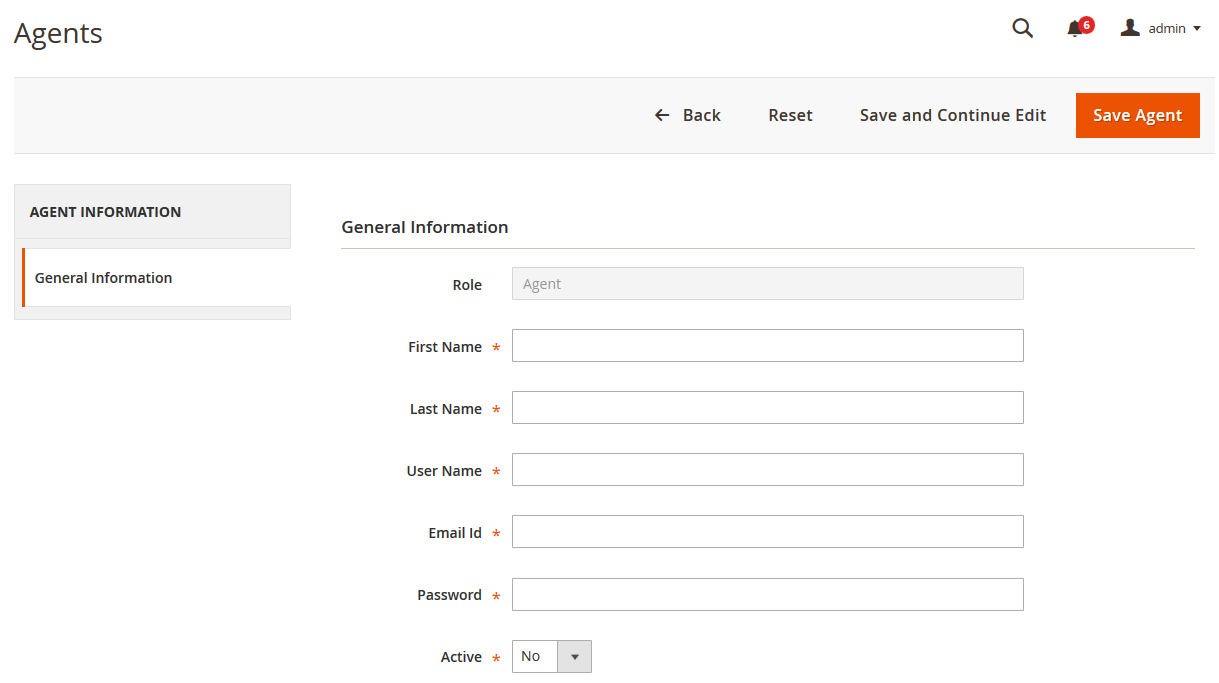
- Under General Information, do the following steps:
- Enter the respective information in the following fields:
- First Name
- Last Name
- User Name
- Email Id
- Password
- In the Active list, select Yes to activate the agent.
- Enter the respective information in the following fields:
- Click the Save Agent button.
The agent is saved and a success message appears on the Agents page Also, the created agent is listed on the page.
×


