
Manage Invoice
Once the order is placed, the vendor has the ability to create the invoice for the same and the created invoice is listed on the Invoice List page and in the Invoices panel of the Order View.
To create an invoice
- Go to the Vendor panel.
- On the left navigation bar, click the Manage Orders menu.
- The menu appears as shown in the following figure:
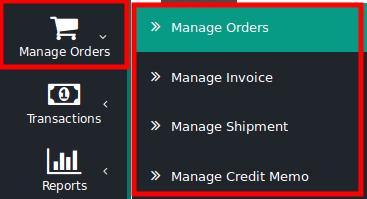
- Click Manage Orders.
The Order List page appears as shown in the following figure:
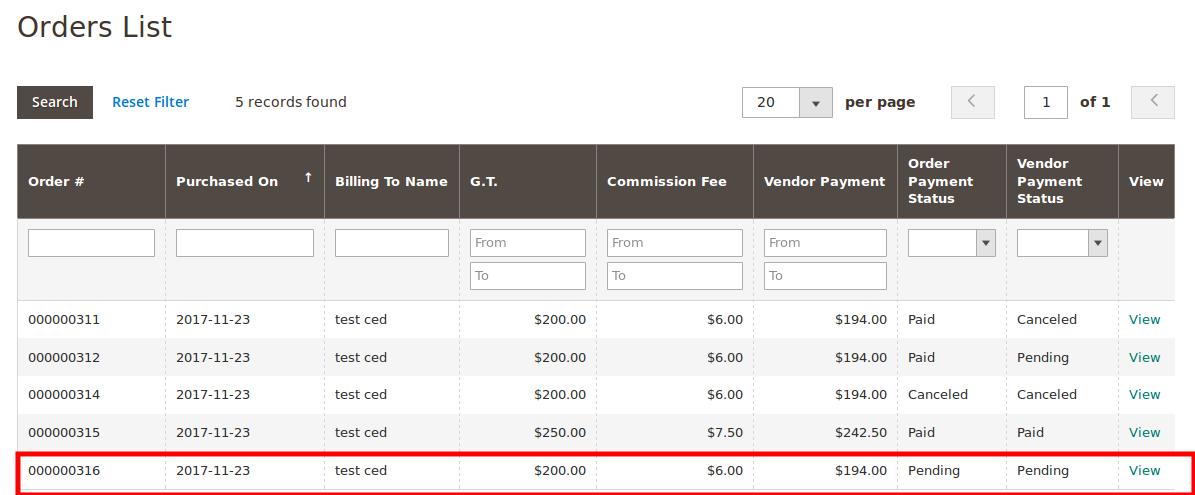
All the orders created are listed on this page. The newly created order appears on the page as highlighted. - In the View column, click the View link.
The Order View page appears as shown in the following figure:
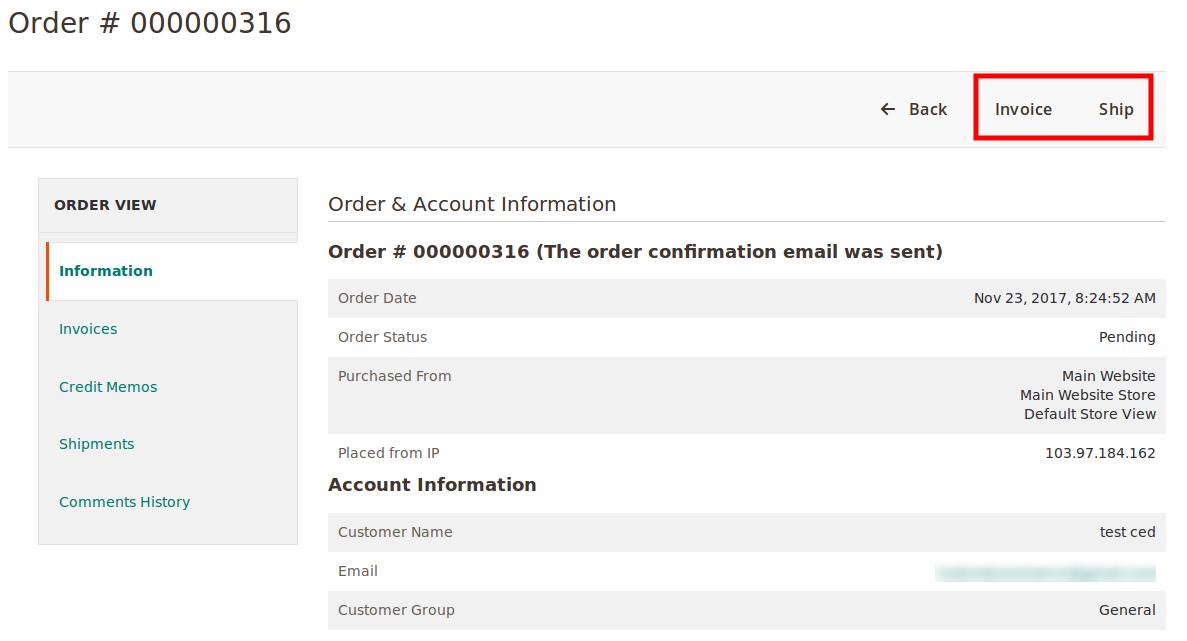
- On the top navigation bar, click the Invoice button.
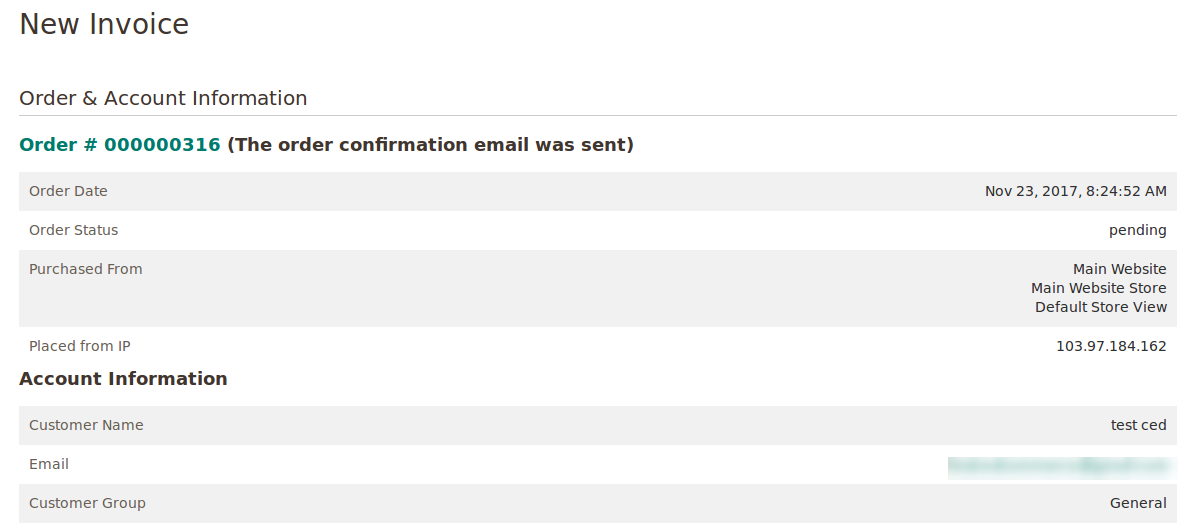
The New Invoice page appears as shown in the following figure:
- Scroll down to the Payment & Shipping Method section.
The section appears as shown in the following figure:

- If required, select the checkbox associated with the Create Shipment text to ship the order while creating the invoice itself.
- Scroll down to the Items To Invoice section.
The section appears as shown in the following figure:
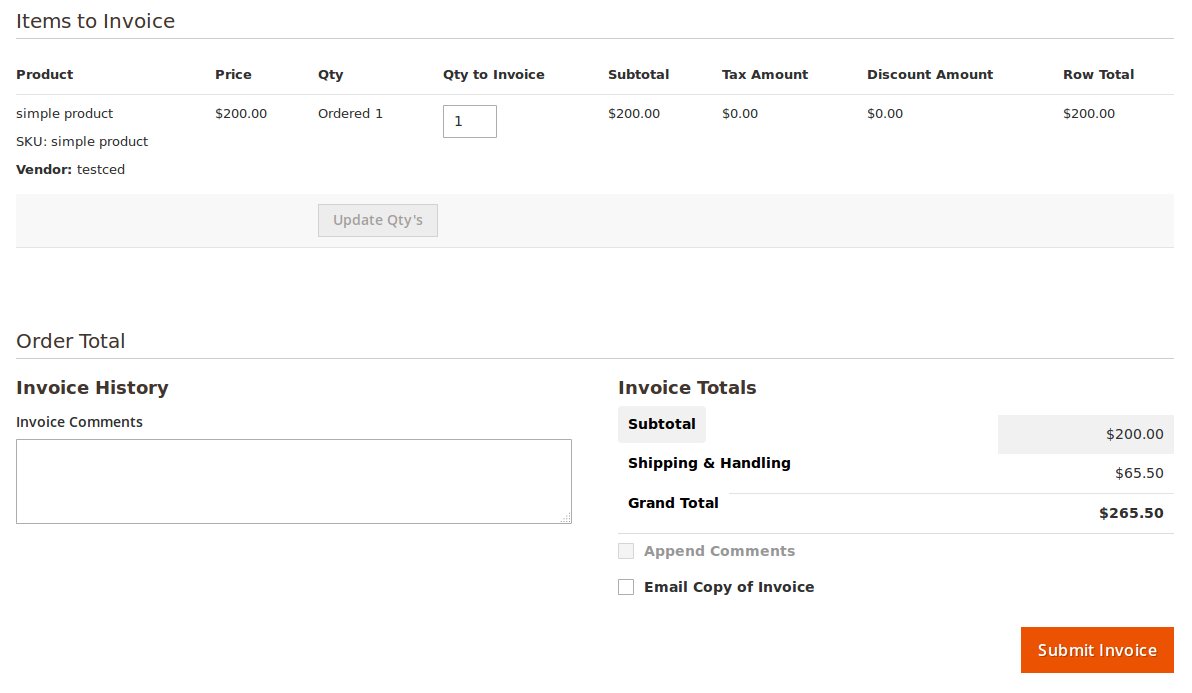
- In the Qty To Invoice box, enter the number of quantity to create the invoice for.
Note: This step is required only if the ordered quantity is more than one and the vendor wants to create a partial invoice. - Under Order Total, do the following steps if required:
- In the Invoice Comments box, enter the required note or comment.
- Select the checkbox associated with the Email Copy of Invoice text to send the copy of invoice through email to the customers if required.
- Click the Submit Invoice button.
The invoice is created and listed in the Invoices area (right panel) of the Order view page and a success message appears as shown in the following figure:

Once the invoice is created, the Invoice button disappears and the Credit Memo button appears on the Order View page as highlighted. This is button is used to create the refund on customer request. - In the right panel, click the row of the invoice to view the details.
The vendor can also view the created invoice on the Invoice List page where all the invoices are listed.
To view the Invoice listed on the Invoice List page
- Go to the Vendor panel.
- On the left navigation bar, click the Manage Orders menu.
- The menu appears as shown in the following figure:
- Click Manage Invoice.
The Invoice List page appears as shown in the following figure:

The created invoice is listed on the page as highlighted. - In the View column, click the View link.
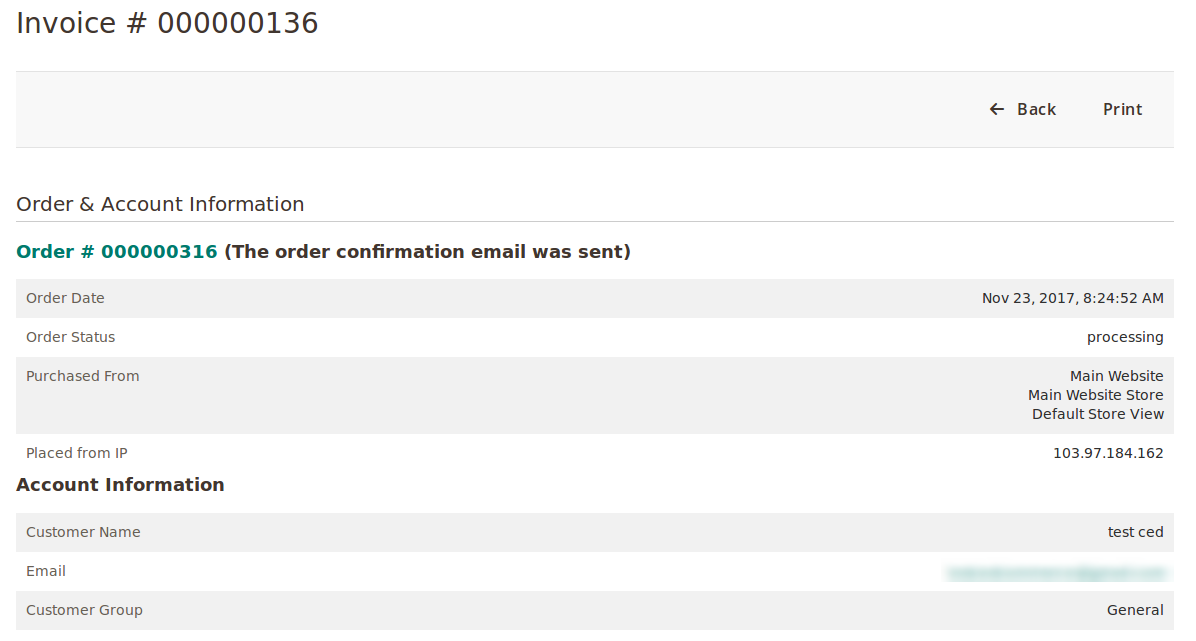
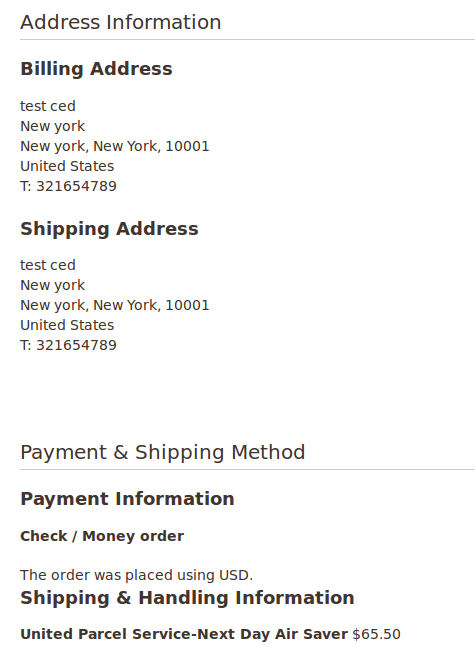
The created invoice details page appears as shown in the following figure:
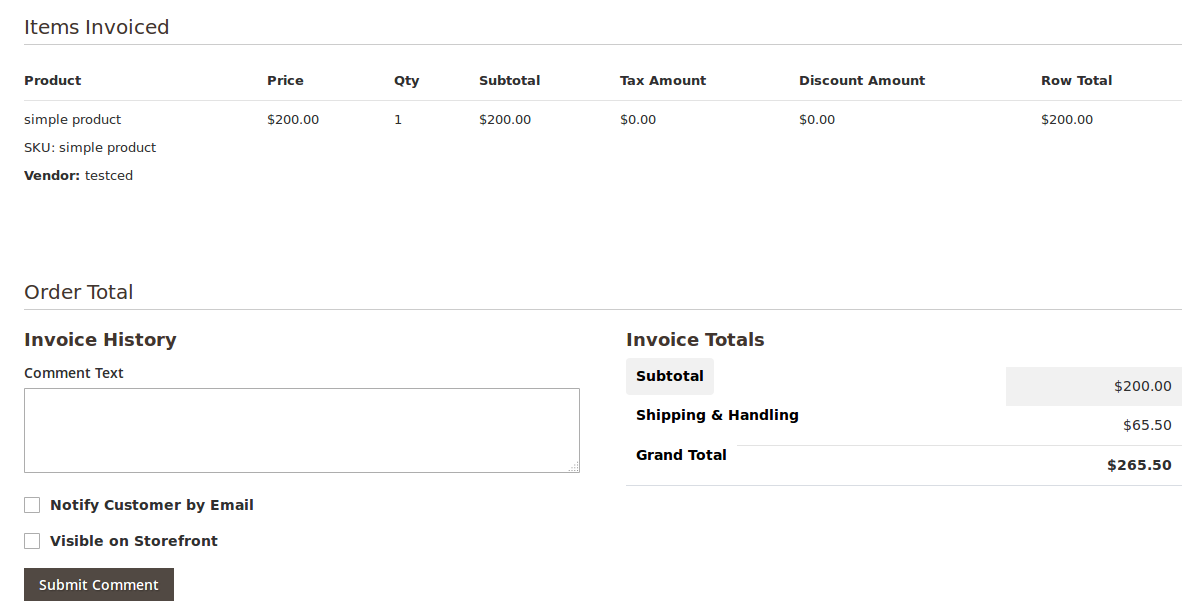
- In the Comment Text box, enter the comment if required, and then click the Submit Comment button.
- Select the associated checkbox to notify the customer by email if required.
- Select the checkbox associated with the Visible on Storefront text to display the comment in the front-end view.
Vendor Panel
Once the invoice is created the order payment status appears as Paid on the Order List page as shown in the following figure:
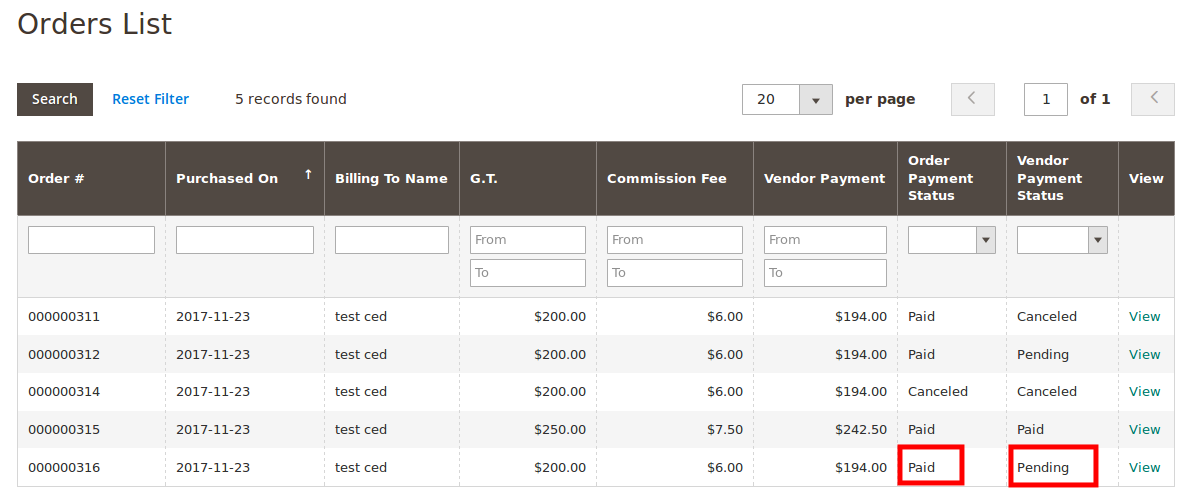
Since the admin had not yet paid the vendor, the Vendor Payment Status appears as Pending.
Admin Panel
Once the invoice is created the order payment status appears as Paid on the Manage Vendor Orders page as shown in the following figure:
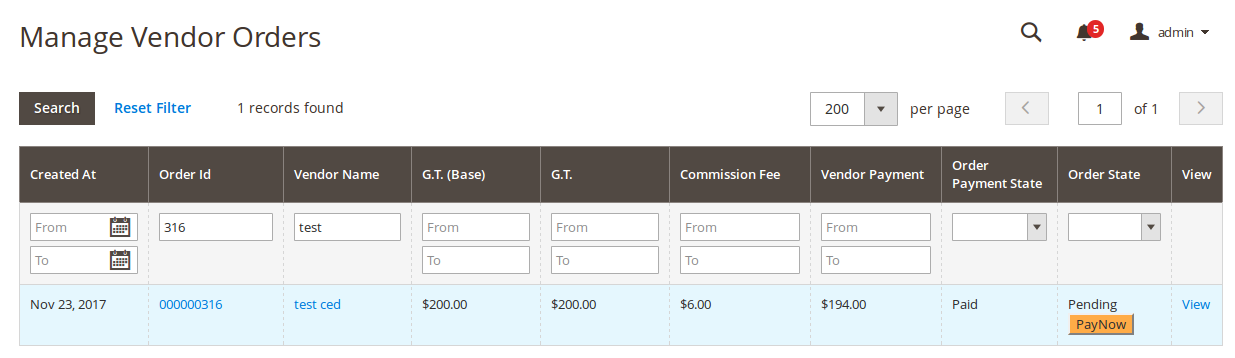
Since the admin had not yet paid the vendor, the Vendor Payment Status in the Order State column appears as Pending and also the PayNow button appears.


