Manage Vendor Payment
After generating the invoice, the vendors (sellers) have the ability to request the store owner for the payment. Also, the store owner themselves can pay the required amount to the vendors without receiving any request from them as the PayNow button appears on the Manage Vendor Orders page in the Admin panel.
Admin Panel
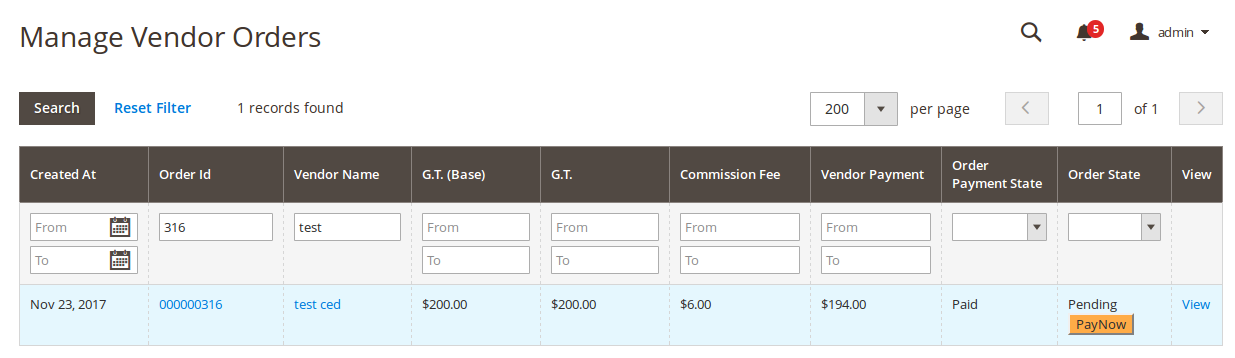
Once the invoice is created the order payment status appears as Paid on the Manage Vendor Orders page as shown in the following figure:
To request admin for payment
- Go to the Vendor panel.
- On the left navigation bar, click the Transactions menu.
The menu appears as shown in the following figure:
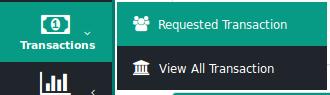
- Click the Requested Transaction menu.
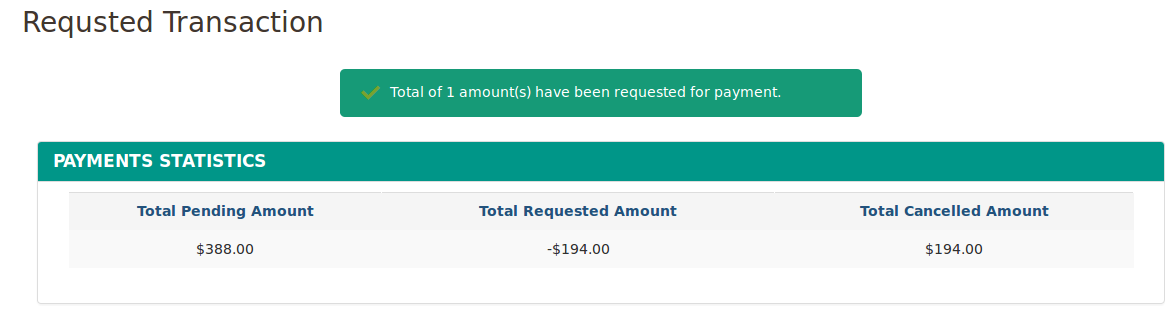
The Requested Transaction page appears as shown in the following figure:
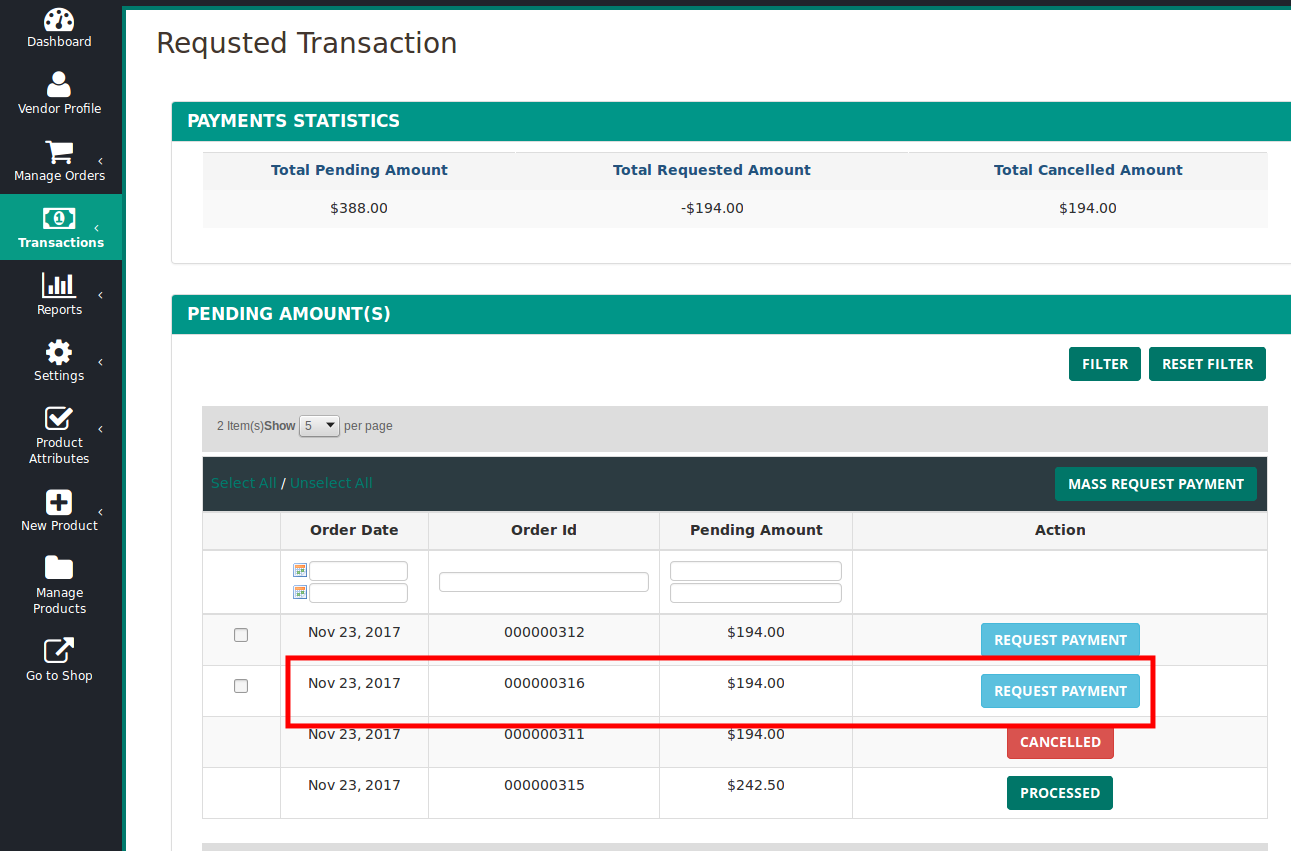
- Scroll down to the PENDING AMOUNT(S) section.
- Move to the required row.
- In the Action column of the respective row, click the REQUEST PAYMENT button.
The request for payment is submitted and a success message appears as shown in the following figure:
- To do a mass request for payment, do the following steps:
- Under Pending Amount, select the checkboxes associated with the required order.
- Click the MASS REQUEST PAYMENT button.
The request for the selected payments are submitted and a success message appears on the page.
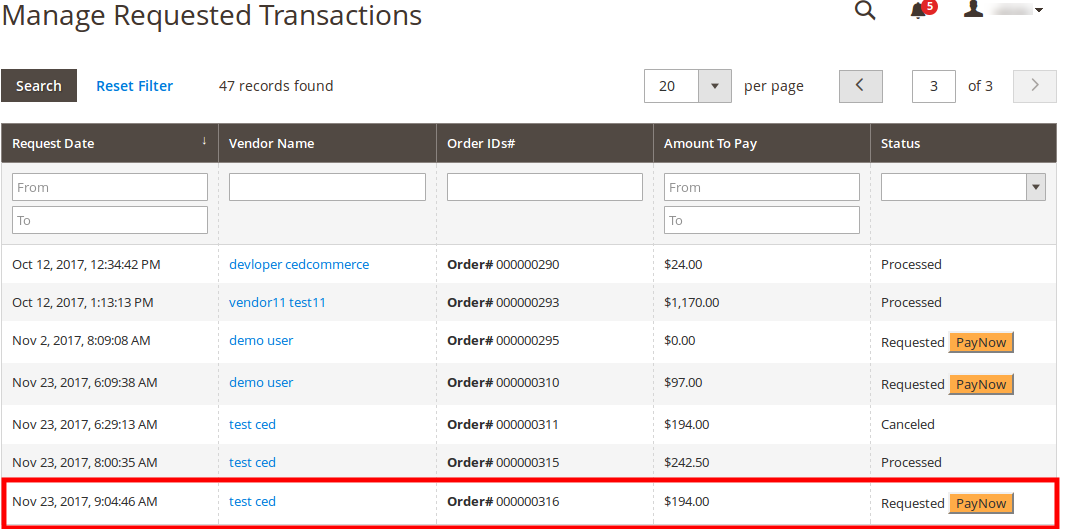
After receiving a request from the vendor, the admin can view the PayNow button in the respective row of the order from the respective vendor appearing on the Manage Requested Transaction page in the Admin panel.
 Hence, the admin had the ability to pay the vendor either from the Manage Requested Transactions page or from the Manage Vendor Orders page.
To pay the vendor
- Go to the Admin panel
- On the left navigation bar, click the MARKETPLACE menu.
The menu appears as shown in the following figure:
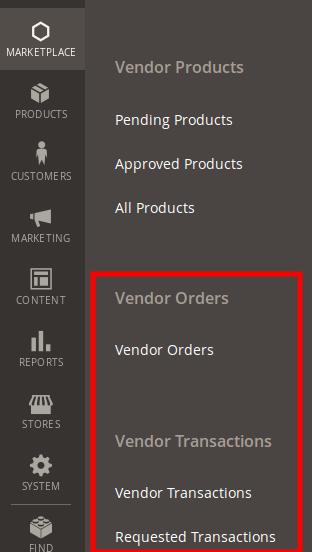
- Click Requested Transactions.
The Manage Requested Transaction page appears as shown in the following figure:
- In the Status column of the respective row, click the PayNow button.
The Manage Vendor Transactions page appears as shown in the following figure:
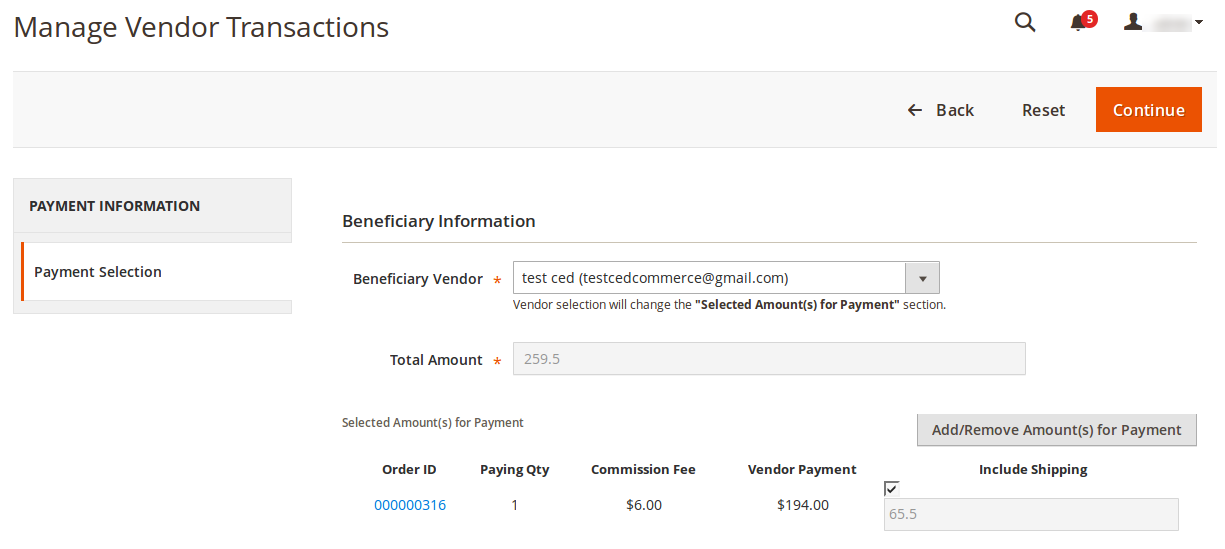
- In the right panel, under Beneficiary Information, do the following steps.
- In the Beneficiary Vendor list, select the required vendor.
- Click the Add/Remove Amount(s) for Payment button.
A grid appears as shown in the following figure:
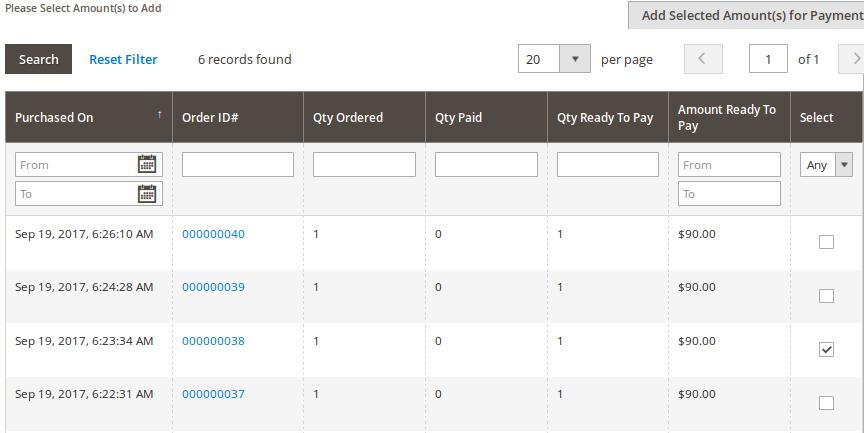
Based on the selected beneficiary vendor name the Selected Amount(s) for Payment grid appears. - In the Select column, select the checkbox associated with the required order payment, and then click the Add/Remove Amount(s) for Payment button.
If selected, then the included amount appears in the Selected Amount(s) for Payment section. - Select the checkbox to include the shipping charges in the vendor payment if required.
- On the top navigation bar, click the Continue button.
The Manage Vendor Transactions page appears as shown in the following figure:
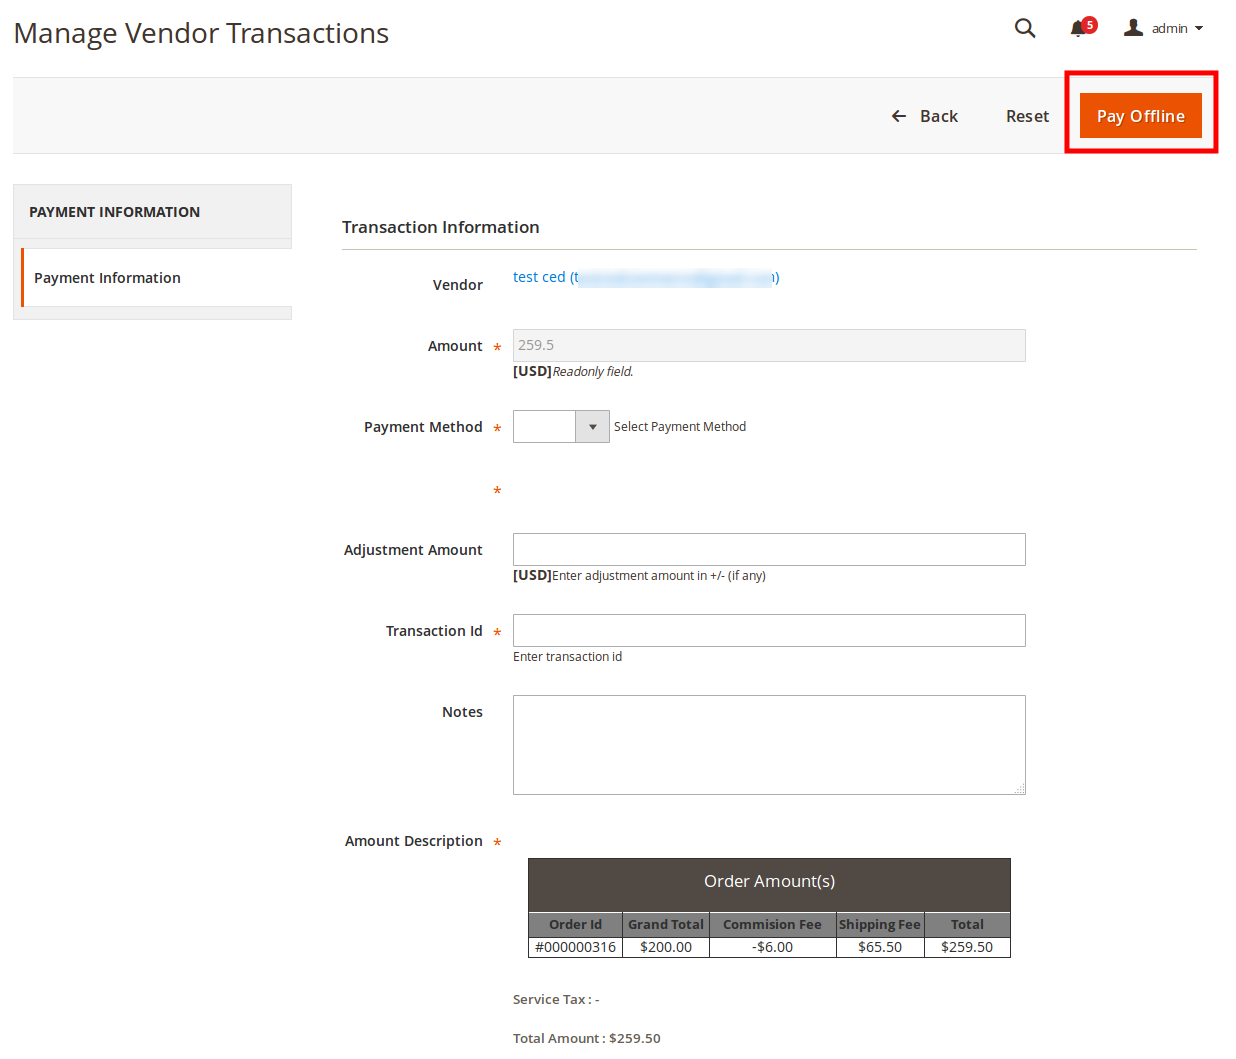
- In the right panel, under Transaction Information, do the following steps.
- In the Payment Method list, select the required payment method.
- In the Adjustment Amount box, enter the adjustment amount if any.
- In the Transaction Id box, enter the transaction Id.
- On the top navigation bar, click the Pay Offline button.
The amount is paid and a success message appears on the page as shown in the following figure:
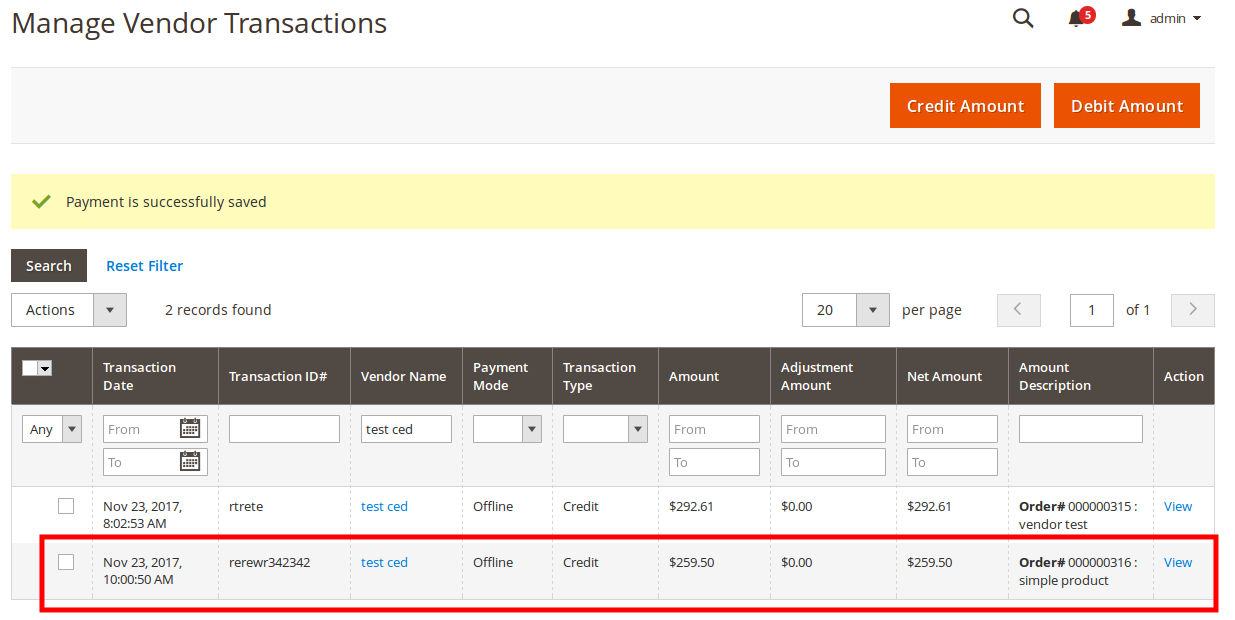
The transaction appears in the grid view as highlighted.
Notes:- Credit Amount button: Used to credit the amount in the vendor account with the same procedure as the procedure followed while paying the Vendor.
- Debit Amount button: Used to debit (get back the payment from vendor) the amount from the vendor account with the same procedure as the procedure followed while paying the Vendor.
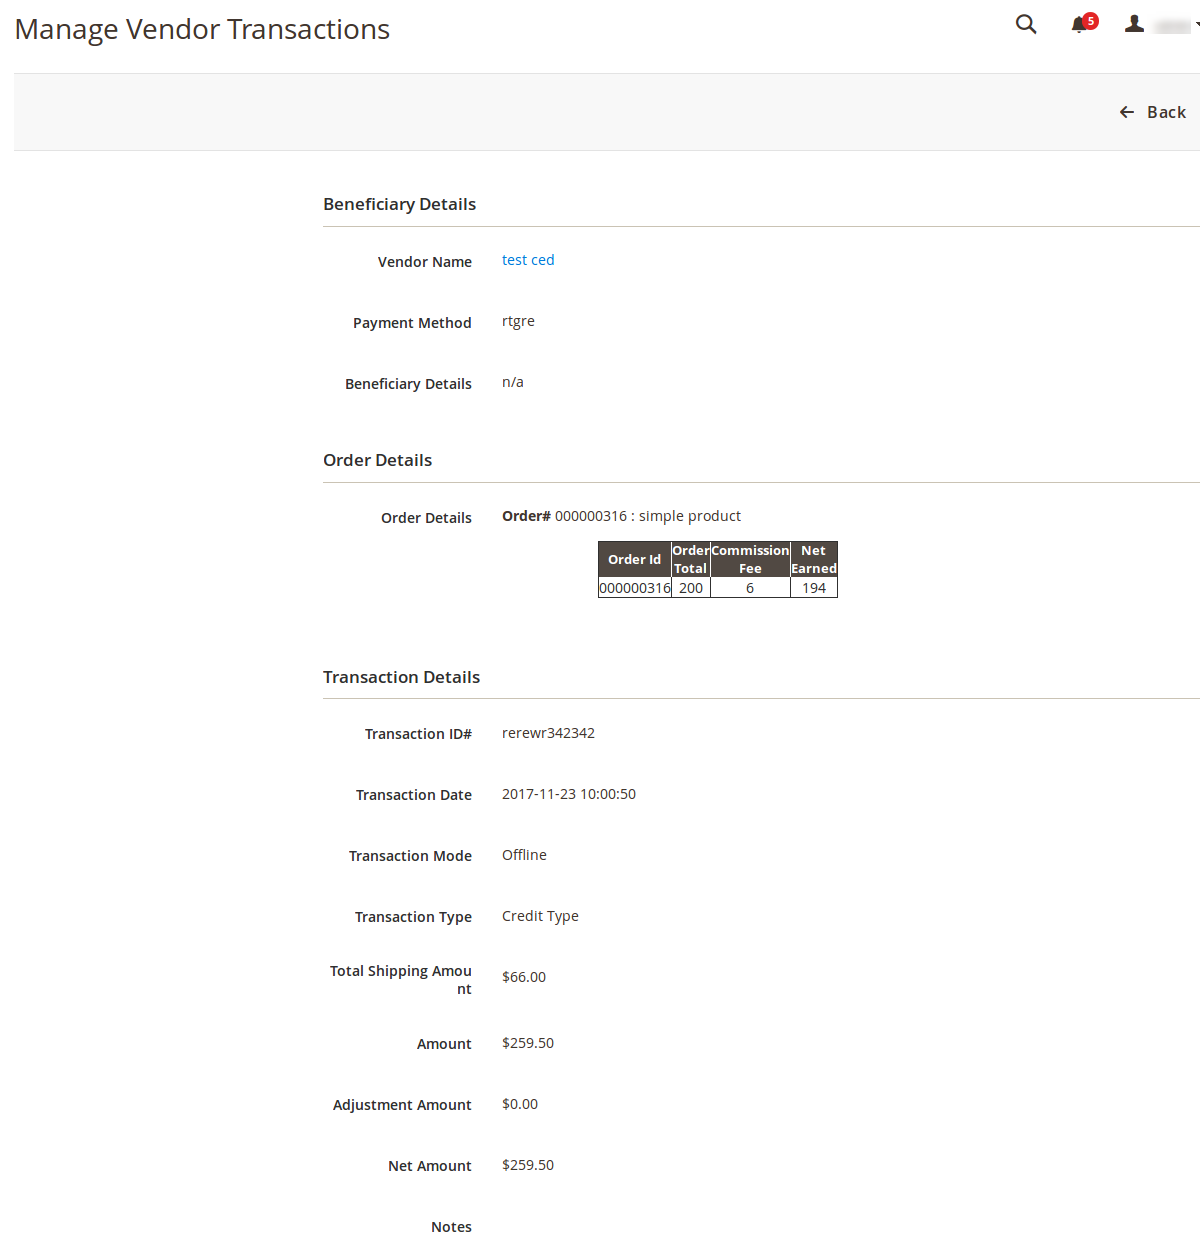
- In the Action column, click the associated View link.
The Manage Vendor Transactions page appears as shown in the following figure:
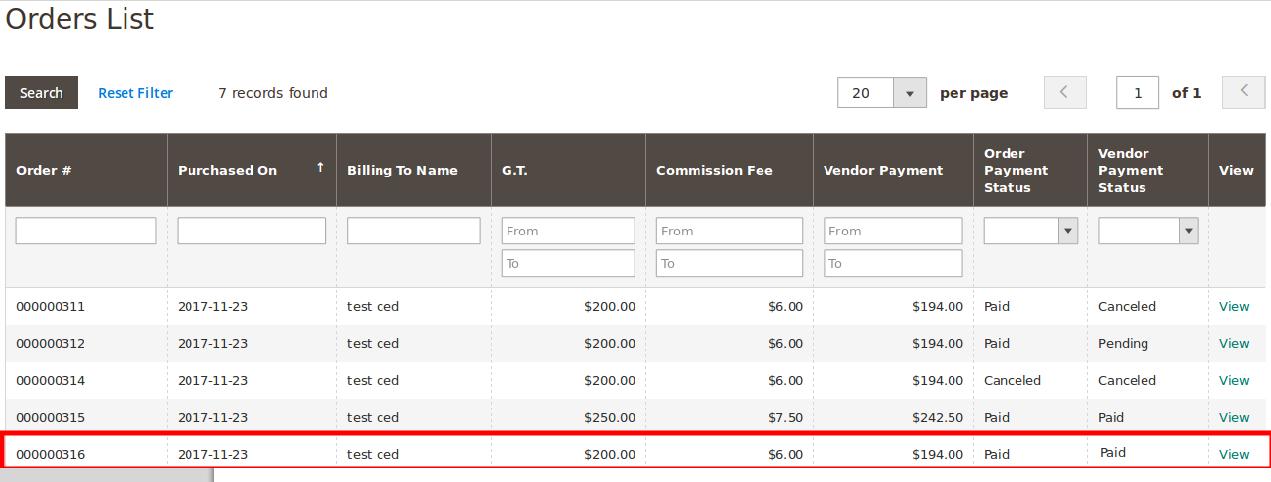
Once the payment is done, the vendor can view the status of the requested payment on the Requested Transaction page as shown in the following figure:
 Hence, the Vendor Payment Status on the Order List page of the Vendor panel appears as Paid. In the Admin panel, the Vendor Payment Status in the Order State column appears as Paid.