
Configuration Settings
To set up the configuration settings,
- Go to the Magento 2 Admin panel.
- On the left navigation bar, click on Kogan Integration.
The menu appears as shown below:
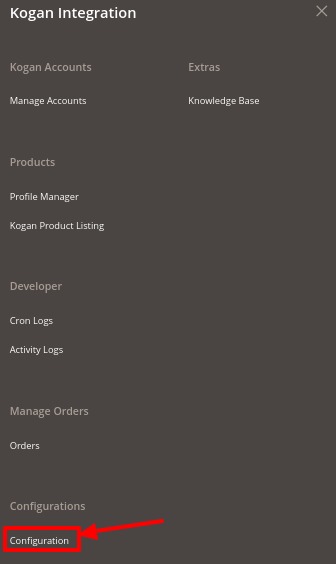
- Click on Configuration.
The Configuration Settings page appears as shown below:
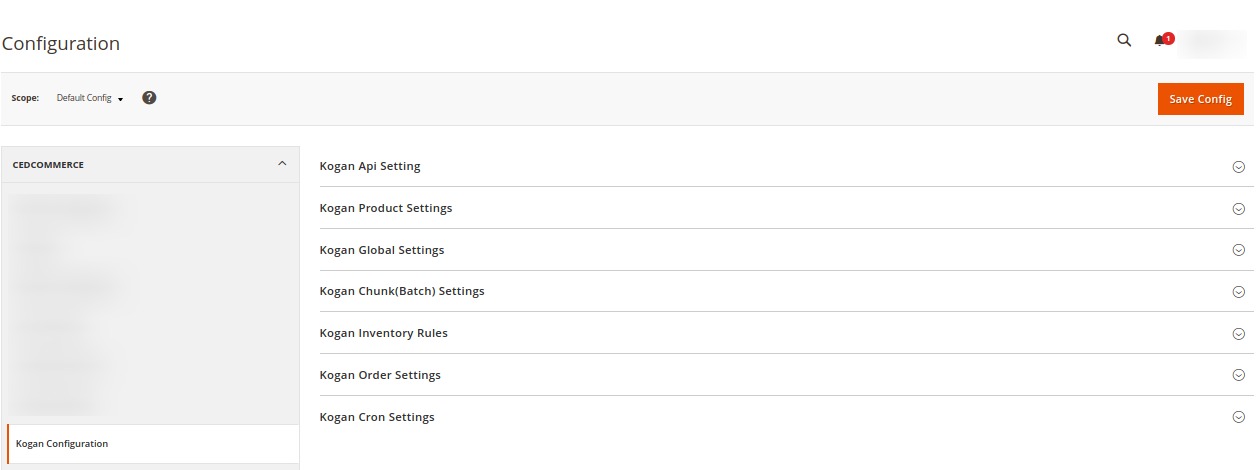
- In the right panel, click on Kogan Api Setting, the section is expanded as shown below:

- Under Kogan Api Settings, do the following steps:
- In the Enabled list, select Yes to enable the extension features. In order to use the extension enabling it is a must.
- In the Debug Log, select Yes to start Kogan Integration in the debug mode.
Debug mode captures the log for debugging process.
- Now scroll down and click on Kogan Product Settings, the section is expanded as shown below:

- Under Kogan Product Settings, do the following steps:
- In Primary Account, select the account you want to set as primary.
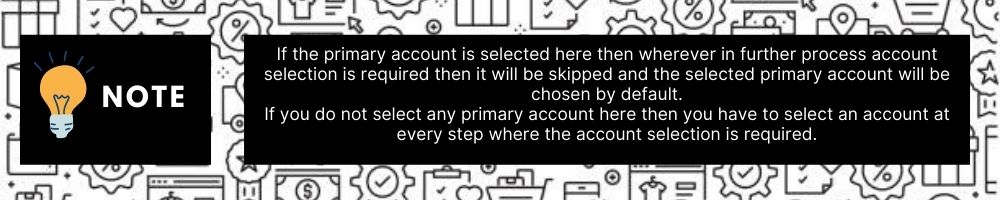
- In Primary Account, select the account you want to set as primary.
- Scroll down and click on Kogan Global Settings, the section is expanded as shown below:

- Under Kogan Global Settings, do the following steps:
- In Kogan Product Price, select one of the following options:
- Increase by Fixed Price: If selected, then the Modify by Fix Price field appears.
- Increase by Fixed Percentage: If selected, then the Modify by Percentage Price field appears.
Enter the numeric value to increase the price of the Kogan, product price by the entered value % of Magento 2 price.
For Example,
Magento 2 price + 5% of Magento 2 price.
Magento 2 Price = 100
Select Increase By Fixed Percentageoption
Modify by Percentage Price = 5
100 + 5% of 100 = 100 + 5 = 105
Thus, Kogan Product Price = 105 - Decrease by Fixed Price: If selected, then the Modify by Fix Price field appears.
- Decrease by Fixed Percentage: If selected, then the Modify by Percentage Price field appears.
Enter the numeric value to decrease the price of the Kogan product price by the entered value % of Magento 2 price
For Example,
Magento 2 price – 5% of Magento 2 price.
Magento 2 Price = 100
Select Decrease By Fixed Percentage option
Modify by Fix Price = 5
100 – 5% of 100 = 100 – 5 = 95
Thus, Kogan Product Price = 95
- In Kogan Product Price, select one of the following options:
- Scroll down and click on Kogan Chunk(Batch) Settings, the section is expanded as shown below:

The reason why we perform these chunks settings is to easily manage Unlimited data by bifurcating it into limited parts.
- Under Kogan Chunk(Batch) Settings do the following steps:
- In Product Validation Chunk Size, select the number of products you want to be sent to Kogan for validation in one batch.
- In Product Upload Chunk, select the number of products you want to be sent to Kogan for uploading, in one batch.
- In Product Enable/Disable/Sync Chunk, select the number of products you want to be sent to Kogan to enable, disable or synchronise in one batch.
- Now scroll down and click on Kogan Inventory Rules. The section is expanded as shown below:
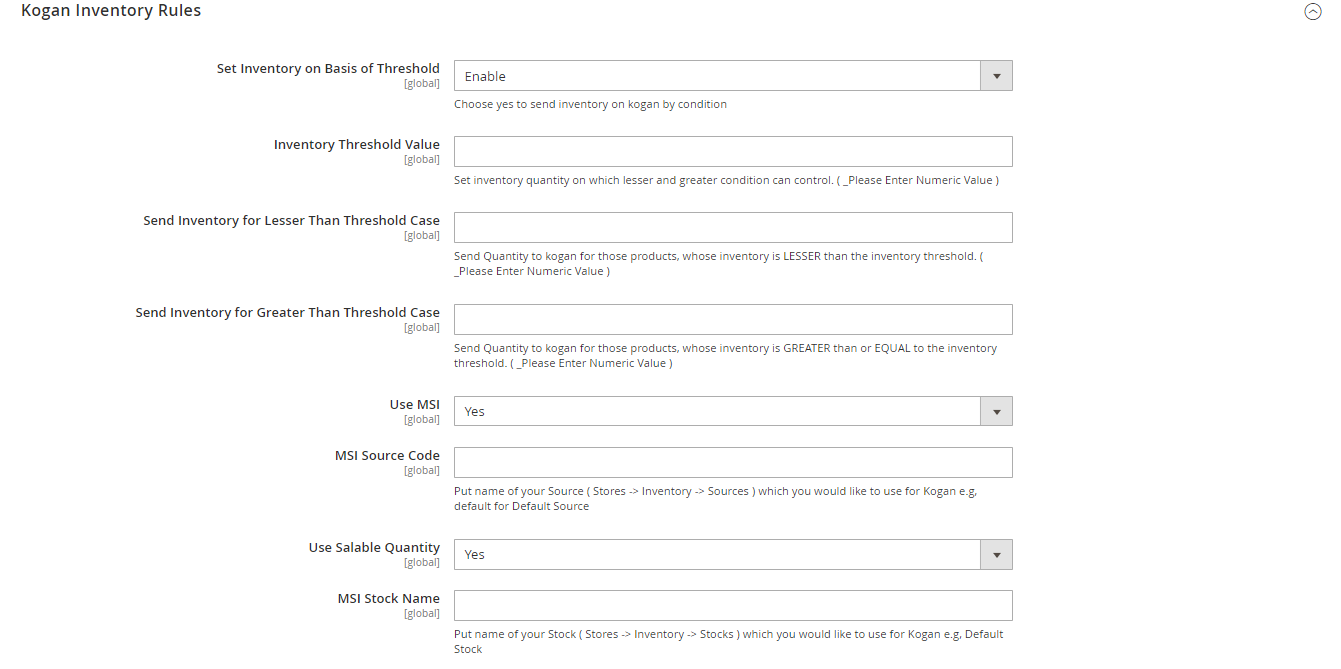
- Under Kogan Inventory Rules, do the following steps:
- In the Set Inventory on Basis of Threshold list, select Enable to send the inventory based on the threshold.

- In the Inventory Threshold Value box, enter the value which you consider to be the minimum for your inventory.
- In the Send Inventory for Lesser Than Threshold Case box, enter the value that needs to be visible on Kogan in case your inventory is lesser than the threshold value that you have set in the earlier parameter.
- In the Send Inventory for Greater Than Threshold Case box, enter the value that needs to be visible on Kogan in case your inventory is more than the threshold value that you have set.
For Example:
Suppose you have set the threshold value of a product to be 500. You have set the greater than the threshold value to say 600 and the lesser than the threshold value to be 300.
Now you have 530 of that product in the inventory, then the number visible on Kogan would be 600. Suppose you sold 33 products and now the value is decreased to be 497 which is below the threshold. The value that will now appear on Kogan will be 300.
- In Use MSI, select Yes to enable the MSI feature.
- In the MSI Source Code, put the name of your Source ( Stores -> Inventory -> Sources ) that you would like to use for Kogan, e.g., the default for Default Source.
- In Use Salable Quantity, select Yes if you want the salable quantity.
- In MSI Stock Name, put the name of your Stock ( Stores -> Inventory -> Stocks ) which you would like to use for Kogan, e.g., Default Stock.
- In the Set Inventory on Basis of Threshold list, select Enable to send the inventory based on the threshold.
- Scroll down and click on Kogan Order Settings; the section is expanded as shown below:

- Under Kogan Order Settings, click on Global Setting; the section is expanded as shown below:
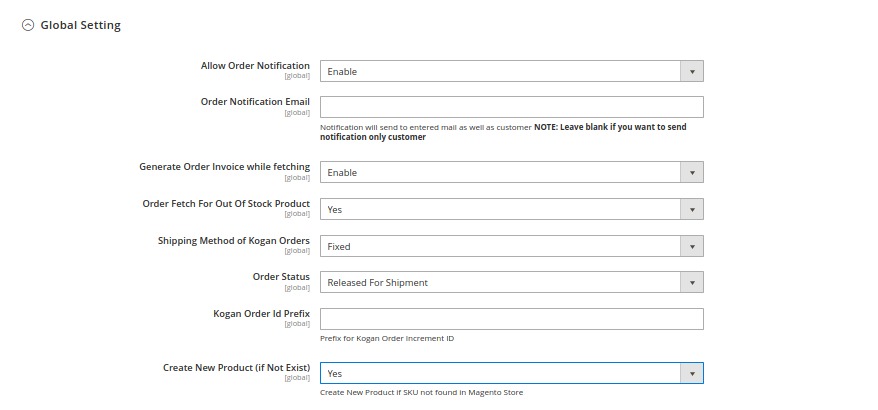
- Under Global Setting, do the following steps:
- In Allow Order Notification, select Enable if you want to receive the notifications for the orders.
- In the Order Notification Email, enter the email id on which notification will send.
NOTE: Leave blank if you want to send notifications only to customers. - In Generate Order Invoice while fetching, select Enable if you want to generate the invoice of the orders automatically.
- In Order Fetch For Out Of Stock Product, select Yes if you want to fetch the out of stock products.
- In the Shipping Method of Kogan Orders, select the shipping method for the orders.
- In Order Status, select the status of the orders from the list.
- In Kogan Order Id Prefix, enter the text as a prefix for Kogan increment Id.
- In Create New Product (if Not Exist), select Yes to create a new product if SKU is not found in Magento Store.
- Now click on Create Customer Setting, the section is expanded as shown below:
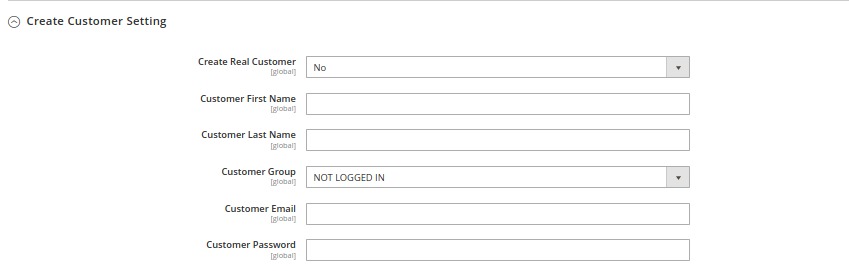
- In Create Real Customer, select Yes if you want to create a real customer, select Guest Checkout if you want to checkout as a guest, select No if you want to enter the customer details manually.
- In Customer First Name, enter the name of the customer.
- In Customer Last Name, enter the last name of the customer.
- In Customer Group, select the group of the customer.
- In Customer Email, enter the email id of the customer.
- In Customer Password, enter the password.
- Under Global Setting, do the following steps:
- Now scroll down and click on Kogan Cron Settings, the section is expanded as shown below:
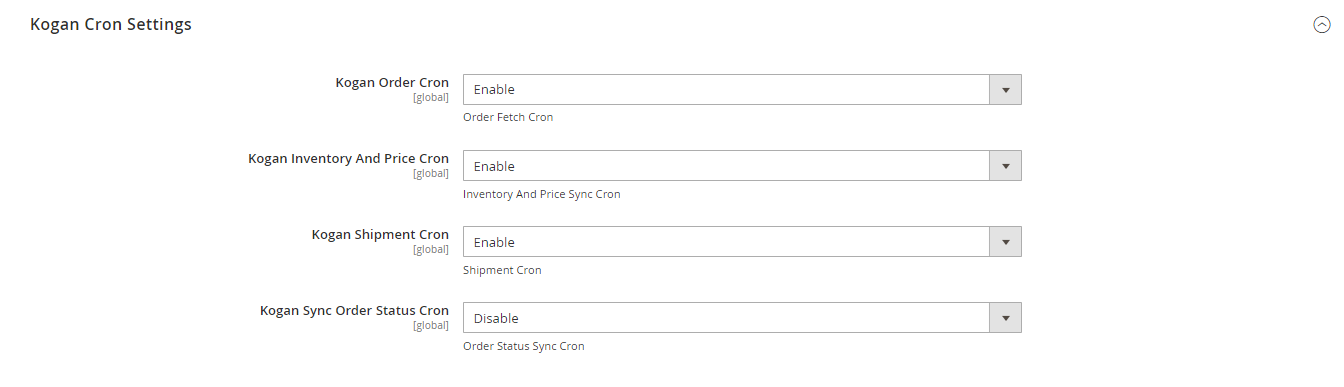
- Under Kogan Cron Settings, do the following steps:
- In the Kogan Order Cron, select Enable if you want to fetch the orders. Order Crons are used to fetch waiting for shipment orders at approx 10 minutes.
- In the Kogan Inventory Cron list, select Enable to enable the Inventory & Price Synchronisation automatically at regular intervals of time. This cron runs every 5 hours to sync.
- In the Kogan Shipment Cron, select Enable to enable the Shipment automatically at regular intervals of time through cron.
- In Kogan Sync Order Status Cron, select Enable to synchronise the order status automatically at regular intervals of time.
- Click on the Save Config button.
The Configuration settings will be saved.
×


