
Manage Accounts

To manage accounts on Kogan,
- Go to the Magento 2 Admin panel.
- On the left navigation bar, click on Kogan Integration.
The menu appears as shown below:
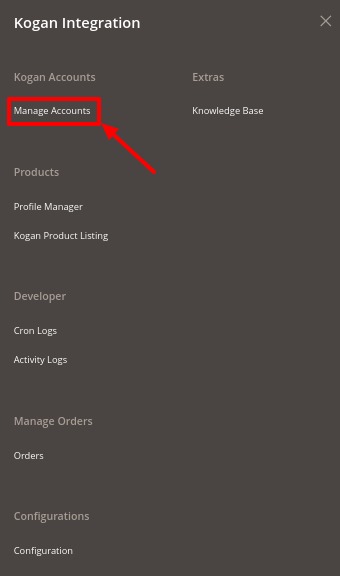
- Click on Manage Accounts.
The Manage Account page appears as shown below:
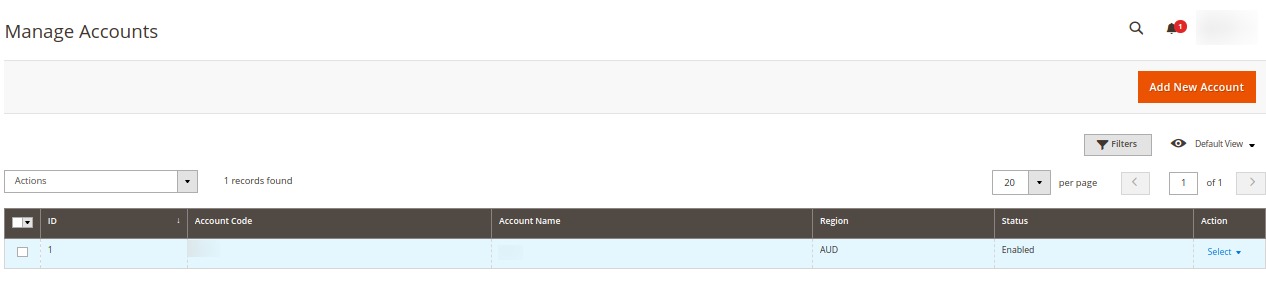
- All the accounts that are created will be listed here along with the details associated with them.
- To add a new account, click on Add New Account button on the top right corner.
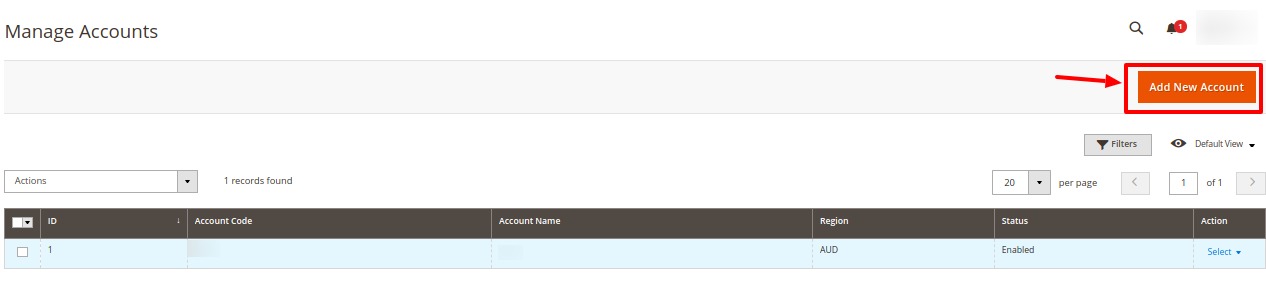
- You will be redirected to a new account creation page as shown below:

- In Account Code, enter the unique code for your account.

- In Account Name, enter the name for the account.
- In the Store View, choose the Magento store view you want to choose for your Kogan store.
- In Account Status, if you select Enable the connectivity will be there for product sync, order fetch, etc. and if you select Disable then the account will be disconnected from Magento.
- In Select Region, select the region for the account.
- In Account Mode, select the specific Kogan account mode(Sandbox or Live) for which you will be fetching the token.
Sandbox mode is for testing purposes and Production mode is for the live website.
- In Access Token, enter the Access Token Id you have fetched in the Kogan Seller panel.
- In Seller Id, enter the seller id from the Kogan seller panel.
- Click on the Save Account button.
To Edit an Account,
- Click on the edit button associated with the account you wish to make changes in:

- The edit account page opens up where you can make the desired changes as you wish:

- Click on the Save button and account changes are finalized.
×


