
Configuration Settings
To set up the Configuration Settings,
- Go to the Magento 2 admin panel.
- On the left navigation bar, click on the Google Shopping Feed Integration option.
The menu appears as shown below:

- Click on Configuration.
The Configuration page appears as shown below: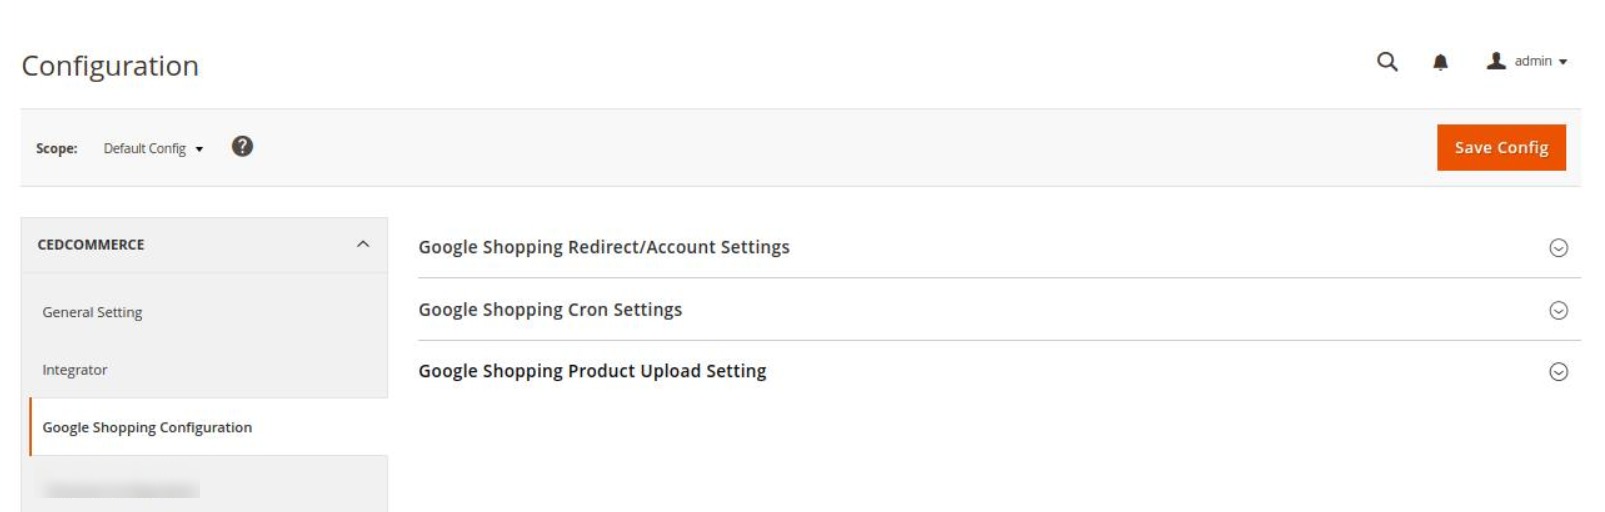
- Click on Google Shopping Redirect/Account Settings. The tab expands as:
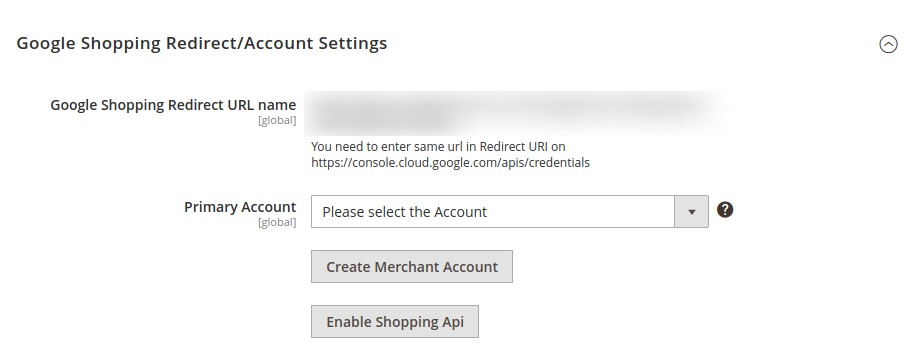
- Under Google Shopping Redirect/Account Settings do the following steps:
- In Google Shopping Redirect URL Name, the URL will be displayed that you will be copying in your seller account.
- In Primary Account, a Profile will automatically create for the selected account. Different profiles are created for different accounts so if you are creating a new profile then you have to select the dedicated account for that profile.
- Click on Create Merchant Account, to create a new merchant account.
- Click on Enable Shopping Api, to enable the Shopping API from the merchant center.
- Scroll down to Google Shopping Cron Settings, the tab is expanded as:

- Under Google Shopping Cron Settings, do the following steps:
- In Auto Upload Cron, select Enable if you want to enable the upload cron automatically.
- Now scroll down and click on Google Shopping Product Upload Setting, the tab is expanded as:
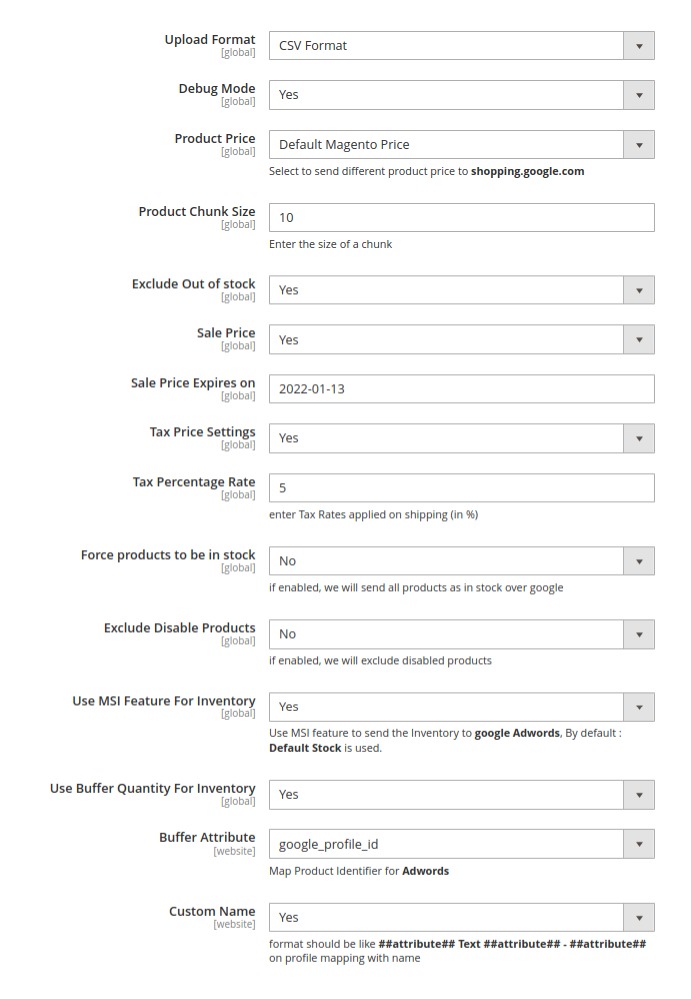
- Under Google Shopping Product Upload Setting do the following steps:
-
- In Upload Format, select the format in which you want to upload the product.
- In the Debug mode, select Yes if you want to enable the debugging mode to create logs.
- In Product Price, select one of the following options:
- Increase by Fixed Price: If selected, then the Modify by Fix Price field appears.
- Increase by Fixed Percentage: If selected, then the Modify by Percentage Price field appears.
Enter the numeric value to increase the price of Google Shopping Feed product price by the entered value % of Magento 2 store price.
For Example,
Magento 2 price + 5% of Magento 2 price.
Magento 2 Price = 100
Select Increase By Fixed Percentage option
Modify by Percentage Price = 5
100 + 5% of 100 = 100 + 5 = 105
Thus, Google Shopping Feed Product Price = 105 - Decrease by Fixed Price: If selected, then the Modify by Fix Price field appears.
- Decrease by Fixed Percentage: If selected, then the Modify by Percentage Price field appears.
Enter the numeric value to decrease the price of the Google Shopping Feed product price by the entered value % of Magento 2 store price
For Example,
Magento 2 price – 5% of Magento 2 price.
Magento 2 Price = 100
Select Decrease By Fixed Percentage option
Modify by Fix Price = 5
100 – 5% of 100 = 100 – 5 = 95
Thus, Google Shopping Feed Product Price = 95
- In the Product Chunk Size, enter the default size of a chunk.
- In Exclude Out of stock, if you select Yes then out-of-stock products if will not be uploaded but if you select No then the out stock products will also be uploaded along with the other products.
- In Sale Price, select Yes if you want to enable the sale price (special price).
- In Sale Price Expires on, enter the date on which the special price will end.
- In the Tax Price Settings, select Yes if you want to enable the tax on the price.
- In the Tax Percentage Rate, enter the tax rates.
- Next comes Force products to be in stock option, Here if enabled, we will send all products will be sent to google as in-stock irrespective of their actual status.
- In Use MSI Feature For Inventory, select Yes if you want o send the inventory to Google Adwords.
- In Use Buffer Quantity For Inventory, select Yes if want buffer quantity.
- NOTE: The selected Buffer Quantity attribute you mention here is subtracted from the default Magento Qty attribute.

- Then in Buffer Attribute, select the buffer attribute to map product identifier for the Google Adwords.
- You can also use Custom Name for attributes of products being uploaded on Google Shopping. This value can be input in the set default option.
- Note: Make sure to use the right format which is that all attribute values must be written enclosed in ## and name in simple text.
Example: ##attribute## Text ##attribute## – ##attribute##
-
- Click on the Save Config button.
The configuration will be saved.
×


