
Configuration Setting
Once the extension is successfully installed on the Merchant’s store, the Google Shopping Actions tab appears in the Magento Admin Panel.
The seller has to set up the configuration settings for establishing the connection between the Magento store and the Google Shopping Actions marketplace.
To set up the configuration settings in the Magento Admin panel:
- Go to the Admin panel.
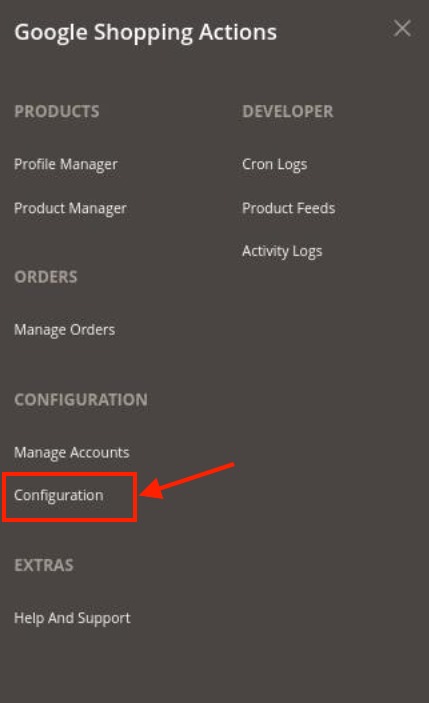
- On the left navigation bar, you will find the Google Integration option.
- Click on Configuration.
- The Google Shopping Configuration page appears as shown in the following figure:
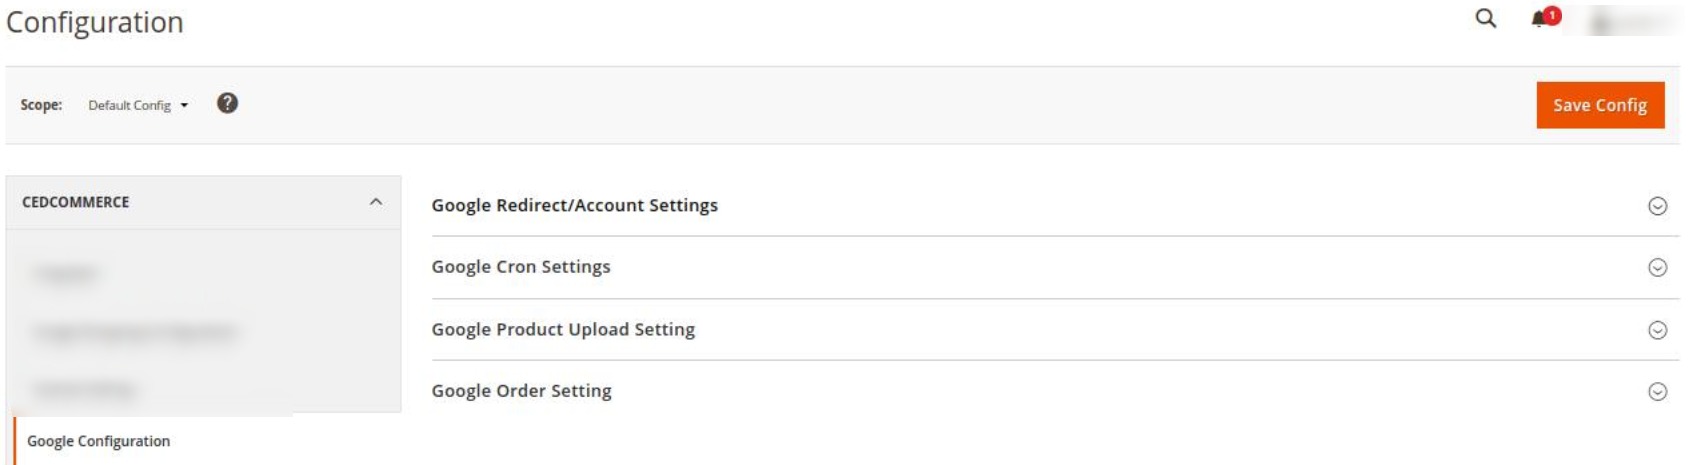
- Now click on Google Redirect/Account Settings, the section is expanded as shown below:
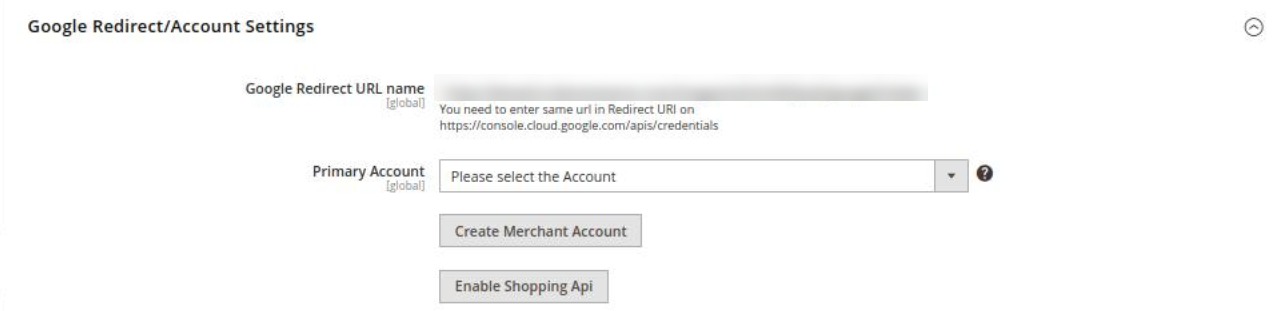
- Under Google Redirect/Account Settings, do the following steps:
- In Google Redirect URL Name, the store URL will be mentioned.
- Choose the Primary account associated with the Google Shopping Actions Account.
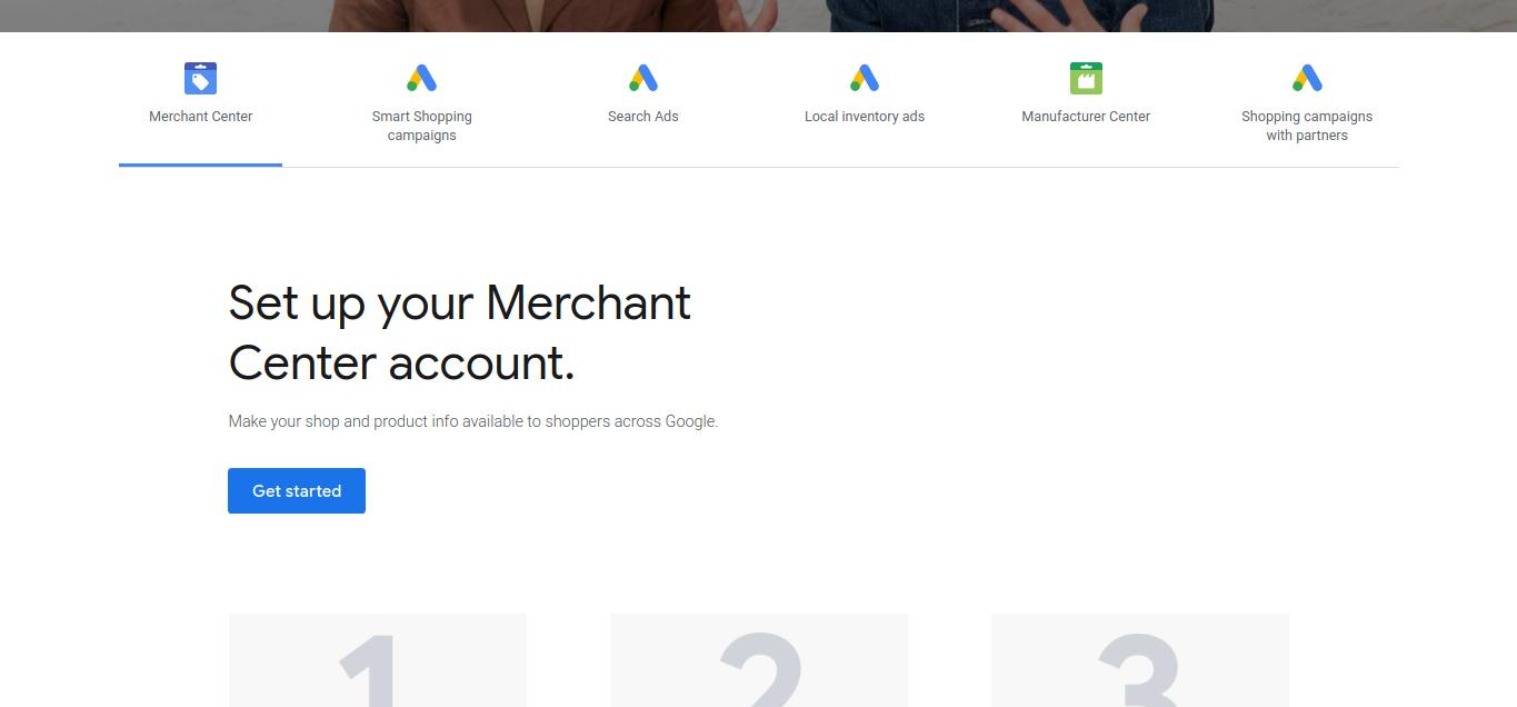
- Click on Create Merchant Account button, to create a new Google merchant account.
- Click on Enable Shopping API button if you want the shopping API to be enabled for the store.
- Click on Google Cron Settings. The menu expands as:

- Under Google Cron Settings, do the following steps:
- In Order Cron, select Enable to sync orders through cron.
- In Shipment Cron, select Enable to automatically sync the shipment status with cron.
- In AutoUpload Cron, select Enable for automatic upload.
- Now, click on Google Product Upload Settings. The menu expands as:
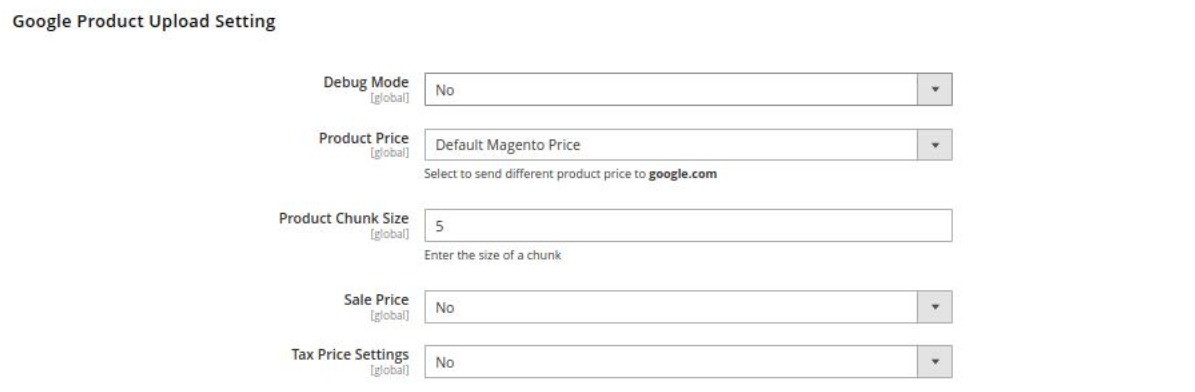
- Under Google Product Upload Settings do the following steps:
- Choose Yes in the Debug Mode.
- In the Product Price list, select one of the following options:
- Increase by Fixed Price: If selected, then the Modify by Fix Price field appears.
- Increase by Fixed Percentage: If selected, then the Modify by Percentage Price field appears.
Enter the numeric value to increase the price of Google Shopping Actions, product price by the entered value % of Magento 2 store price.
For Example,
Magento 2 price + 5% of Magento 2 price.
Magento 2 Price = 100
Select Increase By Fixed Percentage option
Modify by Percentage Price = 5
100 + 5% of 100 = 100 + 5 = 105
Thus, Google Shopping Actions Product Price = 105 - Decrease by Fixed Price: If selected, then the Modify by Fix Price field appears.
- Decrease by Fixed Percentage: If selected, then the Modify by Percentage Price field appears.
Enter the numeric value to decrease the price of the Google Shopping Actions product price by the entered value % of Magento 2 store price
- In the Product Chunk Size, set the default size of the product chunk.
- In Sale Price, select Yes if you want to enable the sale price of product.
- In Tax Price Settings, select Yes to enter the Tax percentage.
- Now, click on Google Order Settings. The section is expanded as shown below:

- Click on Global Settings and the section expands as:
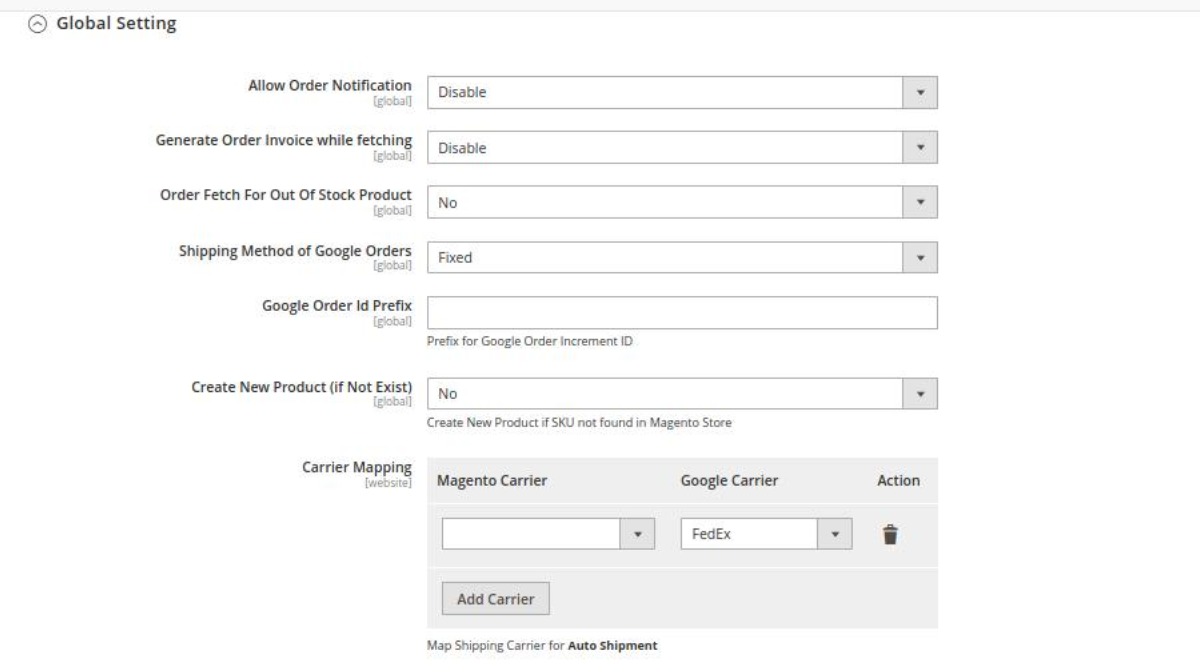
- Under Global Settings, do the following steps:
- In Allow Order Notification, choose either enable or disable.
- In Generate Order Invoice while fetching, select Enable if you want the invoice to be generated for the orders when they are fetched.
- Next is the Order Fetch from Out of Stock, choose yes if you wish to fetch the order even though it’s currently out of stock.
- In the Shipping Method of Google Orders, Users can choose the shipping methods of Google orders from the drop-down menu.
- Add the order prefix of your choice in the Google Order Id Prefix.
- You can Create New Product if SKU is not found in your Magento Store by selecting Yes from the C
- Now in the Carrier Mapping column, you can map the Magento Carrier with the corresponding Google Carrier. You can add a new carrier by clicking on Add Carrier Button Present.
- Now, click on Create Customer Setting, and the section expands as:
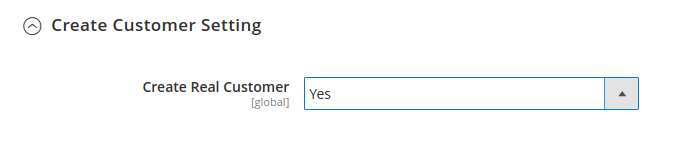
- Under Create Customer Setting, do the following steps:
- Select Guest Checkout if you want the customer to checkout login once as a guest. Select Yes Under Create Real Customer if you want a real customer to be created. But when you select NO the following section expands as:
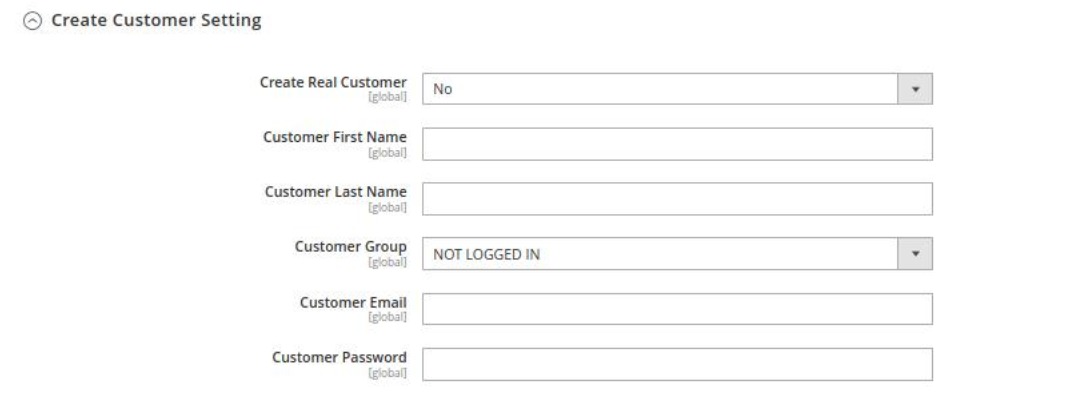
- Enter the Customer First Name in the next row.
- Enter the Customer Last Name in the next row.
- In the Customer Group, select the type of customer from the drop-down menu.
- Customer Email needs to be entered in the next section.
- Enter the Password of your choice.
- Select Guest Checkout if you want the customer to checkout login once as a guest. Select Yes Under Create Real Customer if you want a real customer to be created. But when you select NO the following section expands as:
- Once all the actions have been taken so far, click on the Save Config button on the top right of the page.
- The configuration will be saved.
×


