
Ebay Bulk Scheduler
In the process to integrate the Magento 2 store with Ebay, you have the option to upload products in huge chunks on Ebay from your Magento admin panel. Also, you may schedule the bulk revise to update the product details on Ebay and may also schedule bulk inventory/price sync. You may take all the actions from the Ebay Bulk Scheduler section. For that,
- On you Magento admin panel, click on Ebay Integration on the left navigation bar.
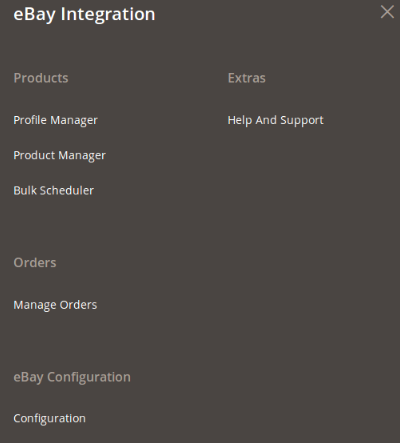
- When the menu appears, click on Bulk Scheduler.
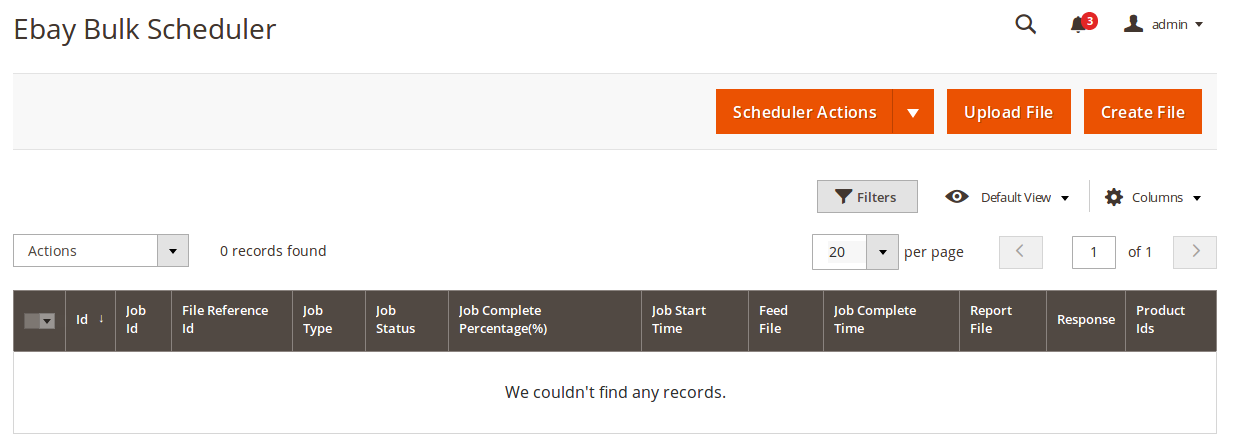
- On clicking it, you will be navigated to the page which appears as:
To schedule bulk upload (to upload products in junk),
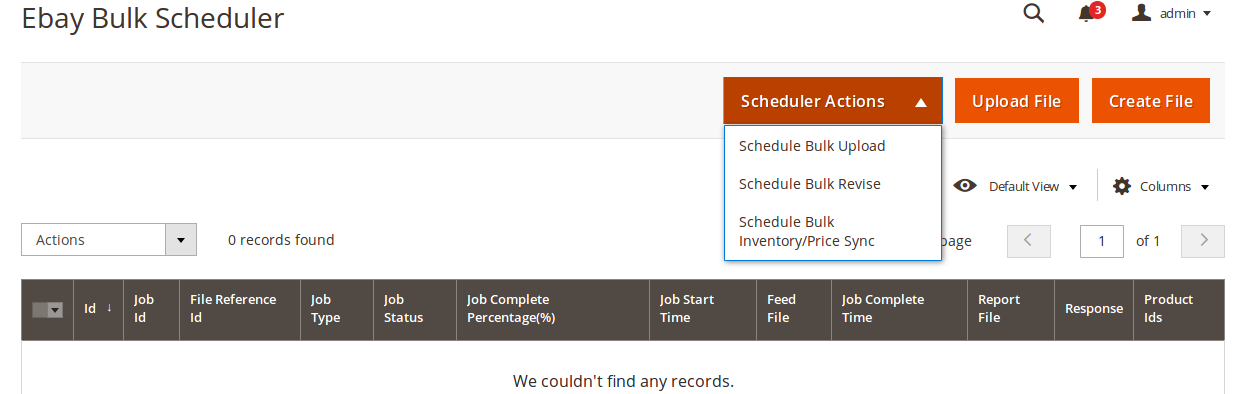
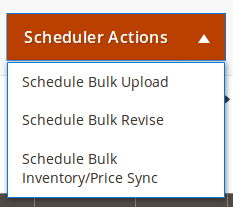
- Click on Scheduler Actions drop down button on the top.
- When the menu appears, click on Schedule Bulk Upload.
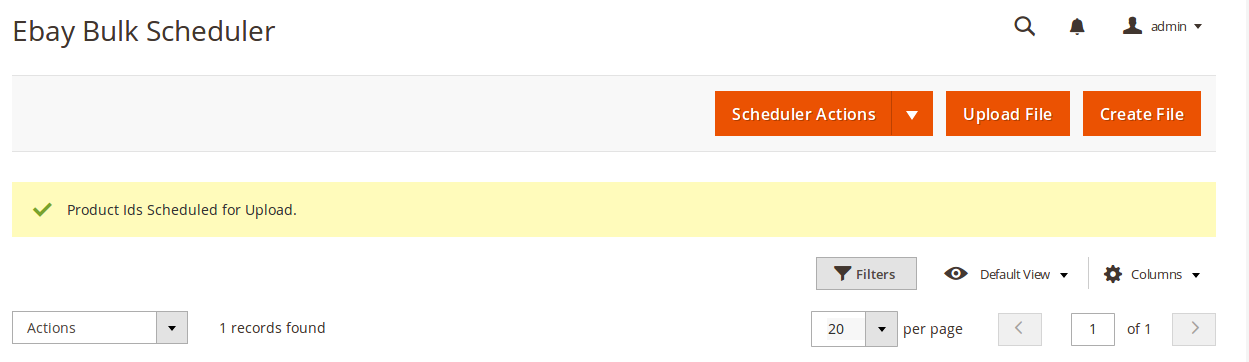
- On clicking Schedule Bulk Upload, you will see a message that appears on top of page confirming the Product Ids scheduling for upload:
- Now click on the Create File button.
- You will be navigated to the page as shown below, on which you will see the status of the product file(s) created for upload.
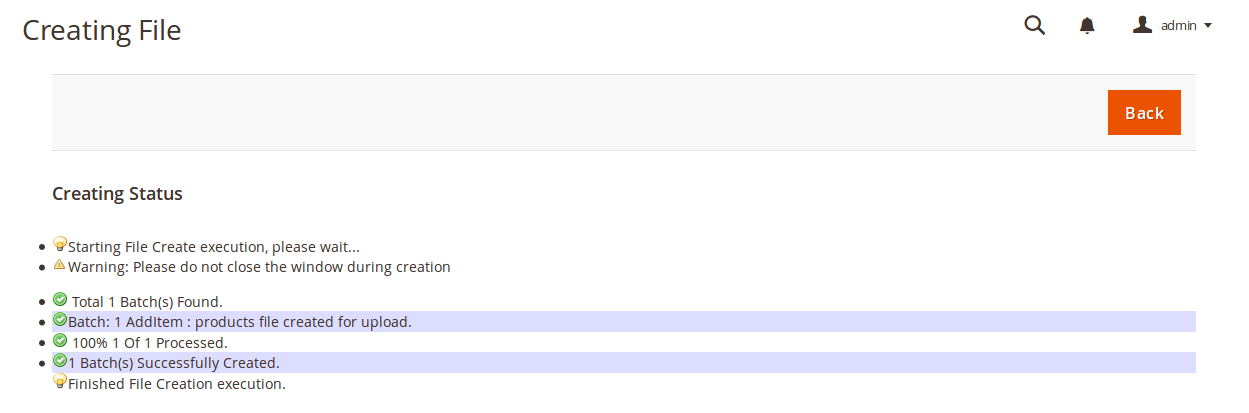
- Once it is done, click on the Back button.
- Now, the files get created and get saved in your system.
- Next, you need to click Upload File, and the job of 5 files(merged together) will be created and the request for the job upload will be sent on eBay.
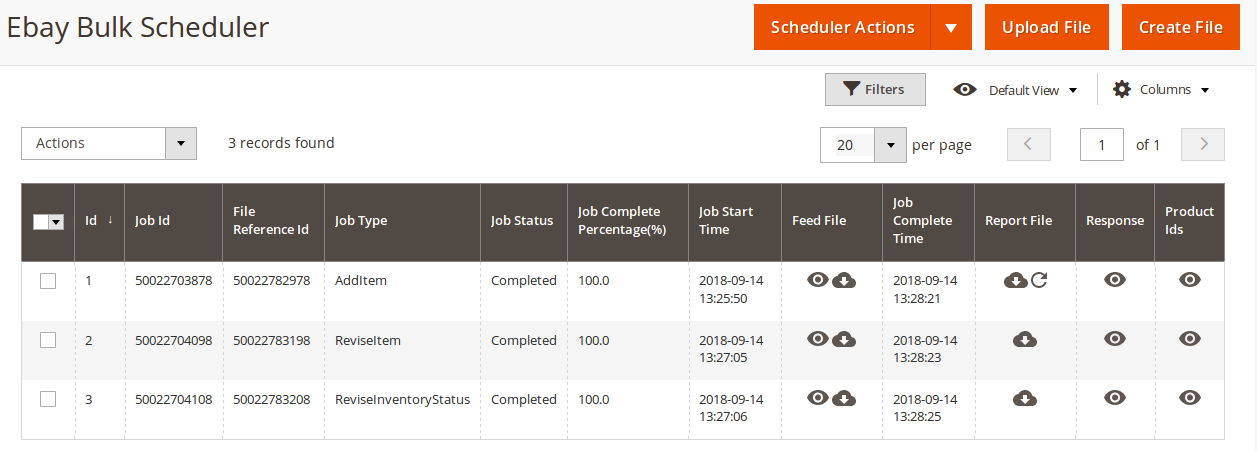
- Now, the job of 5 files will be listed on the same page as shown below.
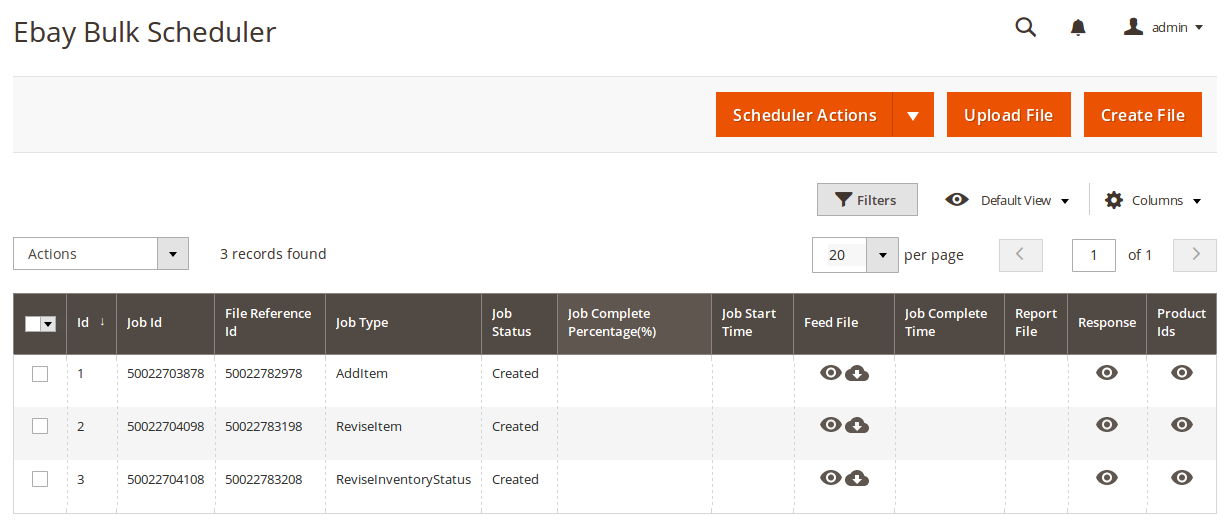
- Now you may see the details of jobs such as Job Id, File Reference Id, Job Type, Job Status, Job Complete Percentage, etc as can be seen in the above image.
To schedule bulk revise,
- Click on Scheduler Actions drop down button on the top.
- When the menu appears, click on Schedule Bulk Revise.
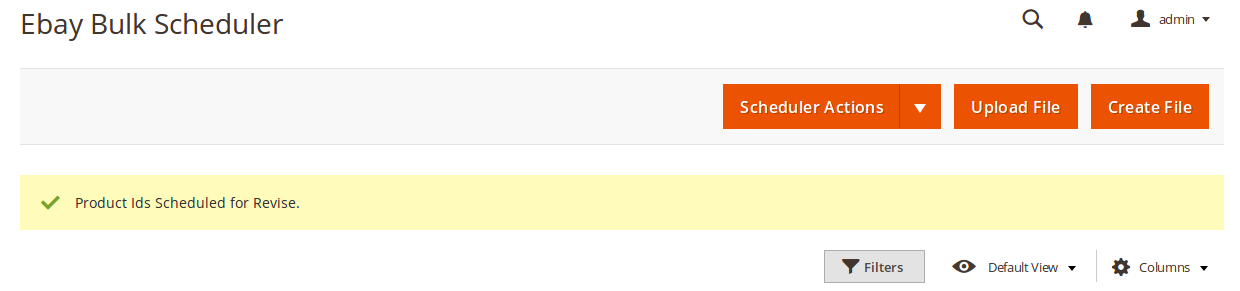
- On clicking Schedule Bulk Revise, you will see a message that appears on top of page confirming the Product Ids scheduling for revision:
- Now click Create File button.
- You will be navigated to the page as shown below, on which you will see the status of the product file(s) created for bulk revision.
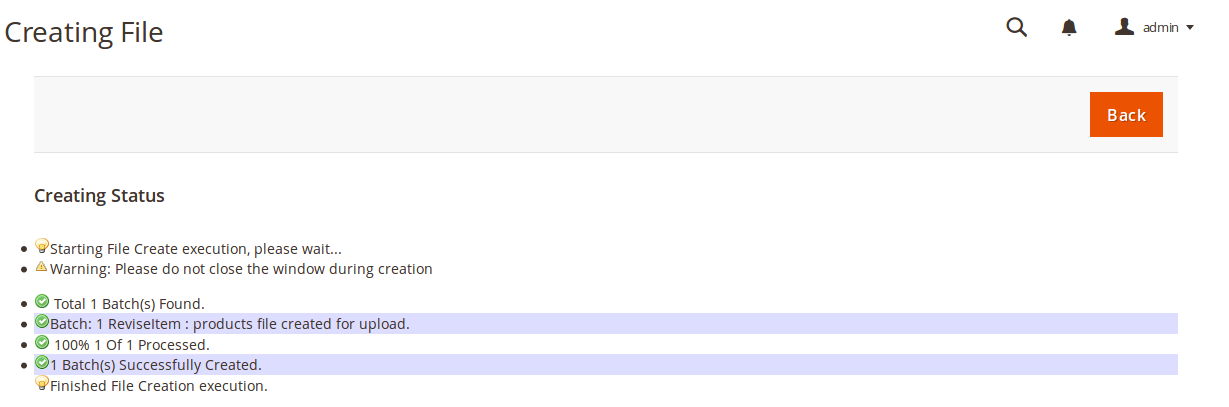
- Once it is done, click on the Back button.
- Now, the files get created and get saved in your system.
- Next, you need to click Upload File, and the job of 5 files(merged together) will be created and the request for the job upload will be sent on Ebay.
- Now, the job of 5 files will be listed on the same page as shown below.
- Click the Upload File button and all the product files with Completed status will be uploaded on Ebay and the bulk revision of products will be done.
To schedule bulk inventory/price sync,
- Click on Scheduler Actions drop down button on the top.
- When the menu appears, click on Schedule Bulk Inventory/Price Sync.
- On clicking Schedule Bulk Inventory/Price Sync, you will see a message that appears on top of page confirming the Product Ids scheduling for Inventory/Price sync:

- Now click Create File button.
- You will be navigated to the page as shown below, on which you will see the status of the product file(s) created for bulk inventory/price sync.
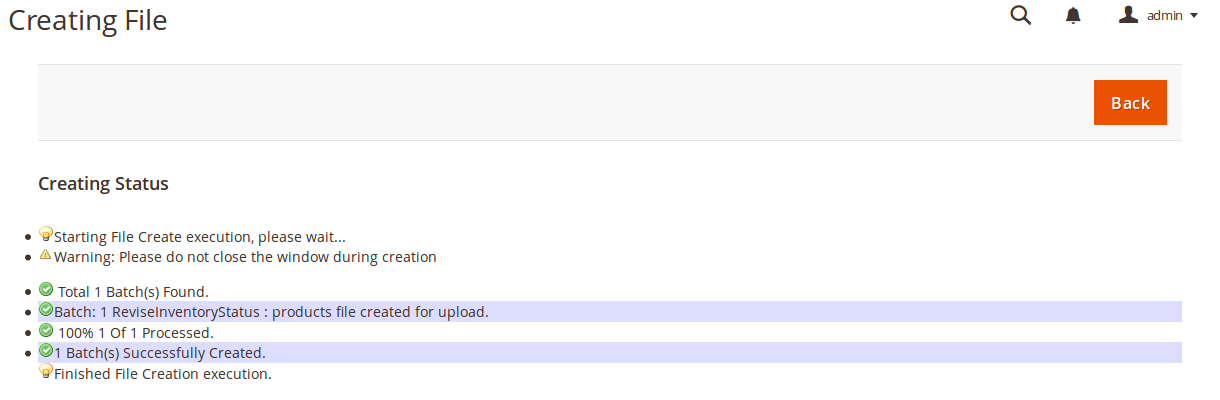
- Once it is done, click on the Back button.
- Now, the files get created and get saved in your system.
- Next, you need to click Upload File, and the job of 5 files(merged together) will be created and the request for the job upload will be sent on Ebay.
- Now, the job of 5 files will be listed on the same page as shown below.
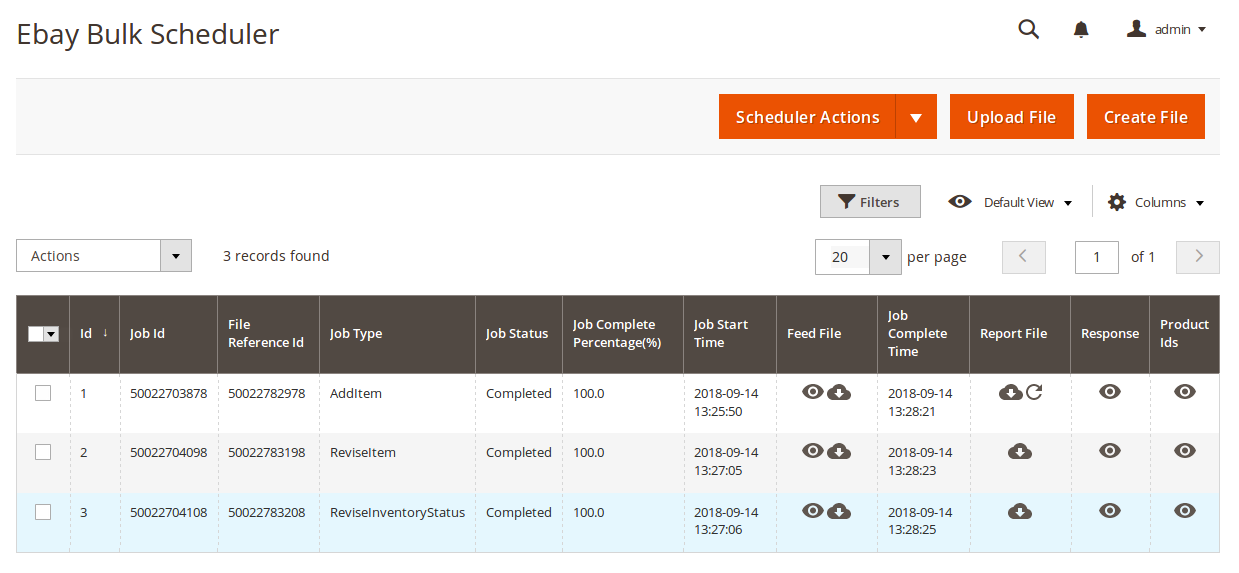
- Click the Upload File button and all the product jobs with Completed status will be uploaded on Ebay and the bulk inventory/price sync will be done.
To start the job (to start the process of sending product feeds),
- Select the jobs that you want to start. Starting it will begin the product creation on Ebay.
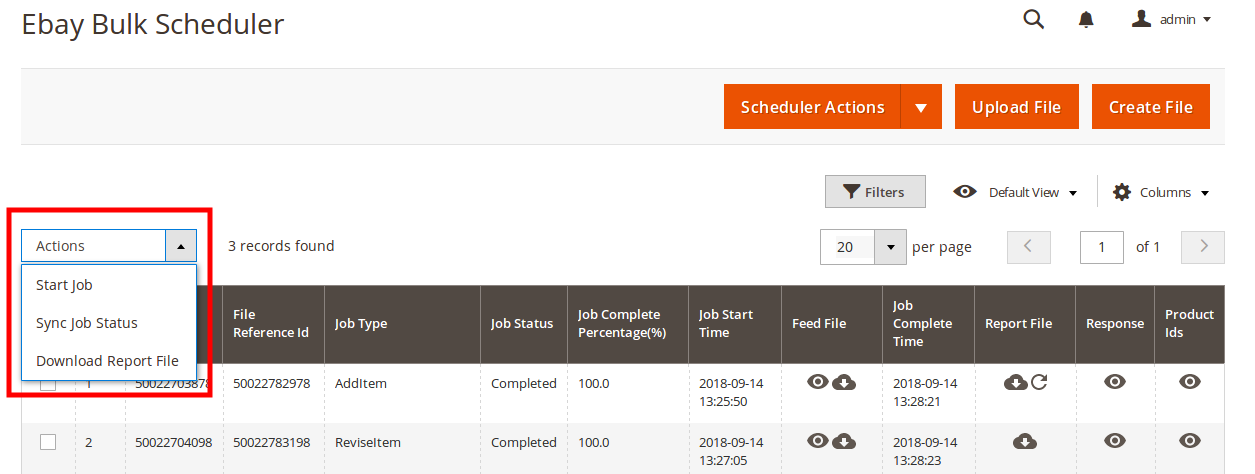
- Click drop-down from the Actions field.
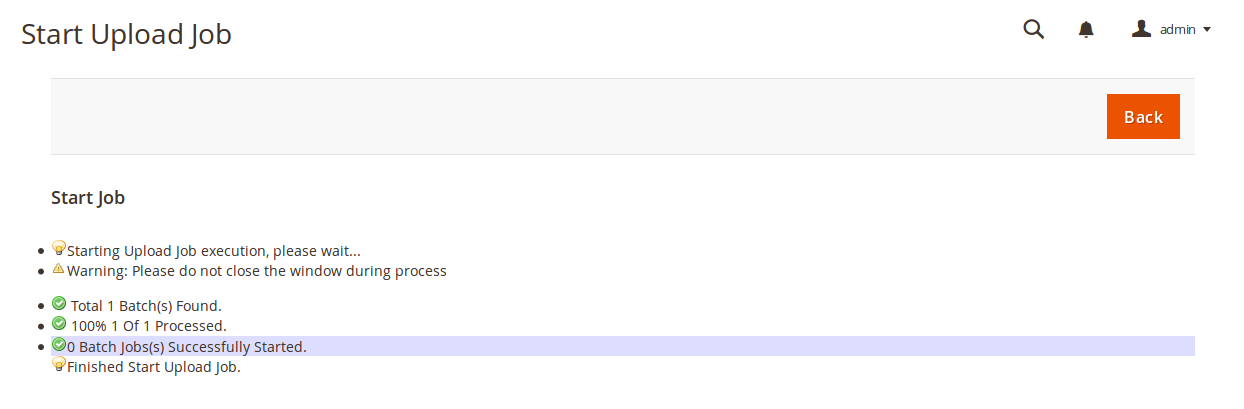
- When the drop-down menu appears as shown below, click on Start Job.
- You will be navigated to a page on which the status message appears.
To Sync Job Status,
- Select the jobs for which you want to sync the status.
- Click drop-down from the Actions field.
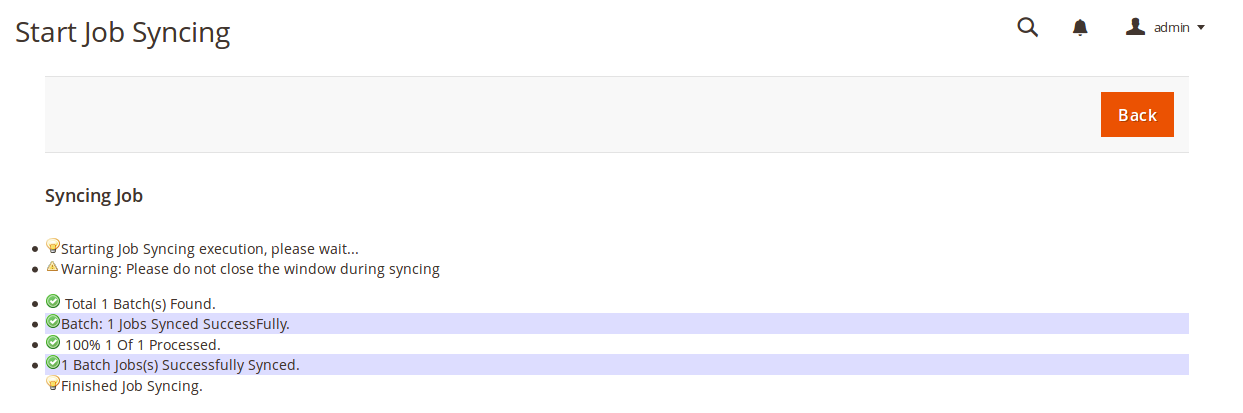
- When the drop-down menu appears as shown below, click on Sync Job Status.
- You will be navigated to a page on which the status message appears.
To Download Report File,
- Select the jobs for which you want to download the report file.
- Click drop-down from the Actions field.
- When the drop-down menu appears as shown below, click on Download Report File.
- You will be navigated to a page on which the status message appears.
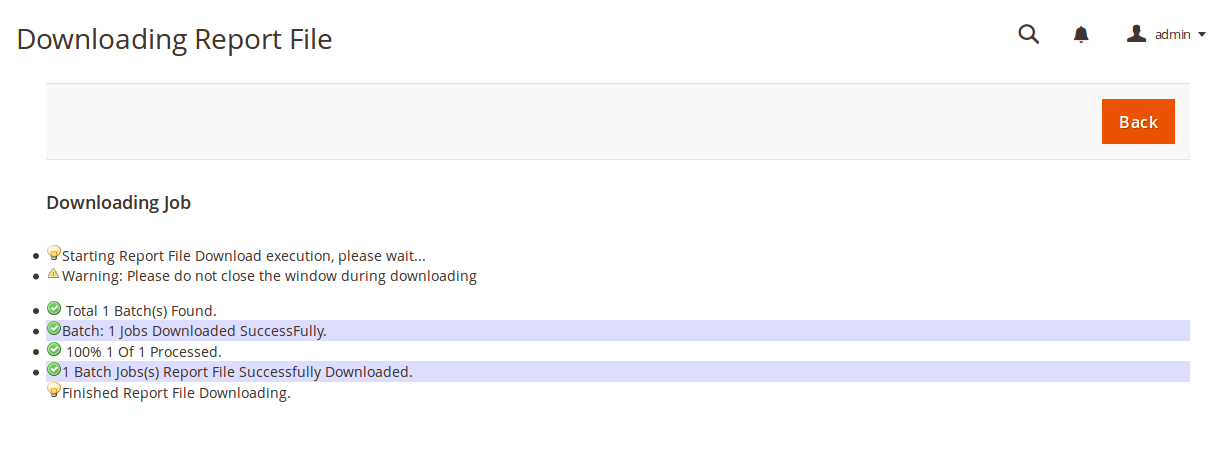
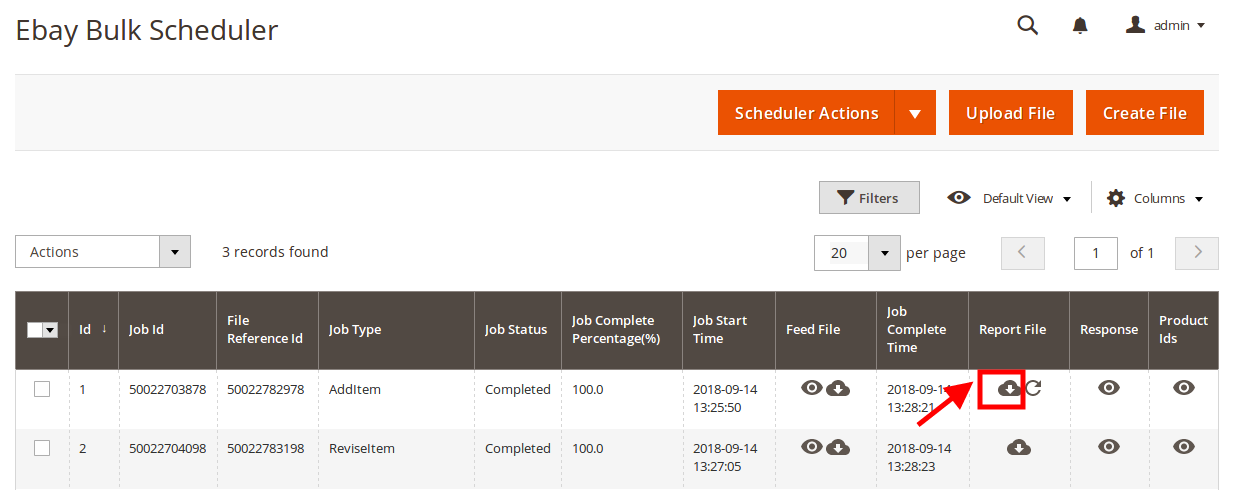
- Now you may see the download file button adjacent to the job for which you had applied to download the report file.
- You may download the report file.
Processing of downloaded file
While uploading the jobs on Ebay, there is a status of the job that can be seen in the downloaded file. Similarly, there might be an error too. For both status or error to be reflected or seen on your Magento, you need to process the file. For that,
- Click on the download file sign that you can see adjacent to the product for which you want to download the file, under Report File.
- Now click on the process button under the Report File section.
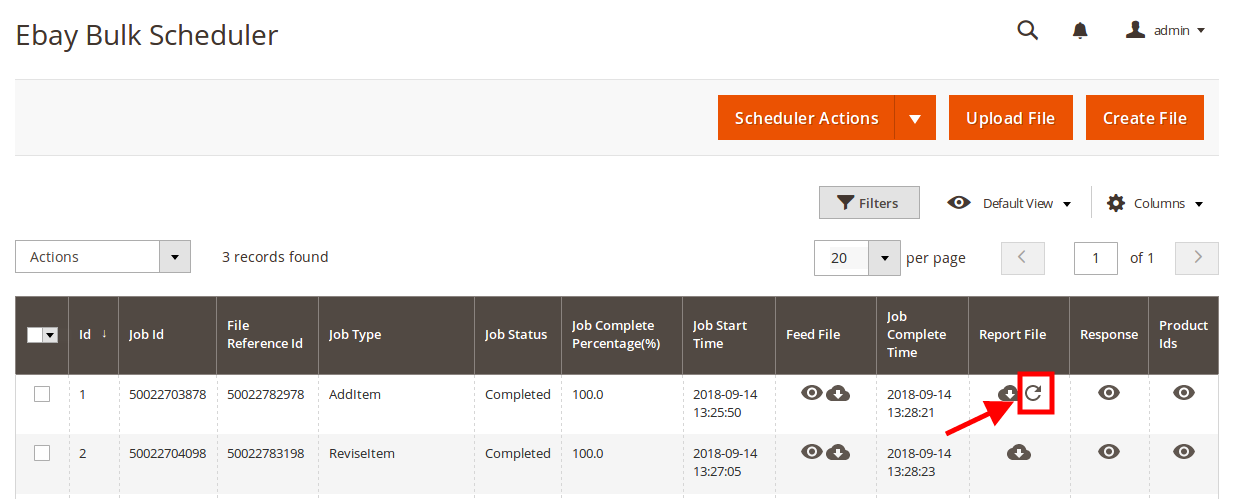
- The processing will be done and you will be able to see the status or error for the product jobs on the Manage Product page.


Leave a Reply
You must be logged in to post a comment.