Content Management
In this section of the guide, you will learn how to create and manage content blocks. A block is a modular unit of content that can be positioned almost anywhere on the page. Content blocks are sometimes referred to as static blocks or CMS blocks. They can be used to display fixed information such as text, images, and embedded video, as well as dynamic information, originates in a database or other source.
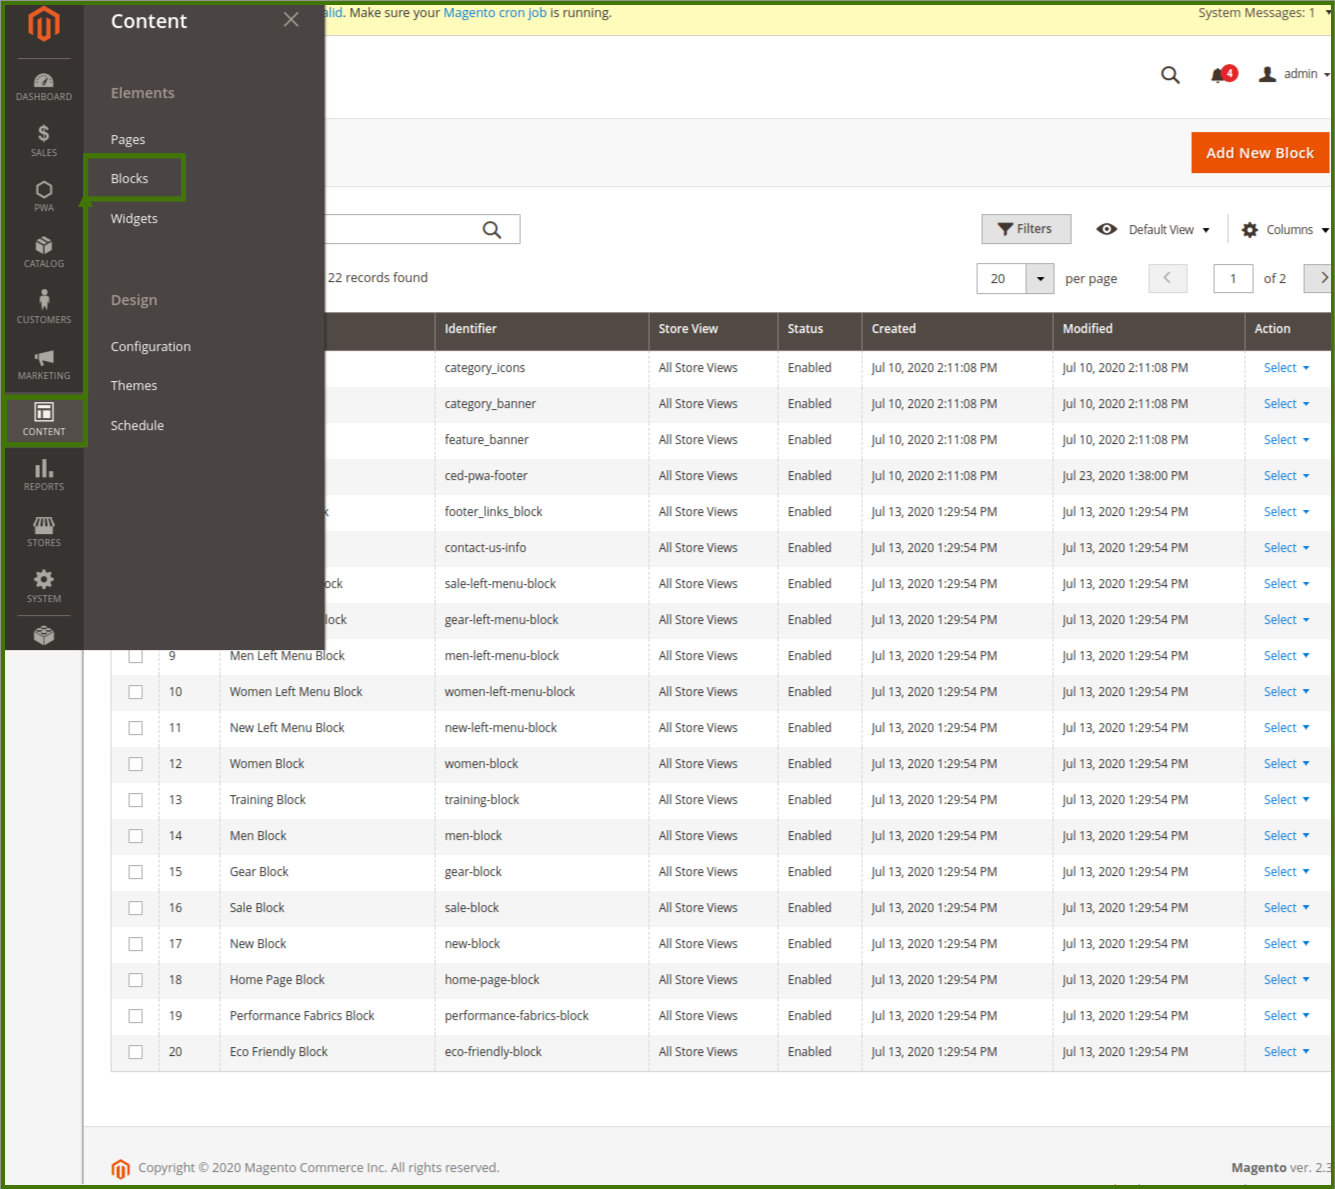
LOGIN TO ADMIN PANEL->GOTO->CONTENT->SELECT BLOCKS.
A new window will open up related to blocks, where admin can see the previously created blocks, admin can edit, delete old blocks and add new blocks as well,
Refer to below images:
Select a block, click on the option select a new window will open up, edit and delete. select an option edit, click on it a new window related to block will open up.
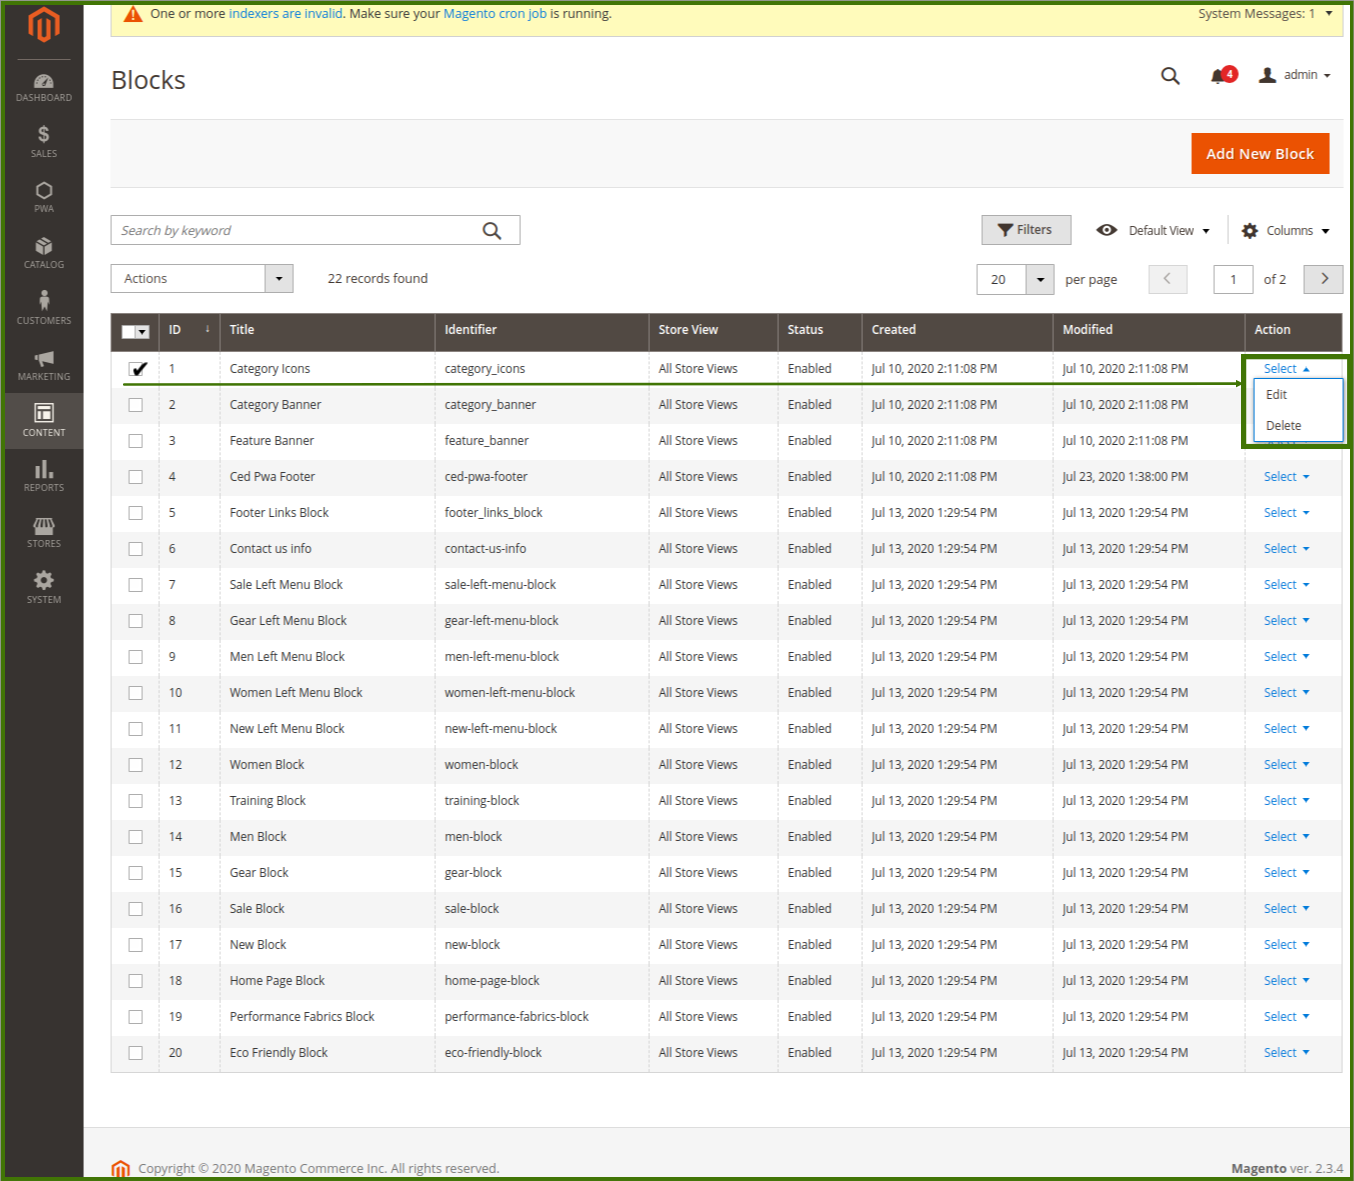
Edit/Delete A Block: For Editing Or deleting a block select the option available left corner, a new window will open up showing the selected block name on upper right side and details of the block in the middle of the page, And update the details after that click on the save button on the upper left corner of the window.
Refer below image for more clarity:
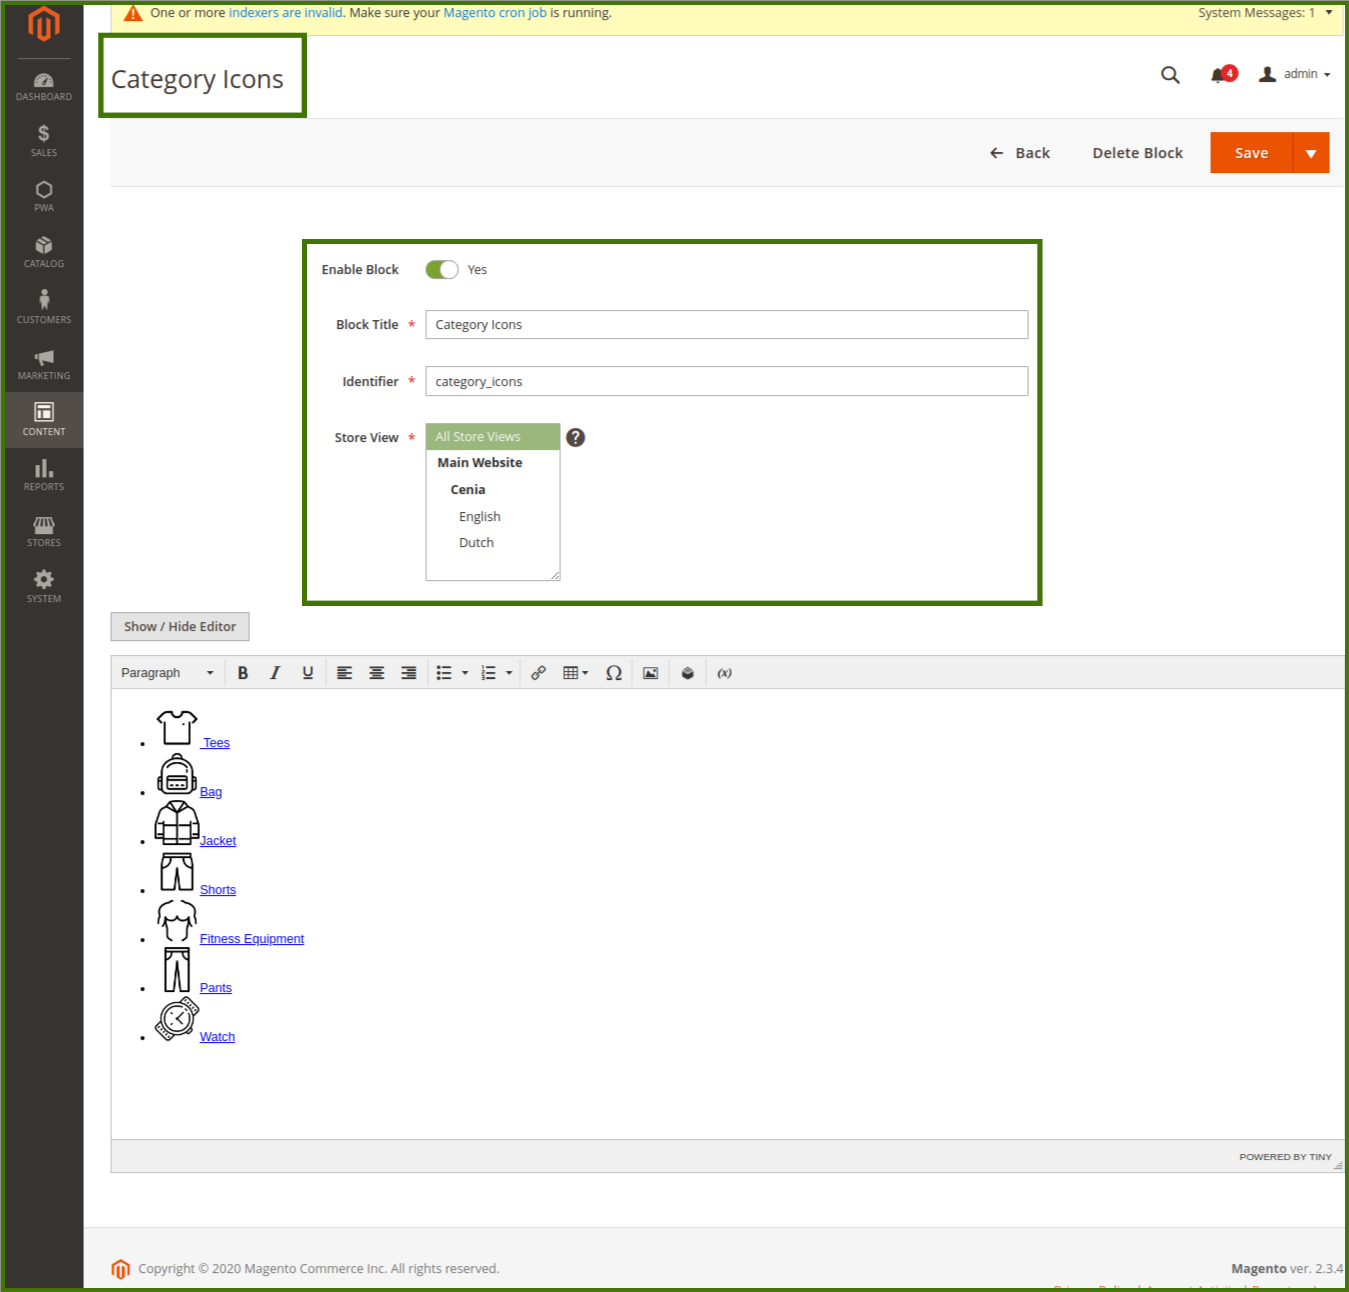
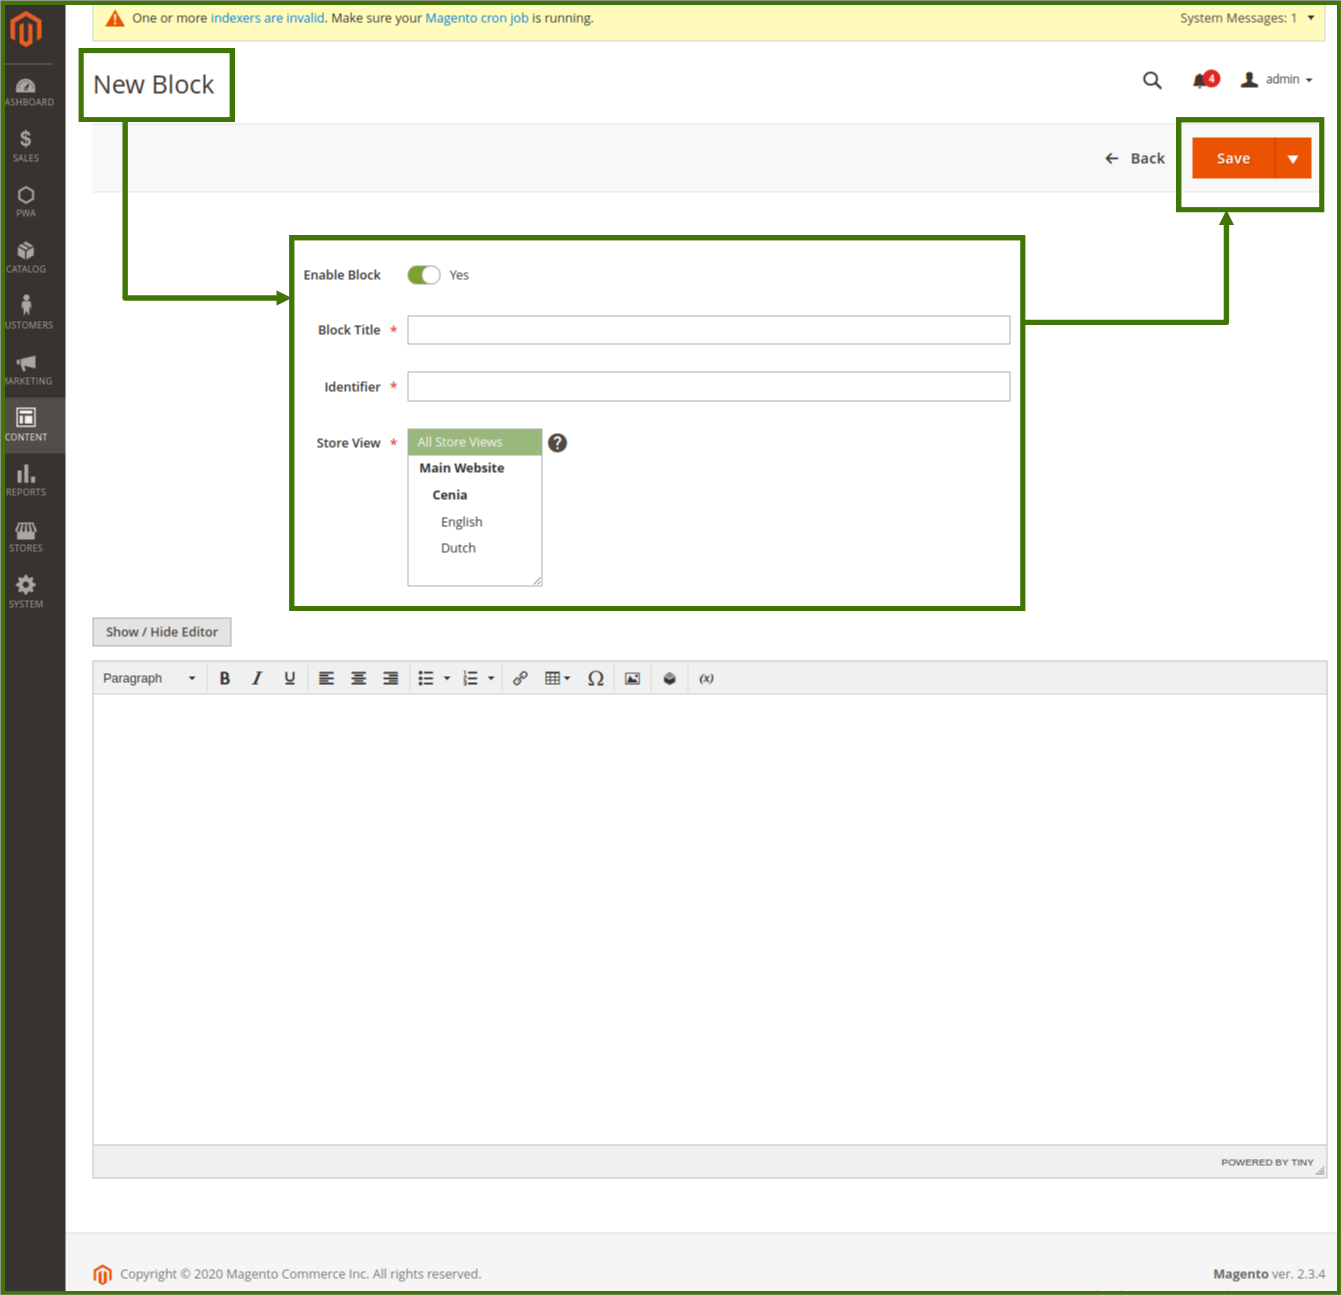
Enable Block: Enable it to Yes, so that particular block will appear on the frontend.
Block Title: The title of the blocks running on website, e.g category icon, category banner.
Identifier: It is the name by which a block can be identified in the database, it should be the same or different depending upon admin.
Store View: This option helps admin to show the block either on the main website, cenia, or all other places on the website.
Show/ Hide editor: Admin can enter text, the image associated, any kind of graphics, to show on a particular block category.
after all these admins need to save it, to see the changes on the frontend, refer below images;
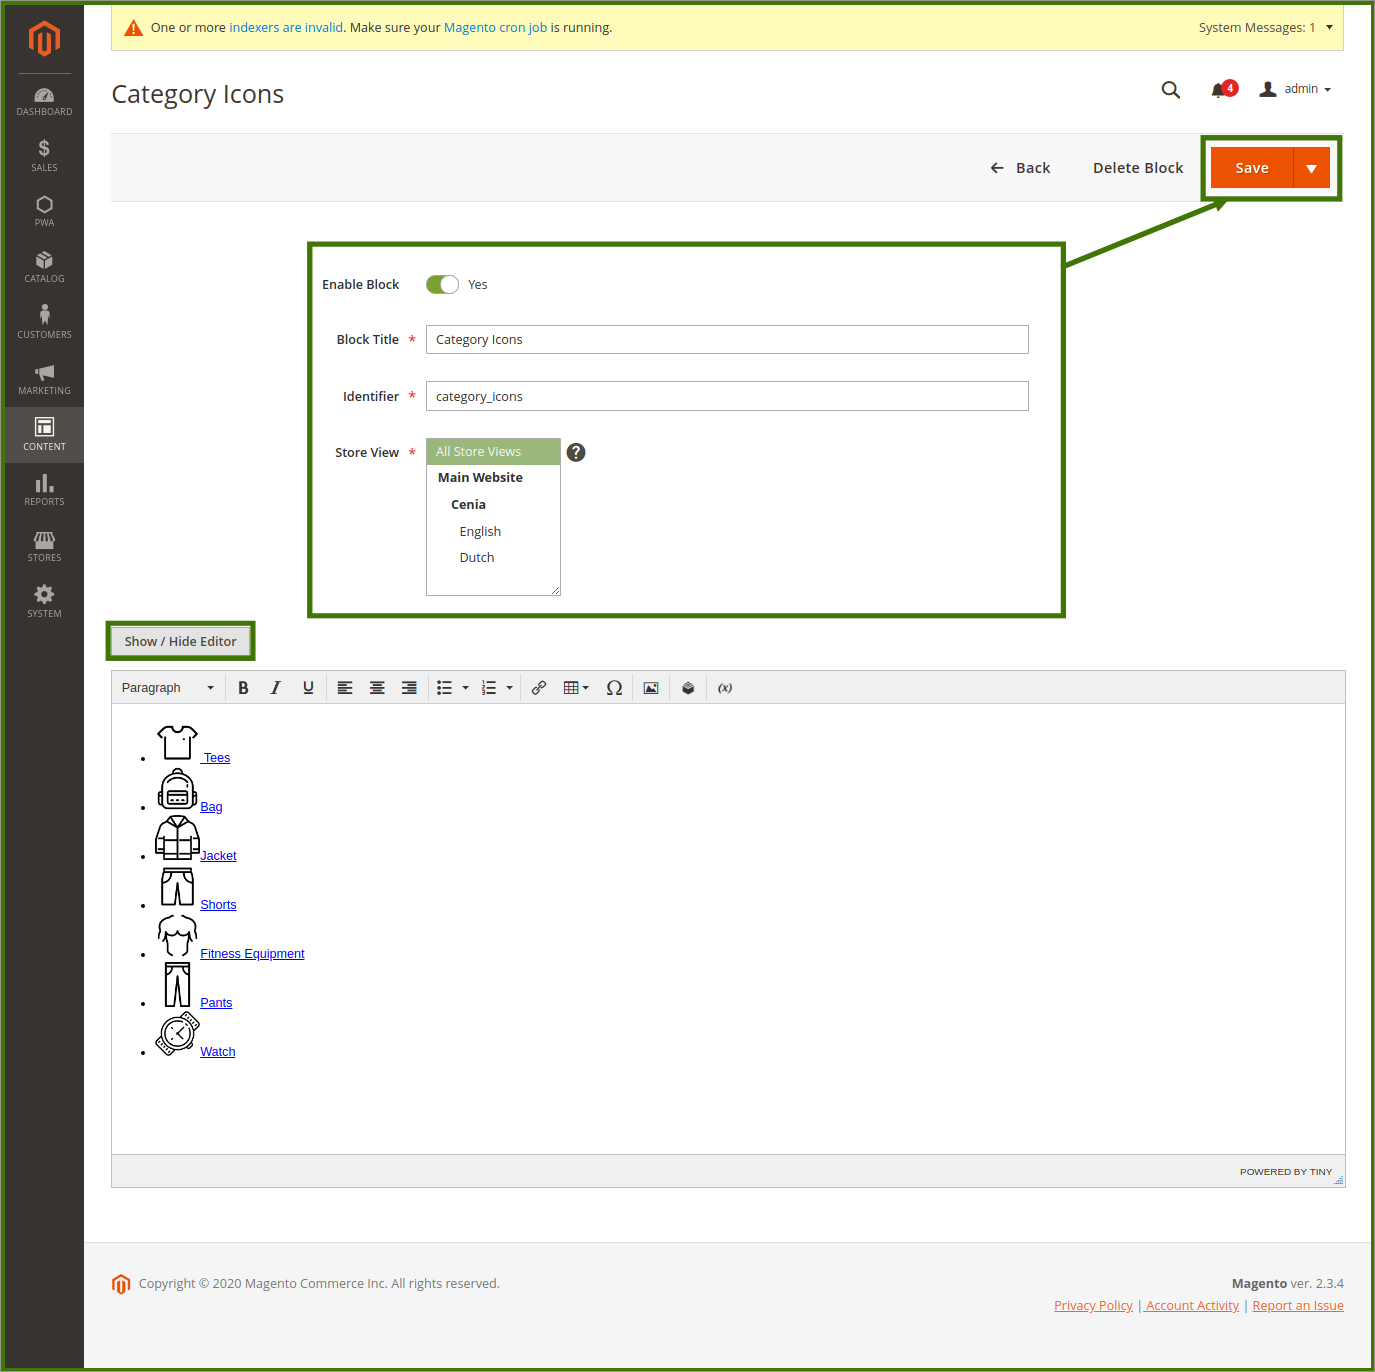
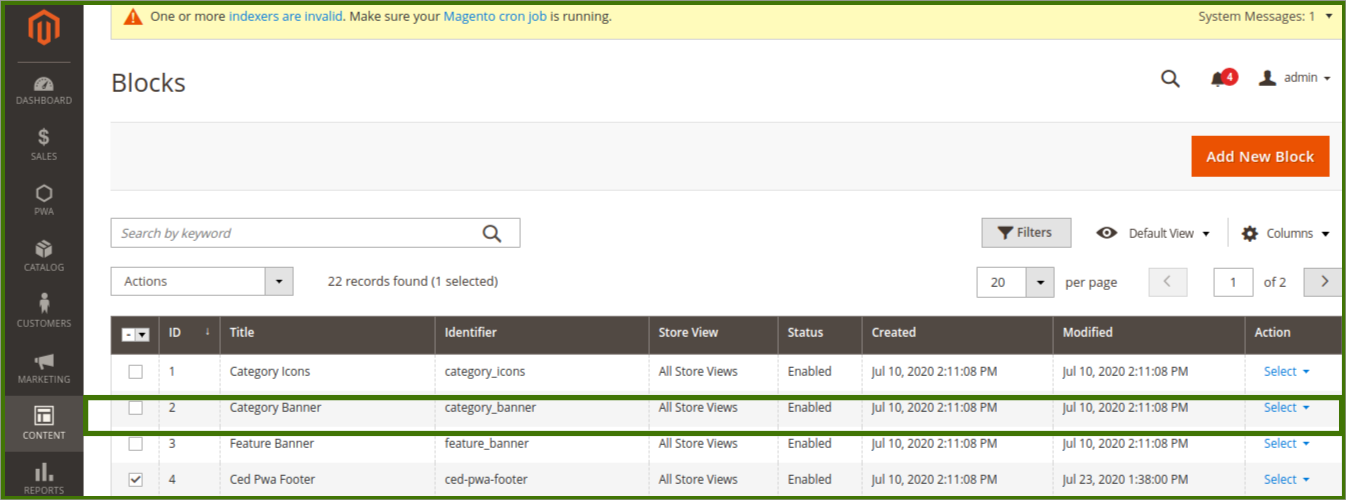
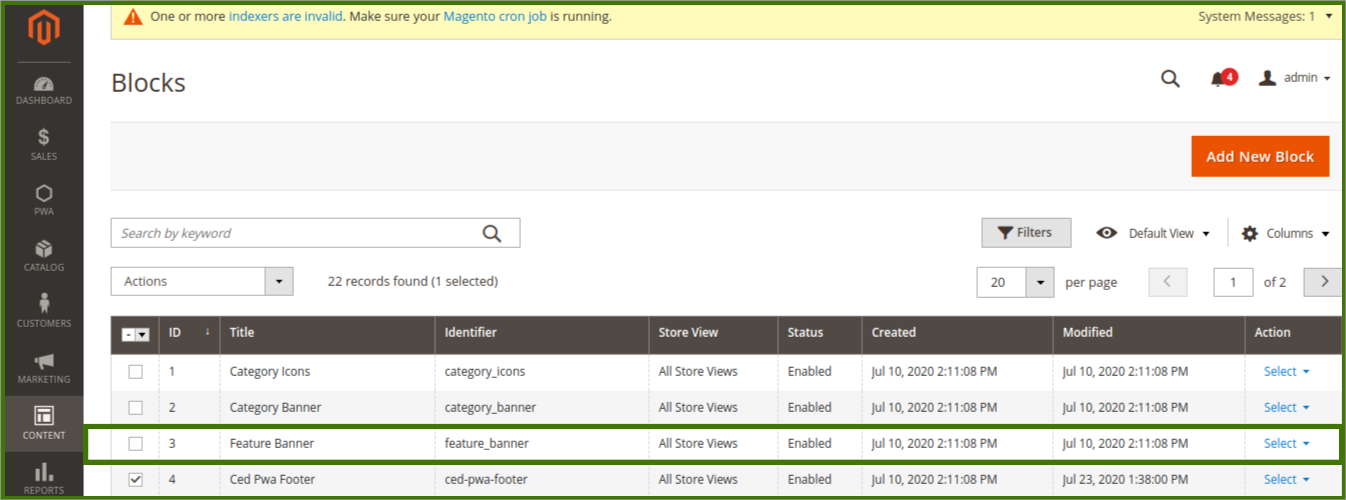
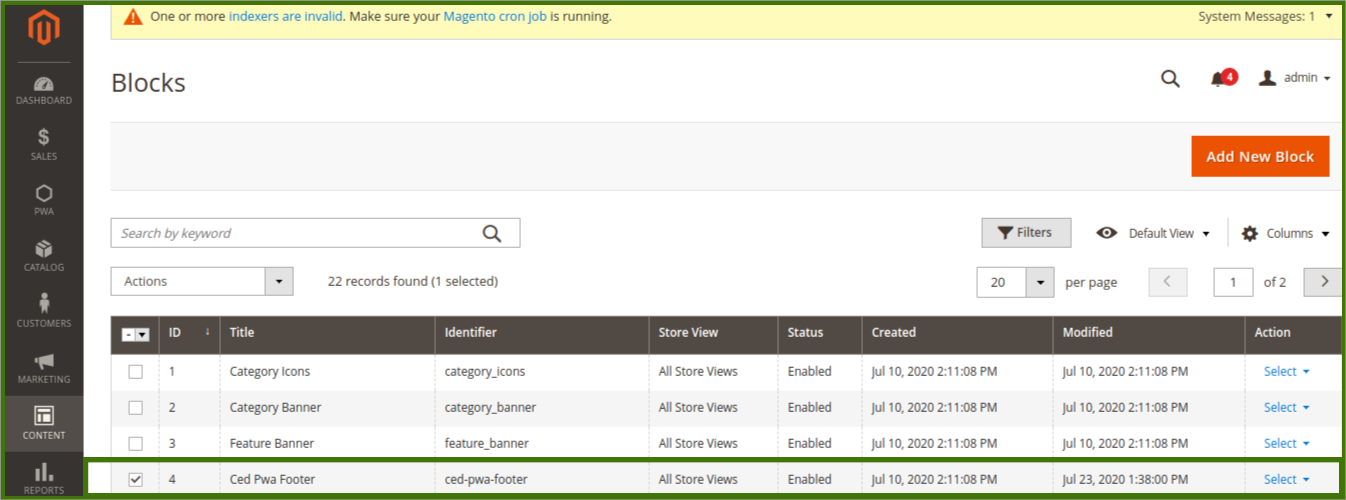
Similarly for other block likes Category banner, Feature Banner, Ced Pwa footer admin can perform the same task and update it, refer below images for example.
Add New Block:
LOGIN TO ADMIN PANEL->SELECT CONTENT->SELECT BLOCK->ADD NEW->CLICK ON ADD NEW BLOCK.
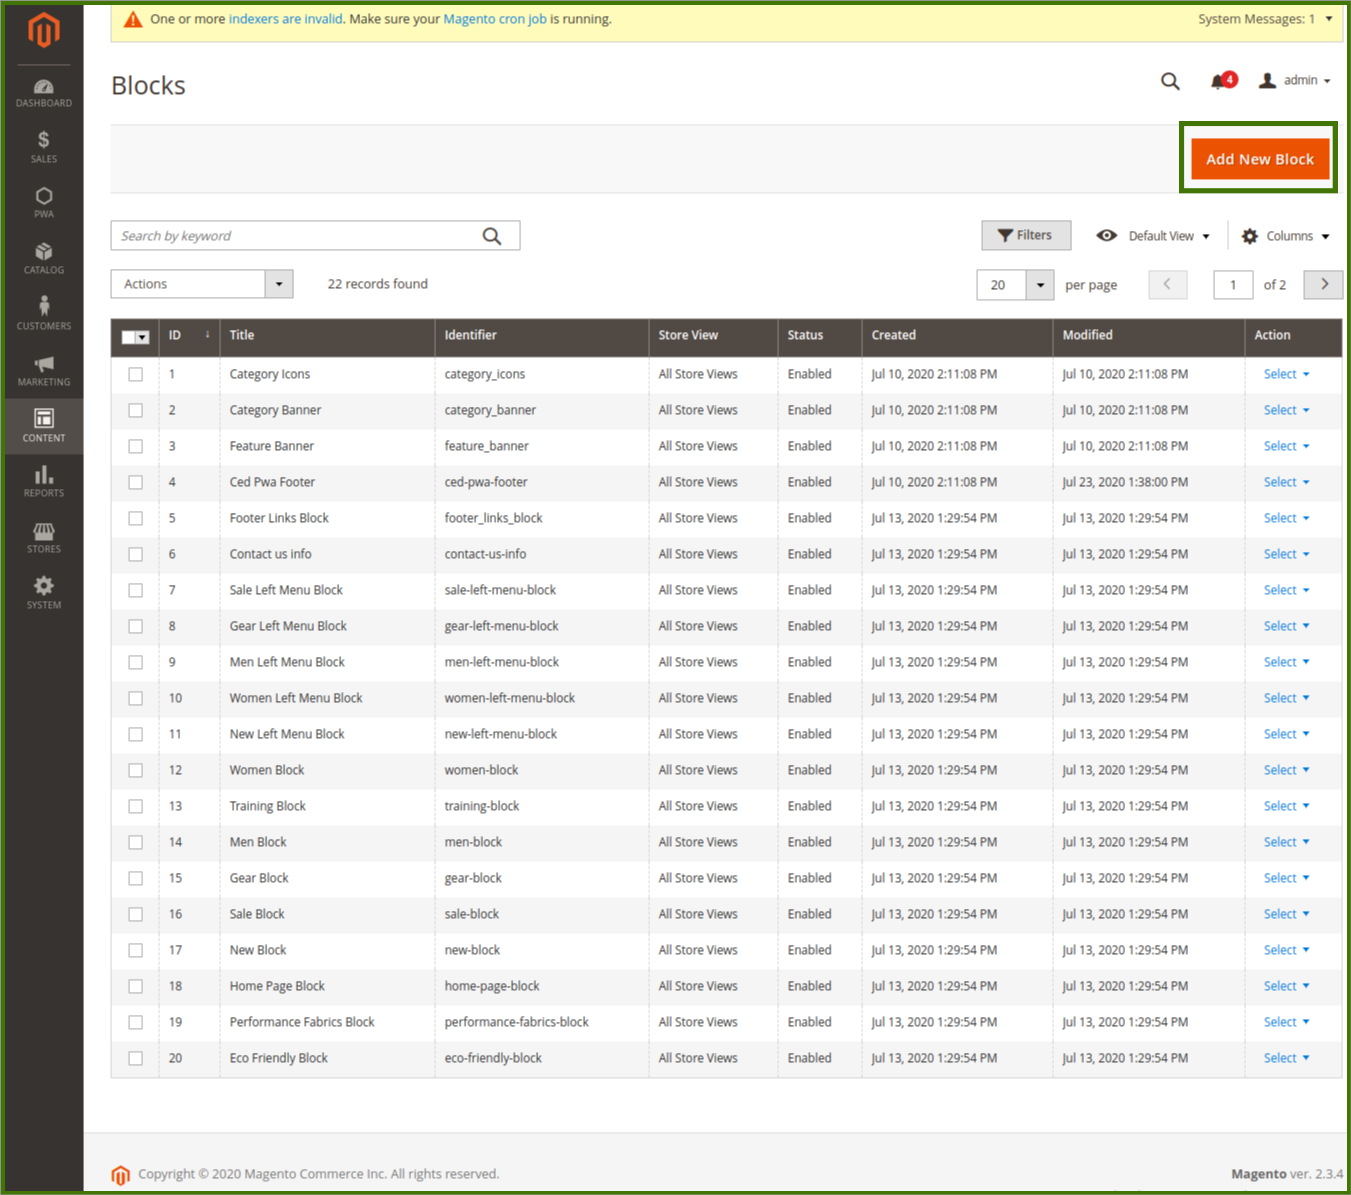
A new window will open again and fill all the details as done above and click on the Save button to see the effect.
*Bold Green lines are showing the different blocks on the frontend side.
Frontend View: