
Cdon Configuration
Once the extension is successfully installed in the Magento 2 store, the CDON INTEGRATION menu appears on the left navigation bar of the Magento 2 Admin panel. The merchant has to first create a seller account in the Cdon seller panel. Once the seller account is created and is approved by Cdon, then the Magento 2 store owners can use the Cdon API credentials provided by Cdon while setting up the Cdon Configuration settings in the Magento 2 Admin panel.
To set up the configuration settings in the Magento 2 Admin panel
- Go to the Magento 2 Admin panel.
- On the left navigation bar, click the CDON INTEGRATION menu.
The menu appears as shown in the following figure:
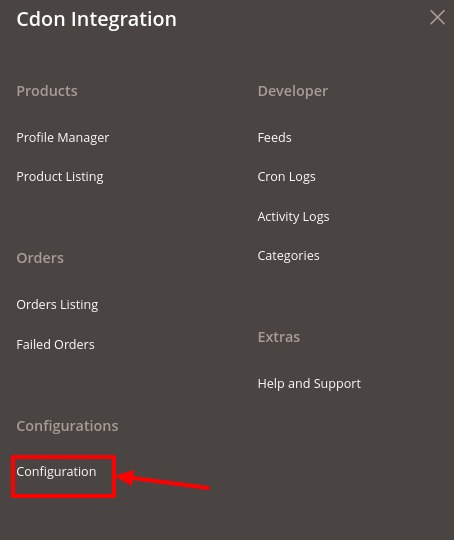
- Click Configuration.
The Cdon Configuration page appears as shown in the following figure:
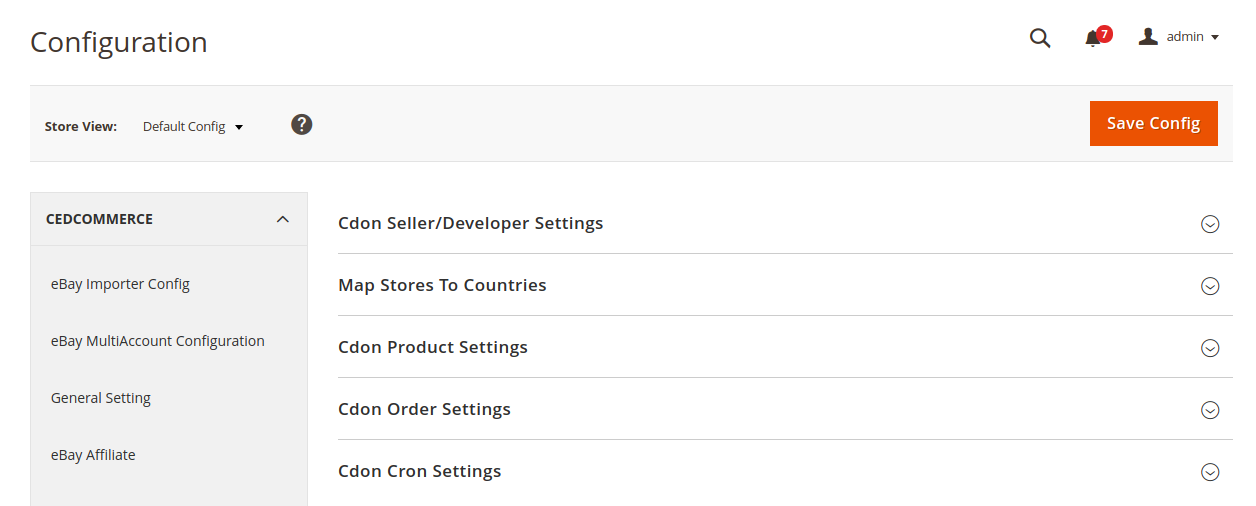
- In the right panel, click the Cdon Seller/Developer Settings tab.
The Cdon Seller/Developer Settings tab is expanded and the relevant fields appear as shown in the following figure: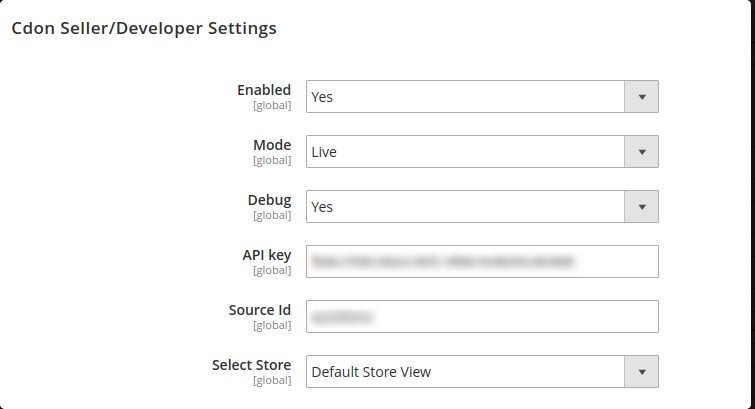
- Under CDon Seller/Developer Settings, do the following steps:
- In the Enabled list, select the Yes option.
- In the Mode section select Live.
- Enter your API Key, Source Id & Store
- Click the Save Config button to save the entered values.
- Scroll down to Map Stores To Countries.The following list will open:
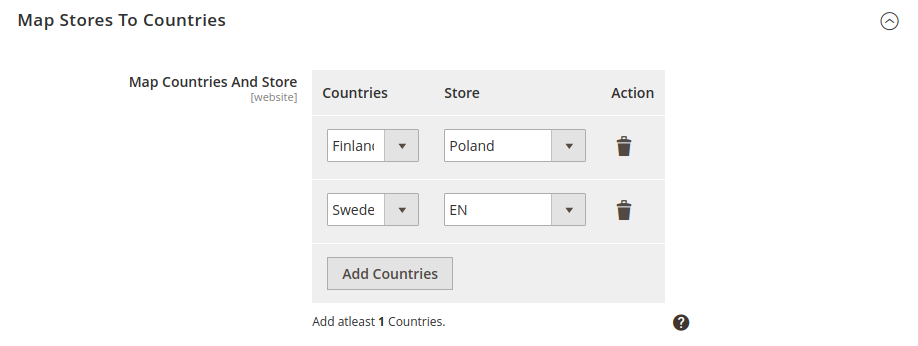 Select the country in which you need to sell via your Magento store.
Note: Its mandatory to select at least one country. - Scroll down to the Cdon Product Settings tab, and then click the tab.
The Cdon Product Settings tab is expanded and the expanded section appears as shown in the following figure:
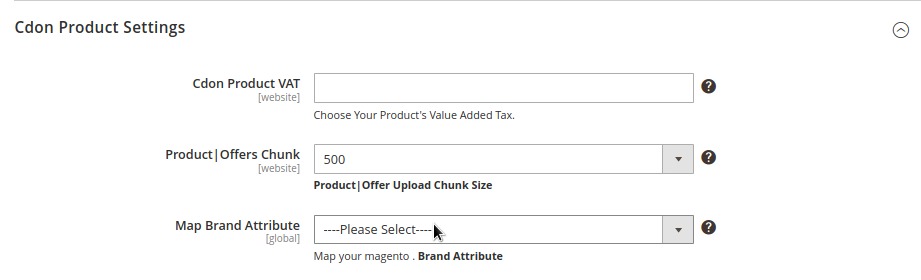
Under Cdon Product Settings, do the following steps: - In Cdon Product VAT, enter the VAT for the products.
- In Product| Offers Chunk, enter the chunk size for products ad offers upload.
- In Map Brand Attribute, map the Magento products with brand attributes.
- Scroll down to the Cdon Order Settings tab, and then click the tab.
The tab is expanded and the section appears as shown in the following figure:
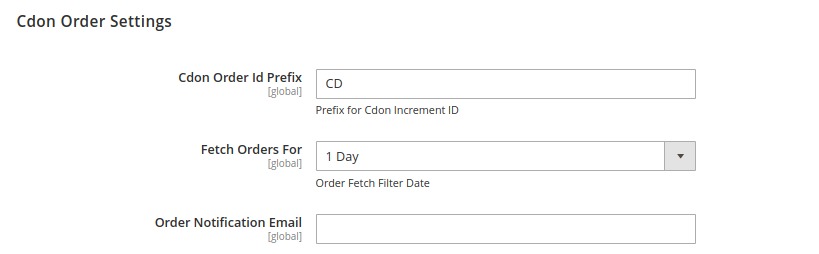
- Under Cdon Order Settings, do the following steps:
- In the Cdon Order Id Prefix box, enter the required order Id prefix.
- In Fetch Orders For select the days for which you want to fetch the order.
- In the Order Notification Email box, enter the required email Id.
- Click the Save Config button to save the entered values.
- Scroll down to the Cdon Cron Settings tab, and then click the tab. The tab is expanded and the section appears as shown in the following figure:
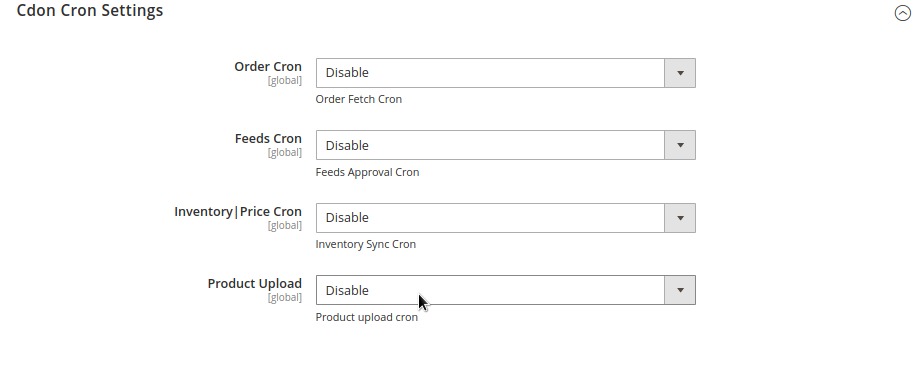
- Under Cdon Cron Settings, do the following steps:
- In the Order Cron list, select the Enable option to enable the fetch order cron.
- In the Feeds Cron list, select Enable option to enable the feeds approval through cron
- In the Inventory |Price Cron list, select the Enable option to enable the Inventory & Price Sync corn.
- In Product Upload, select Enable if you want to upload products through cron.
Click the Save Config button to save the entered values.
The configuration settings are saved and a success message appears on the page.
×


