
Configuration Settings
To configure this extension,
- Go to the Magento Admin Panel.
- On the left navigation bar, click the Better That Integration menu.
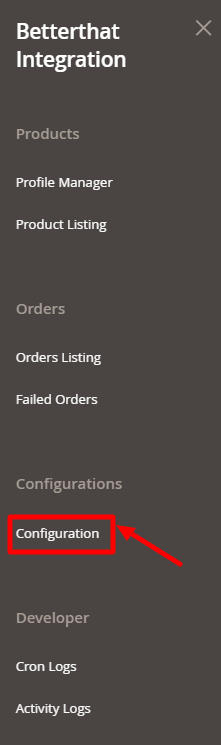
- Click on Configuration.
The Configuration page appears as shown below:
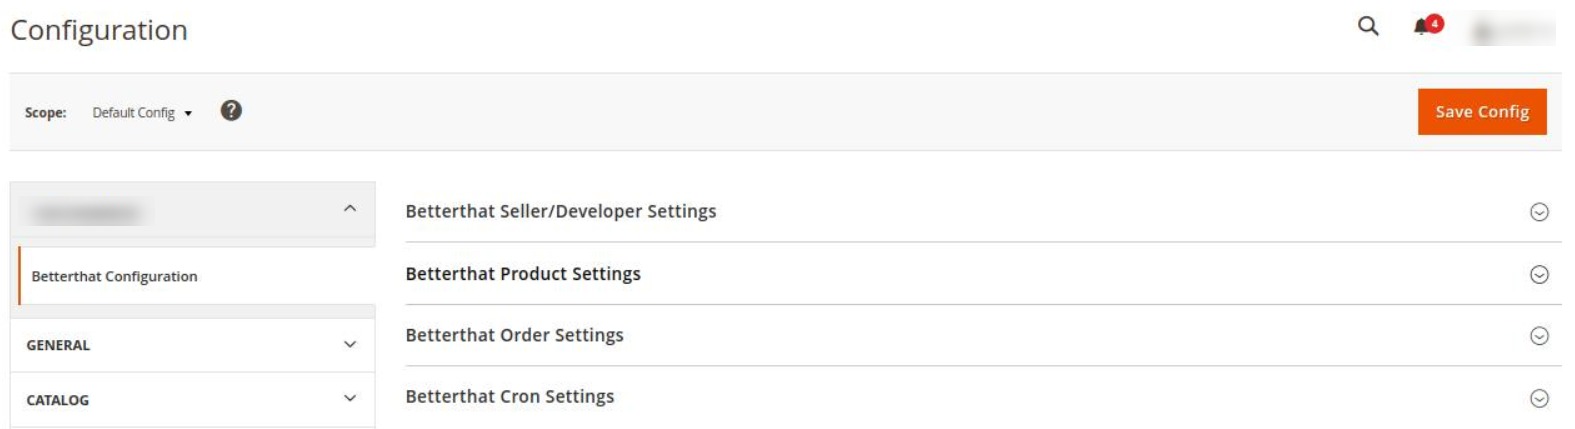
- In the right navigation panel, click on Betterthat Seller/ Developer Settings.
- In the Betterthat Seller/ Developer Settings do the following steps:
- In the Enabled list, select the Yes option to configure the extension settings.
- For generating the keys you need to pass the Webhook URL to the Better That team in the below format:
{domain}/pub/rest/all/V1/betterthat/orderimport
Example: If you have the domain name test.com, the webhook URL will be https://test.com/pub/rest/all/V1/betterthat/orderimport
Note: Better That will provide you with keys to connect your store. Please see your welcome email or contact your representative to receive these. - Once you receive all the keys, you can enter them in the Configuration settings in the respective fields.
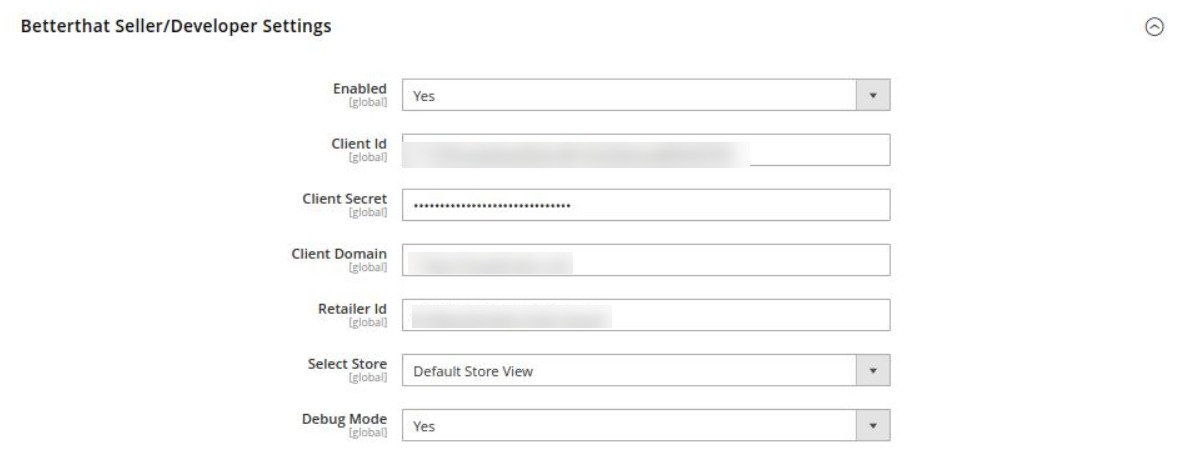
- In the Select Store list, select the store view from the drop down list that you want for your store.
- In Debug Mode, select Yes if you want the logs to be created. This setting is for the developers.
- Scroll down and click on Betterthat Product Settings, the section expands as shown below:

- Under Betterthat Product Settings do the following steps:
- Click the Betterthat Price Settings tab.
- The Betterthat Price Settings tab is expanded and the section appears as shown in the following figure:

- In the Product Price list, select one of the following options:
- Increase by Fixed Price: If selected, then the Modify by Fix Price field appears.
- Increase by Fixed Percentage: If selected, then the Modify by Percentage Price field appears.
Enter the numeric value to increase the price of the Betterthat, product price by the entered value % of Magento 2 price.
For Example,
Magento 2 price + 5% of Magento 2 price.
Magento 2 Price = 100
Select Increase By Fixed Percentage option
Modify by Percentage Price = 5
100 + 5% of 100 = 100 + 5 = 105
Thus, Betterthat Product Price = 105 - Decrease by Fixed Price: If selected, then the Modify by Fix Price field appears.
- Decrease by Fixed Percentage: If selected, then the Modify by Percentage Price field appears.
Enter the numeric value to decrease the price of the Betterthat product price by the entered value % of Magento 2 price
For Example,
Magento 2 price – 5% of Magento 2 price.
Magento 2 Price = 100
Select Decrease By Fixed Percentage option
Modify by Fix Price = 5
100 – 5% of 100 = 100 – 5 = 95
Thus, Betterthat Product Price = 95
- The Betterthat Price Settings tab is expanded and the section appears as shown in the following figure:
- Click the Betterthat Inventory Settings tab.
The Betterthat Inventory Settings tab is expanded and the section appears as shown in the following figure:
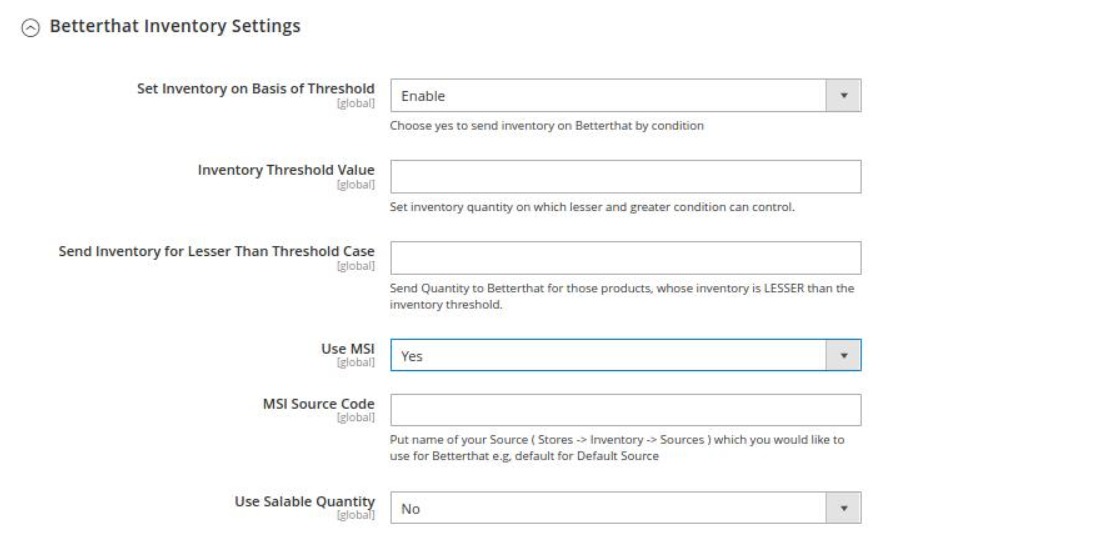
- Under the Betterthat Inventory Settings tab, do the following steps:
- In the Set Inventory on Basis of Threshold list, select the Enable option if required to set the inventory based on a threshold.
Note: Only when the admin selects Enable, the other fields appear. Threshold Inventory is the minimum count of an item that the store owner wants to keep in stock. - In the Inventory Threshold Value box, enter the required threshold value that you want to set for the inventory.
- In the Send Inventory for Lesser Than Threshold Case box, enter the required value for the threshold when the inventory will be sent.
- In Use MSI, if you select No then the actual Magento product quantity will be used. But if you select Yes then MSI quantity will be used.
- In MSI Source Code, enter that source code for the particular inventory whose code is required for Betterthat listings.(Path: Stores -> Inventory -> Sources)
- In Salable Quantity, if select No then product actual source quantity will go for the Betterthat listings, and if you select Yes then under MSI Stock Name, put the stock name that you want to use for the Betterthat listing.(Path: Stores -> Inventory -> Stocks)
- In the Set Inventory on Basis of Threshold list, select the Enable option if required to set the inventory based on a threshold.
- Click the Betterthat Price Settings tab.
- Scroll down and click on Betterthat Order Settings, it expands as shown below:
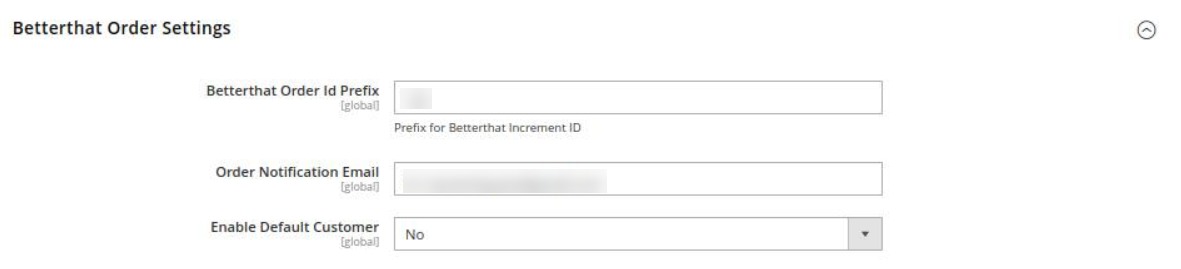
- Under Betterthat Order Settings do the following steps:
- In Betterthat Order Id Prefix, enter the prefix id for the order. This prefix id you enter here will be displayed along with your orders in the order grid.
- In the Order Notification Email, enter the email id on which you want to receive order notifications. The notification is sent on the entered mail id whenever a new order is created.
- In the Enable Default Customer list, select the Yes option to enable the default customer. This field is required if want the details for the customer to be set as default. But if you select No then the customer details will be the same as of the Better that marketplace.
- In the Default Customer email list, enter his email id.
- Scroll down and click on Betterthat Cron Settings, the section is expanded as shown below:
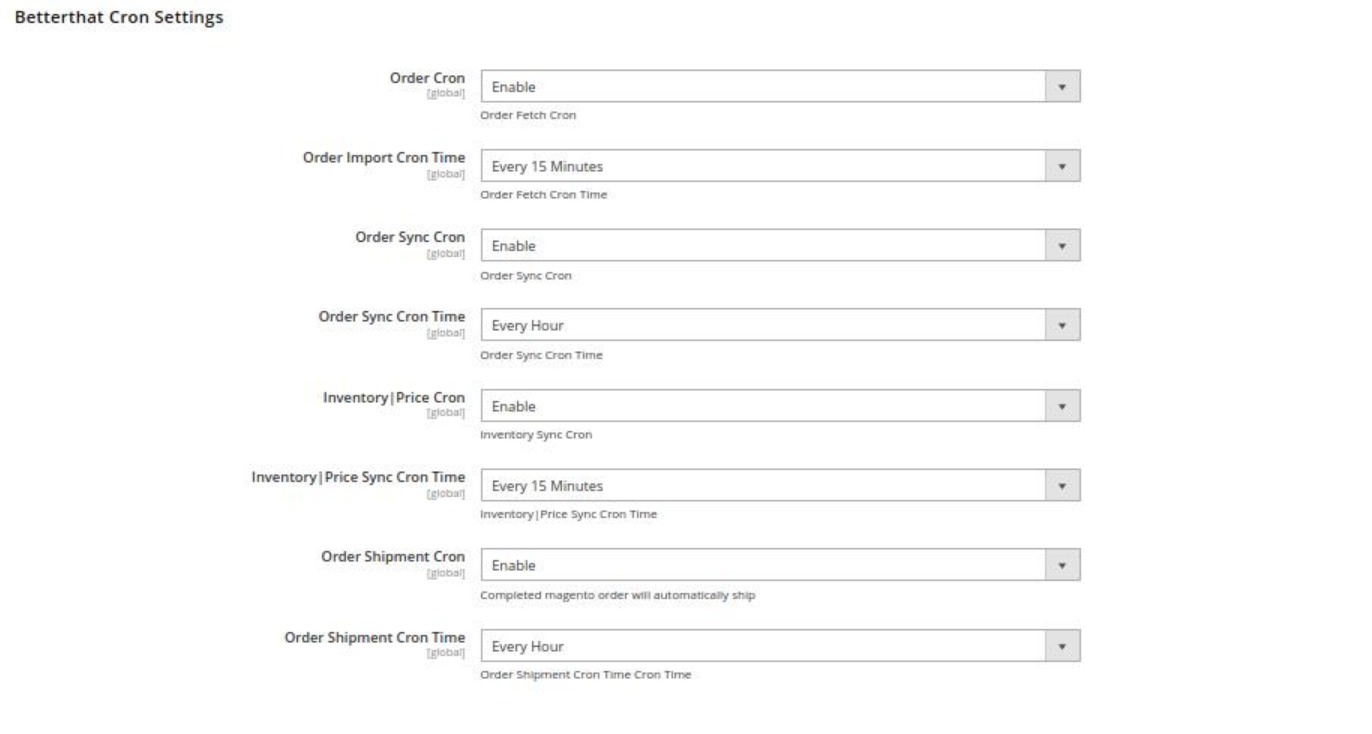
- Under Betterthat Cron Settings, do the following steps:
- In the Order Cron, select Enable if you want to fetch the orders automatically. Order Crons are used to fetch the orders at regular intervals of time.
- In Order Import Cron Time, select the duration for running the order import cron. Whatever time is selected by you at that duration the order cron will run and import the order.
- In Order Sync Cron, all the orders status of Betterthat orders is synced with this cron if it is Enabled.
- In Order Sync Cron Time, select the duration at which you want the orders to be synced.
- In the Inventory |Price Cron list, select the Enable option to enable the synchronisation of the inventory and price at regular intervals of time.
- In Inventory |Price Cron Time, select the duration to run the cron for syncing the inventory and price in real-time.
- In Order Shipment Cron, the tracking details of orders existing on Betterthat will be updated as it is on the Magento orders if you select Enable option.
- In Order Shipment Cron Time, select the duration to track the shipment of the order through the crons.
- Click the Save Config button to save the entered values.
The configuration settings will be saved.
×


