
7.1.Accounts ↑ Back to Top
The Account section serves as the centralized hub for managing all Amazon accounts seamlessly. Within this section, you have the flexibility to add multiple Amazon Seller Central accounts, allowing for efficient management of various business operations. It provides an interface to effortlessly connect, disconnect, and edit account connections. The Account section is designed to empower users with the tools they need for effective and organized account management within the app.
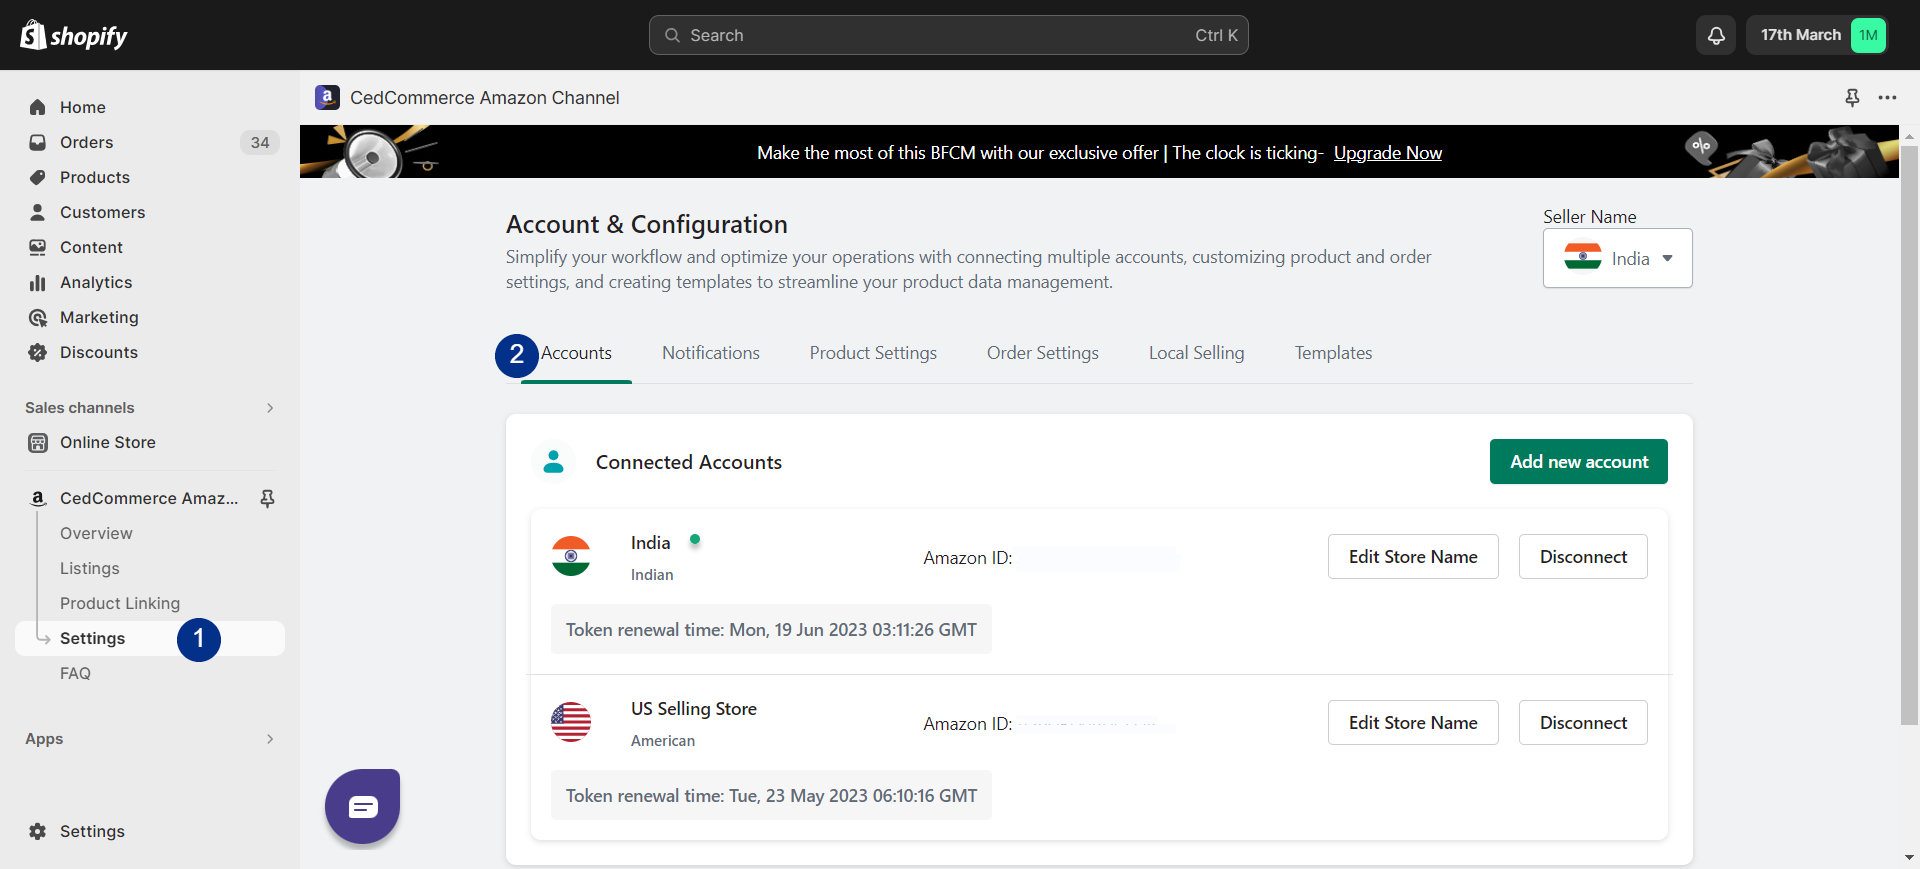
Setting Up Multiple Amazon Accounts
If you have more than one Amazon account that needs to be linked with your Shopify store, follow these steps:
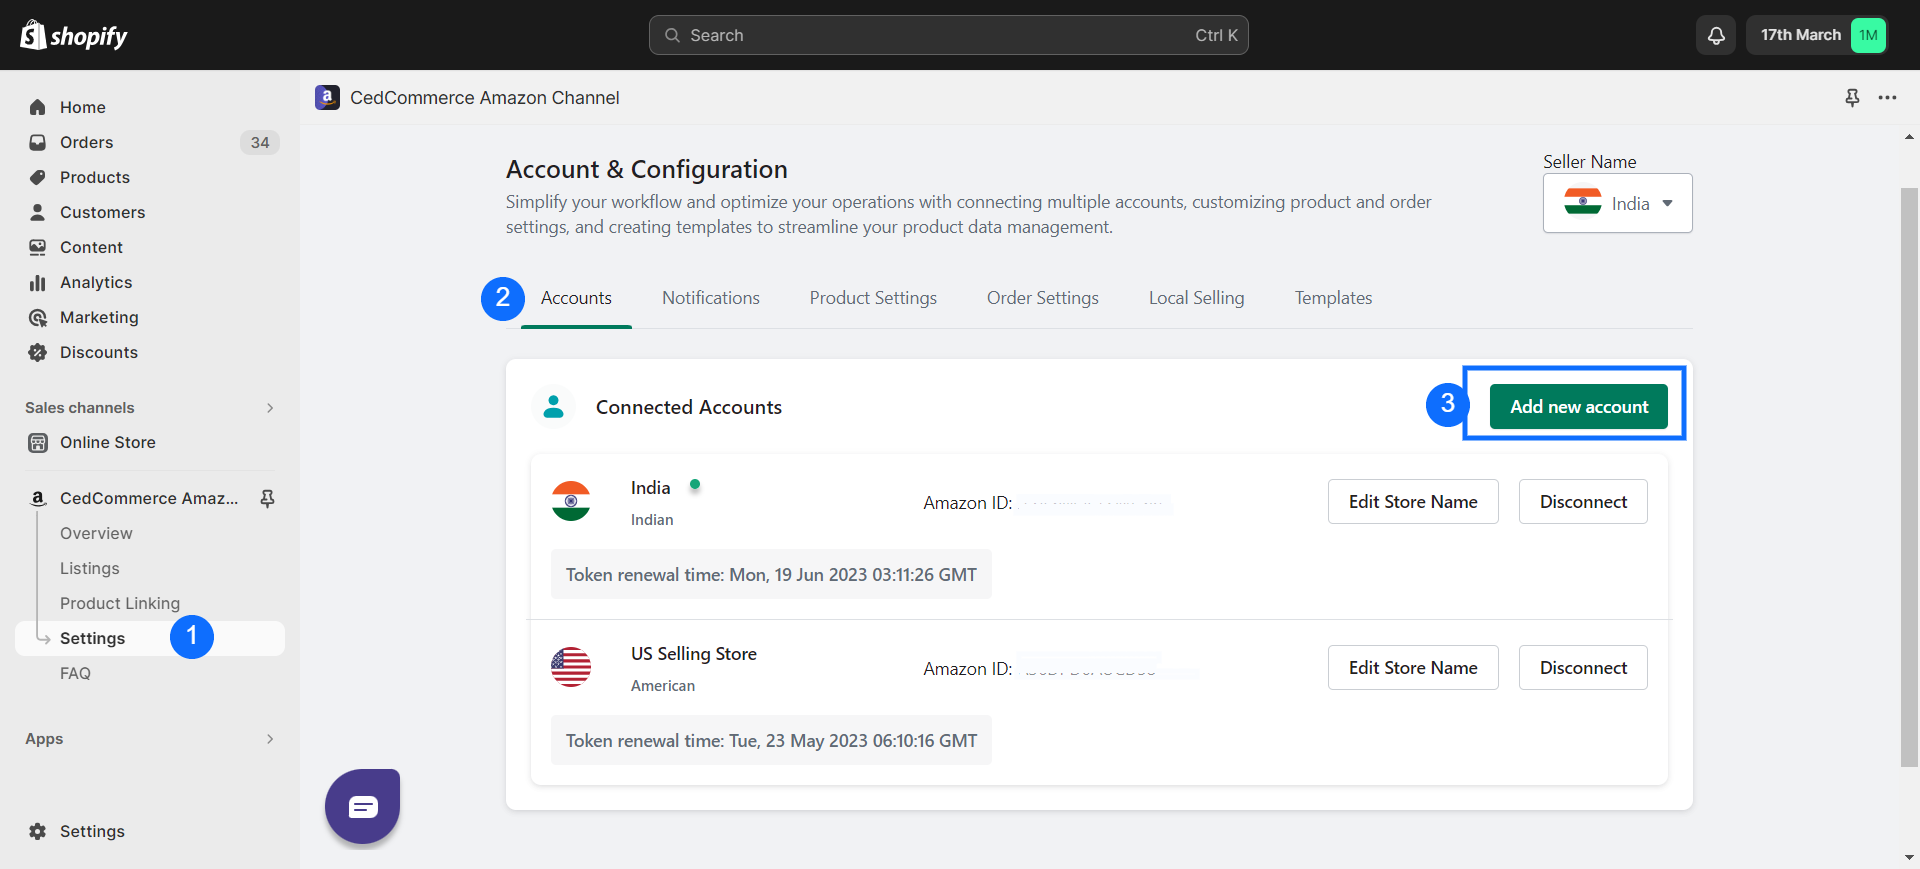
Step 1: Add New Account
- Click on the “Add New Account” option if you have multiple Amazon accounts to integrate. This will lead you to a new account onboarding page.
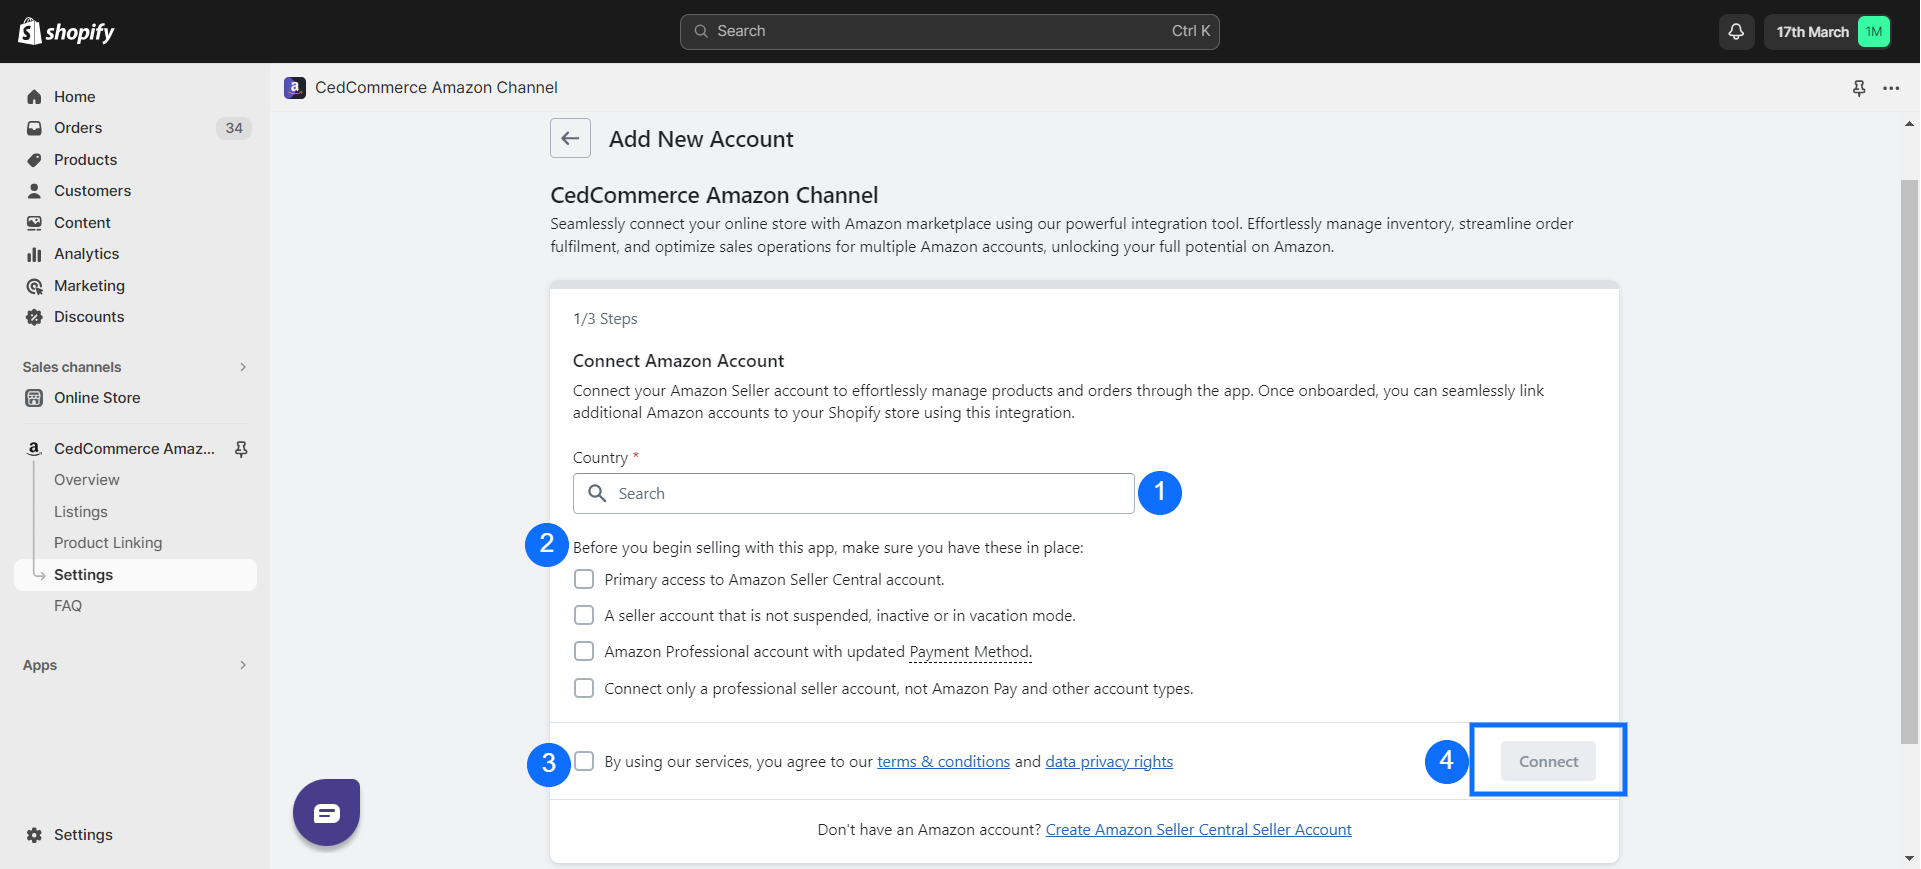
- Once the app is successfully installed, the onboarding process will guide you through the setup.
- Select your country for business operations from the provided list.
- Review the prerequisites to ensure smooth usage of the CedCommerce Amazon Channel app. Make sure you have:
- Primary access to your Amazon Seller Central account.
- An active seller account that is not suspended, inactive, or in vacation mode.
- An Amazon Professional account with an updated payment method (not Amazon Pay or other account types).
- Carefully read and accept the terms and conditions.
- Click “Connect” to start the account connection process. If your seller account meets the requirements, your Shopify store will be successfully linked to Amazon.
Troubleshooting
- If the connection fails, click “Retry Connecting” after ensuring all prerequisites are met.
- If issues persist, reach out to us at channel-support@cedcommerce.com
Step 2: Amazon Account Setup
- Assign a memorable name to your Amazon account to differentiate it from others.
- Choose whether you’re a “New Seller” or an “Existing Seller” on Amazon.
- If you’re a New Seller:
-
-
- Your Shopify products will be listed on Amazon as new listings or offers.
- You need to verify Amazon Brand approval and ensure valid GS1-approved barcodes or barcode exemption.
-
- If you’re an Existing Seller:
-
- Link your Shopify products to your current Amazon listings using the “Sync Status” operation.
- Use SKUs or Barcodes for linking, and optimize results by selecting both metrics.
- At least one metric must be chosen for the Sync Status action to proceed.
- Optimize synchronization by selecting either FBA (Fulfillment by Amazon) or FBM (Fulfillment by Merchant) methods, which define the synchronized data.
- Individually choose product data (Price, Inventory, Product Details, Images) for synchronization between Shopify and Amazon.
- Choose your business model from these options:
- Manufacturer: If you produce the products.
- Dropshipper: If you sell products without holding inventory, directly shipped from a supplier.
- Retailer: If you sell directly to consumers.
- Reseller: If you purchase from a manufacturer or distributor and sell to consumers or businesses.
- Other: If your business model doesn’t align, specify the type.
- Note: Account activation might take approximately 2-3 days.
Editing Store Name or Disconnecting an Amazon Account
If you need to modify a connected store’s name or disconnect an account, follow these steps:
Editing Store Name:
- Look through your connected stores and identify the one you wish to edit.
- Locate the “Edit Store Name” button associated with that store. Click on it.
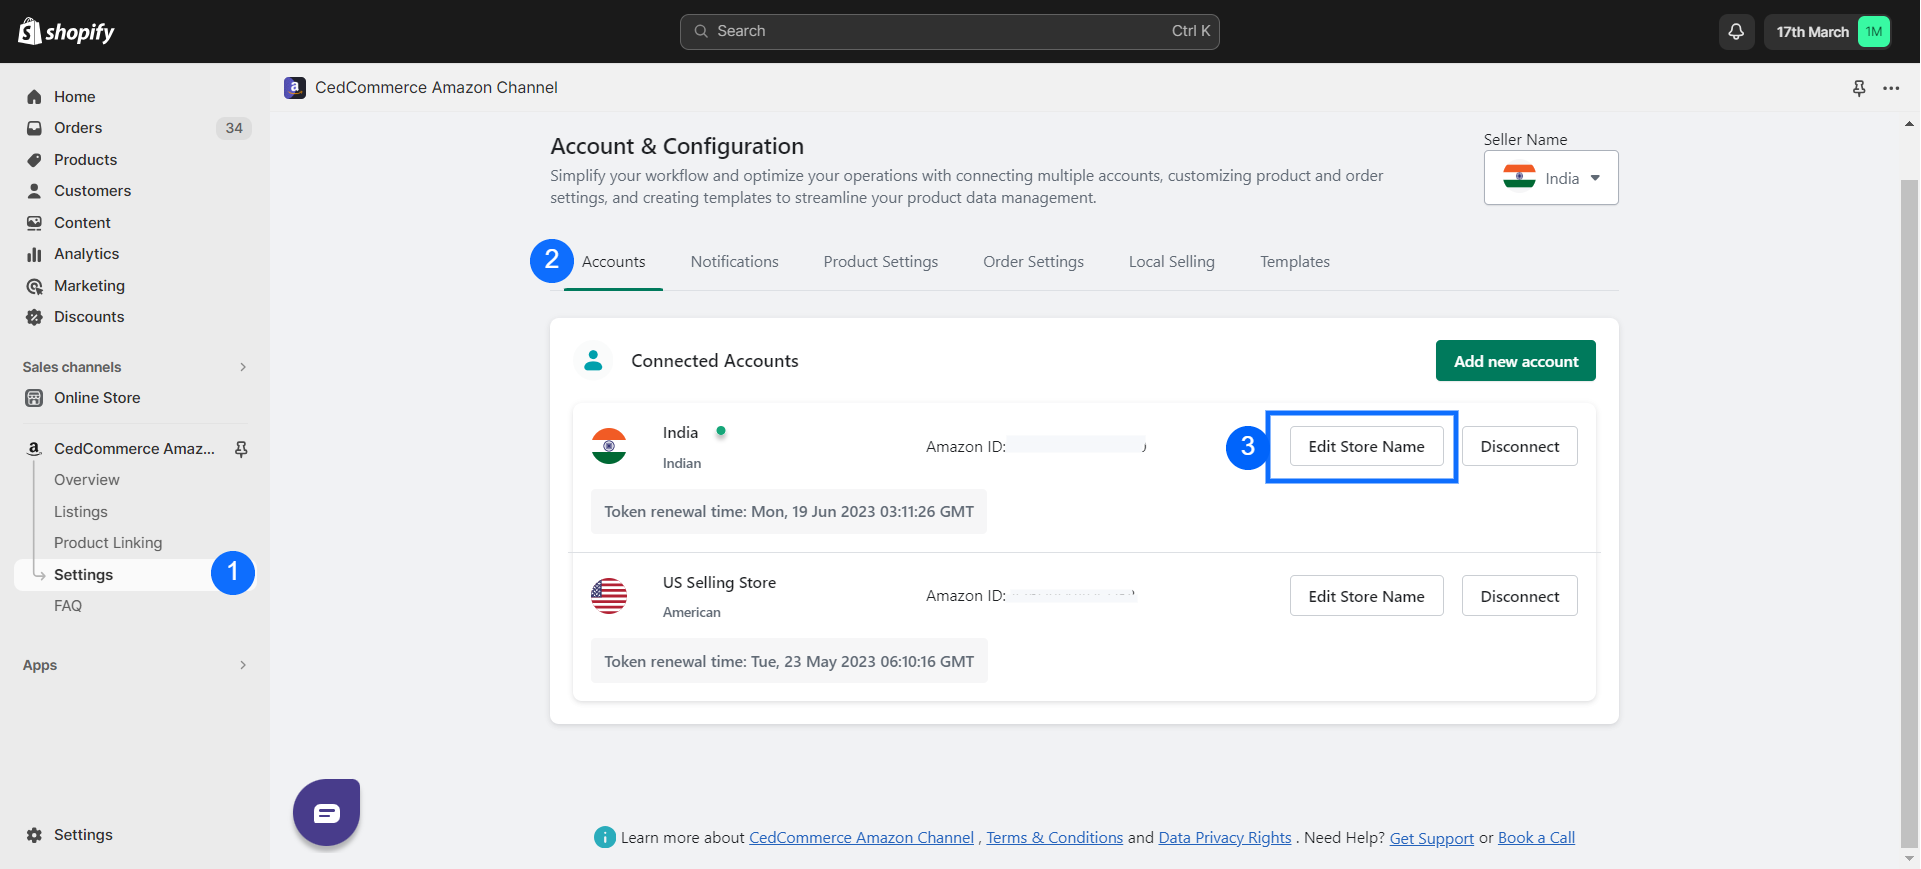
- A text field will appear. Enter the new name you desire for the store.
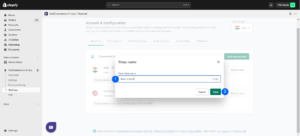
- After updating the name, ensure accuracy, and then click “Save.”
Disconnecting an Account:
- Find the store you intend to disconnect from.
- Locate the “Disconnect” option associated with that store. Click on it.
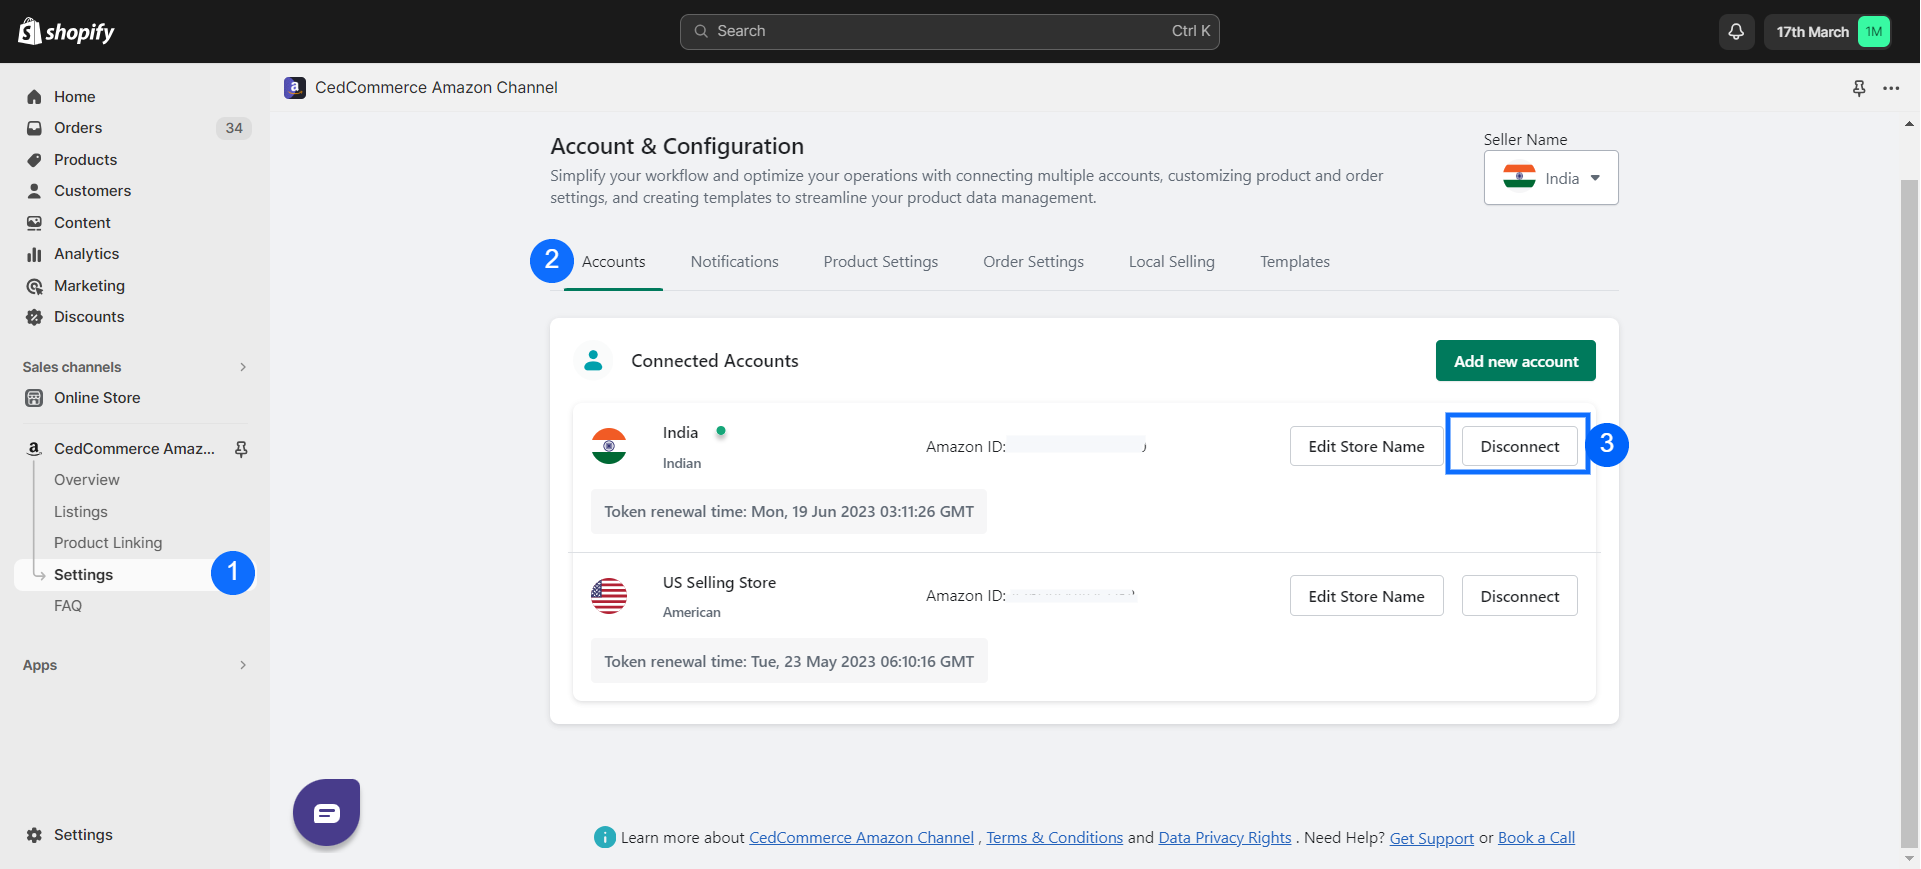
- A confirmation prompt will appear. To proceed, type “Confirm” in the provided space.
- Once “Confirm” is entered, click “Disconnect” again to finalize the process.
How to Switch Connected Amazon Account?
To switch between different Amazon accounts within the CedCommerce Amazon Channel App, follow these simple steps:
- On the top right corner of the screen, you will see the Seller Name.
- Click on the current account name that is displayed.
- A drop-down menu will appear with a list of available accounts. Select the account you want to switch to from this list.
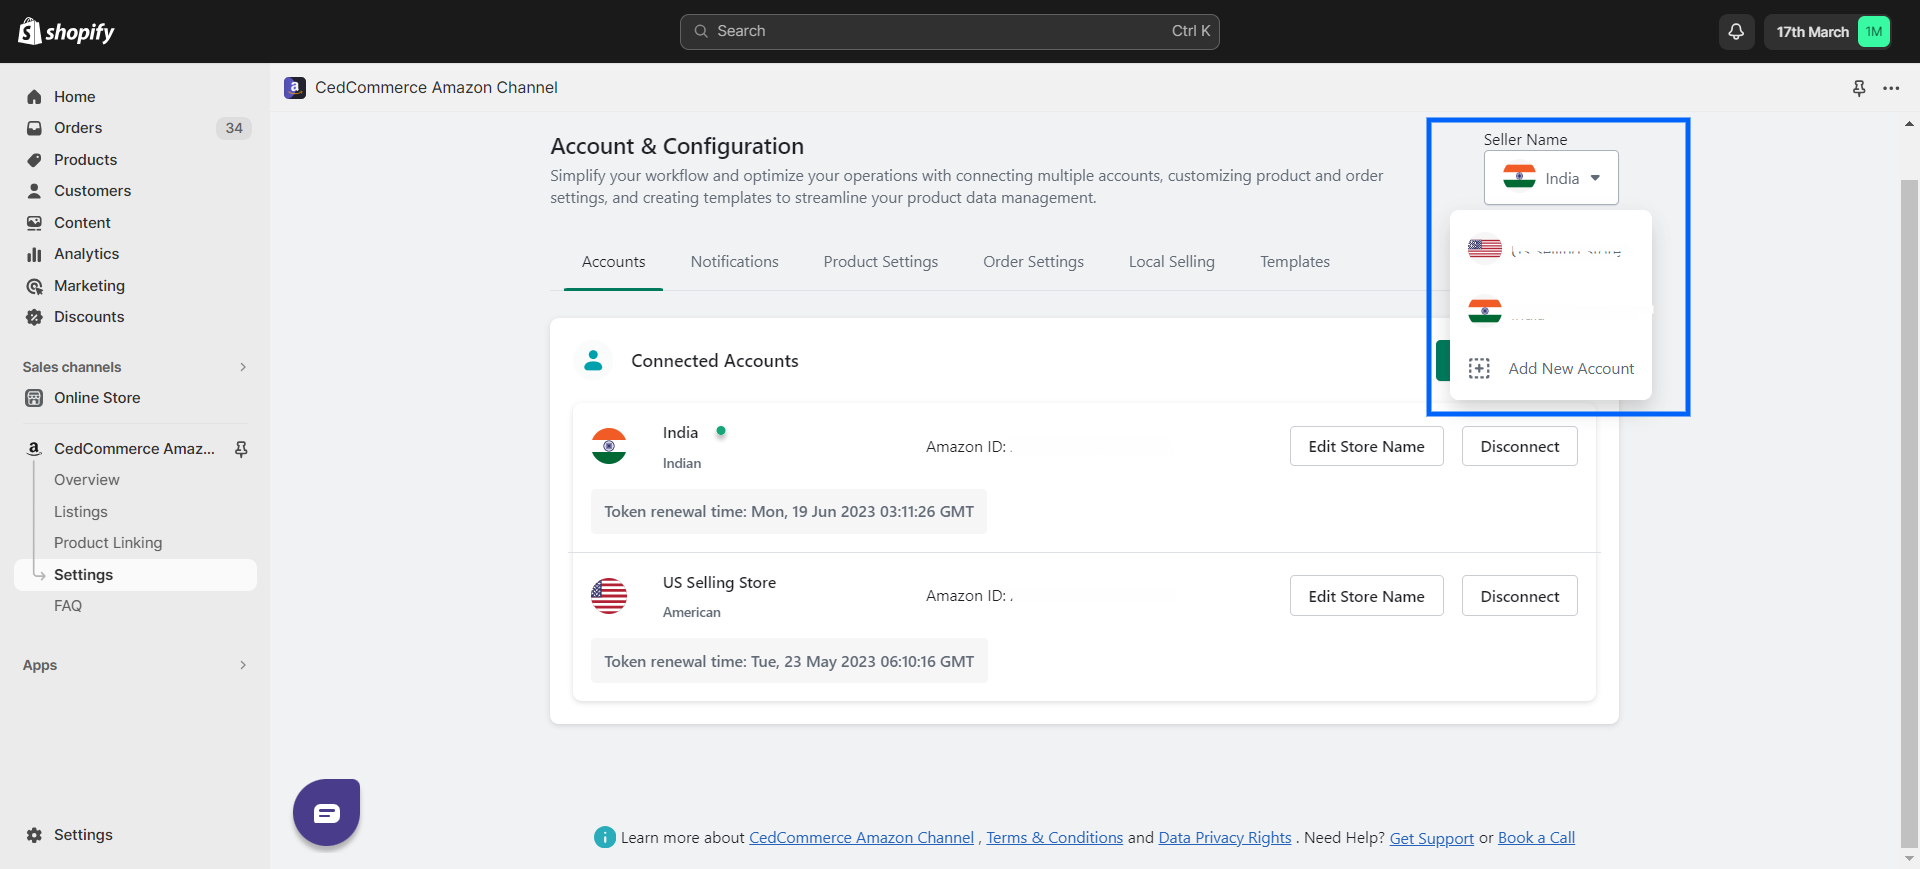
- If you wish to add another Amazon account, you can do so directly from this menu. Simply choose the “Add New Account” option.


