7.Reverb Products Settings ↑ Back to Top
To manage the Products Settings,
- Go to the Prestashop Admin panel.
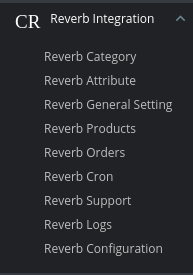
On the left navigation bar of your dashboard, place cursor on Reverb Integration,

- Click on Reverb Products
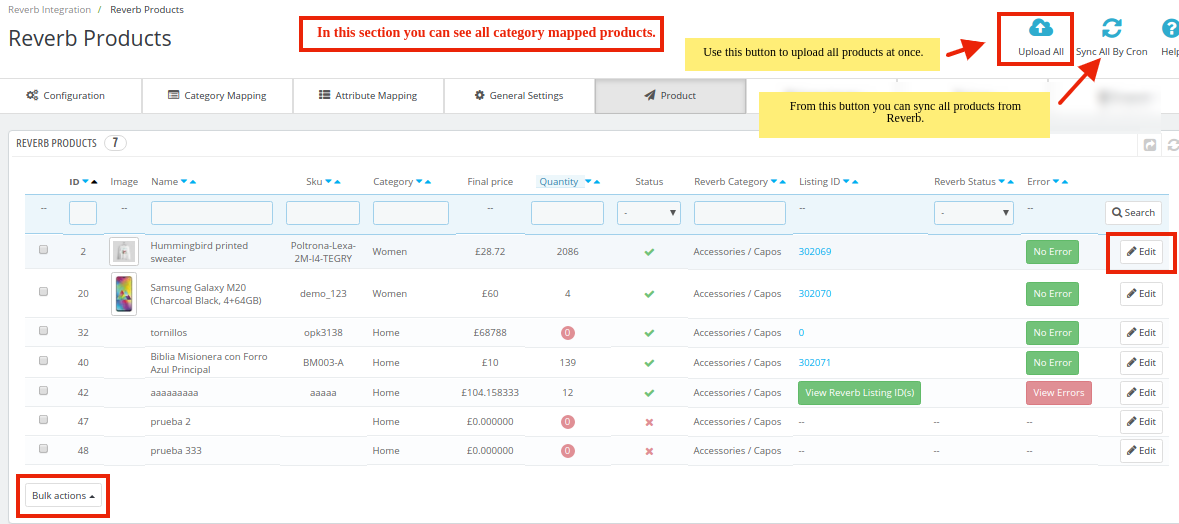
The tab appears as shown below:

- In the Reverb Products, do the following steps:
- In this section you can see all your category mapped products.
- All the products are listed here.
To Upload Selected Products:
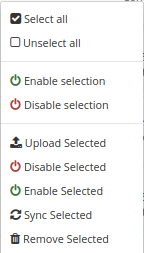
- Select your products by clicking on checkboxes and go to ‘Bulk actions’ as shown in the figure:

- Click on ‘Upload Selected’ button so the selected products get uploaded on Reverb.
To Upload All The Products:
- On the top of the page, you can see an ‘Upload All’ button, by clicking on this, all the products available in the grid get uploaded on Reverb. The tab appears as shown below:

To Upload Products by Cron
- On the top of the page, you can see an ‘Sync All by Cron’ button, by clicking on this, all the products available in the grid get synced on Reverb by crons. The tab appears as shown below:

×


