
eBay Profile Settings
This tab contains information about creating product profiles which can later be utilized to implement bulk product functionality for particular product types.
To set up the eBay Profile settings in the PrestaShop Admin panel
- Go to the Prestashop admin panel.
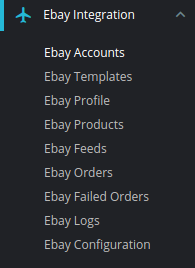
- In the left navigation panel, place cursor on eBay Prestashop Module menu.
The menu appears as shown in the following figure:
- Once you click on eBay Profile,
The following page appears:
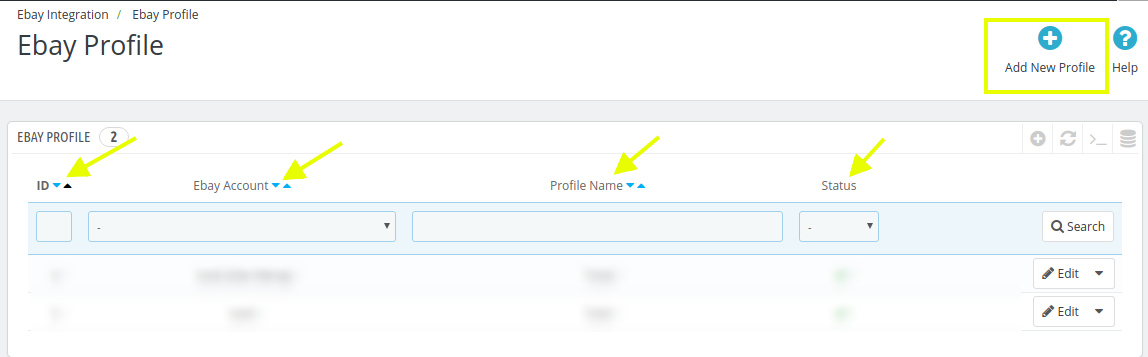
It contains the details of the profile, the fields in the above image are:
1. In the ID box, here you can see the ID of the Product Profile.
2. In the eBay Account section, you can see the eBay Account to which the Profile of a product belongs
3. In the Profile Name, you can see the name of the profile of the products.
4. In the Status, you can see the Status of the profile if its activated or not. - Edit Button, this option enables you to make the changes to a given product profile.
- Also, on the top right corner, there is an Add New Profile option,
- Click on the button, the page appears as shown in the following figure:
- Select your Account, Then the page appears as shown below:
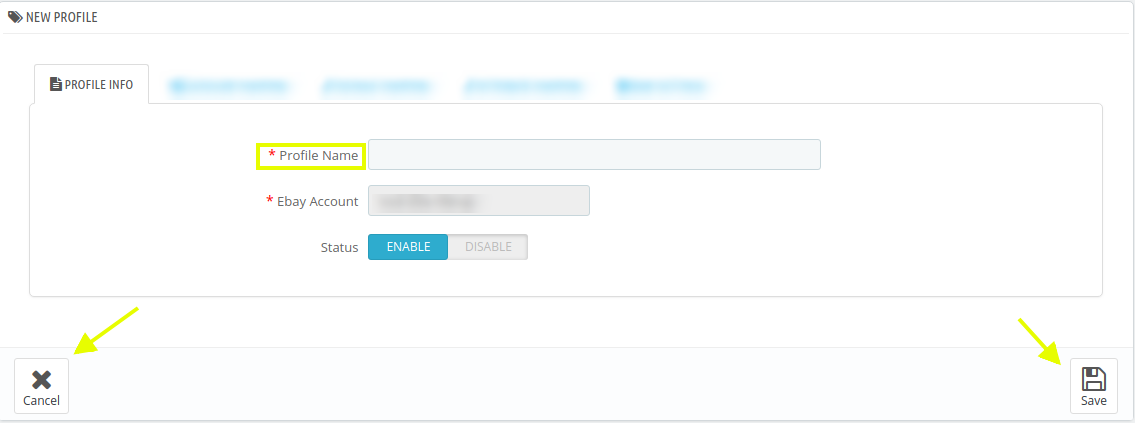
- In the Profile Information, do the following steps:
- In the Profile Name box, enter the desired Profile Name (Tip: We suggest you to name it according to their categories and subcategories.)
- eBay Account section, it is an auto-filled field.
- In the Status, select the Yes option to Enable to make the profile enabled.
- Click on Save to store or Cancel to discard the changes.
Now move on to Category Mapping:
- Click on Category Mapping.
The tab appears as shown in the following figure:
- In the Category Mapping, do the following steps:
-
- Here you need to map your prestashop categories with eBay category.
(Note: Module uses the default category of product to assign products in profile.) - Select the options Collapse All, Expand All, Check All, Uncheck All to perform these operations to select the directory.
- Select the category of eBay.
- Here you need to map your prestashop categories with eBay category.
-
- Once done, click on Save to store or Cancel to discard the changes.
Now move on to Attribute Mapping section,
- Click on Attribute Mapping,
- In this tab, map the relevant attributes of the product profiles with that of attributes of items on eBay.
- This option is to match the attribute of a particular product type with that of values of product attributes at Prestashop.
The tab appears as shown in the following figure: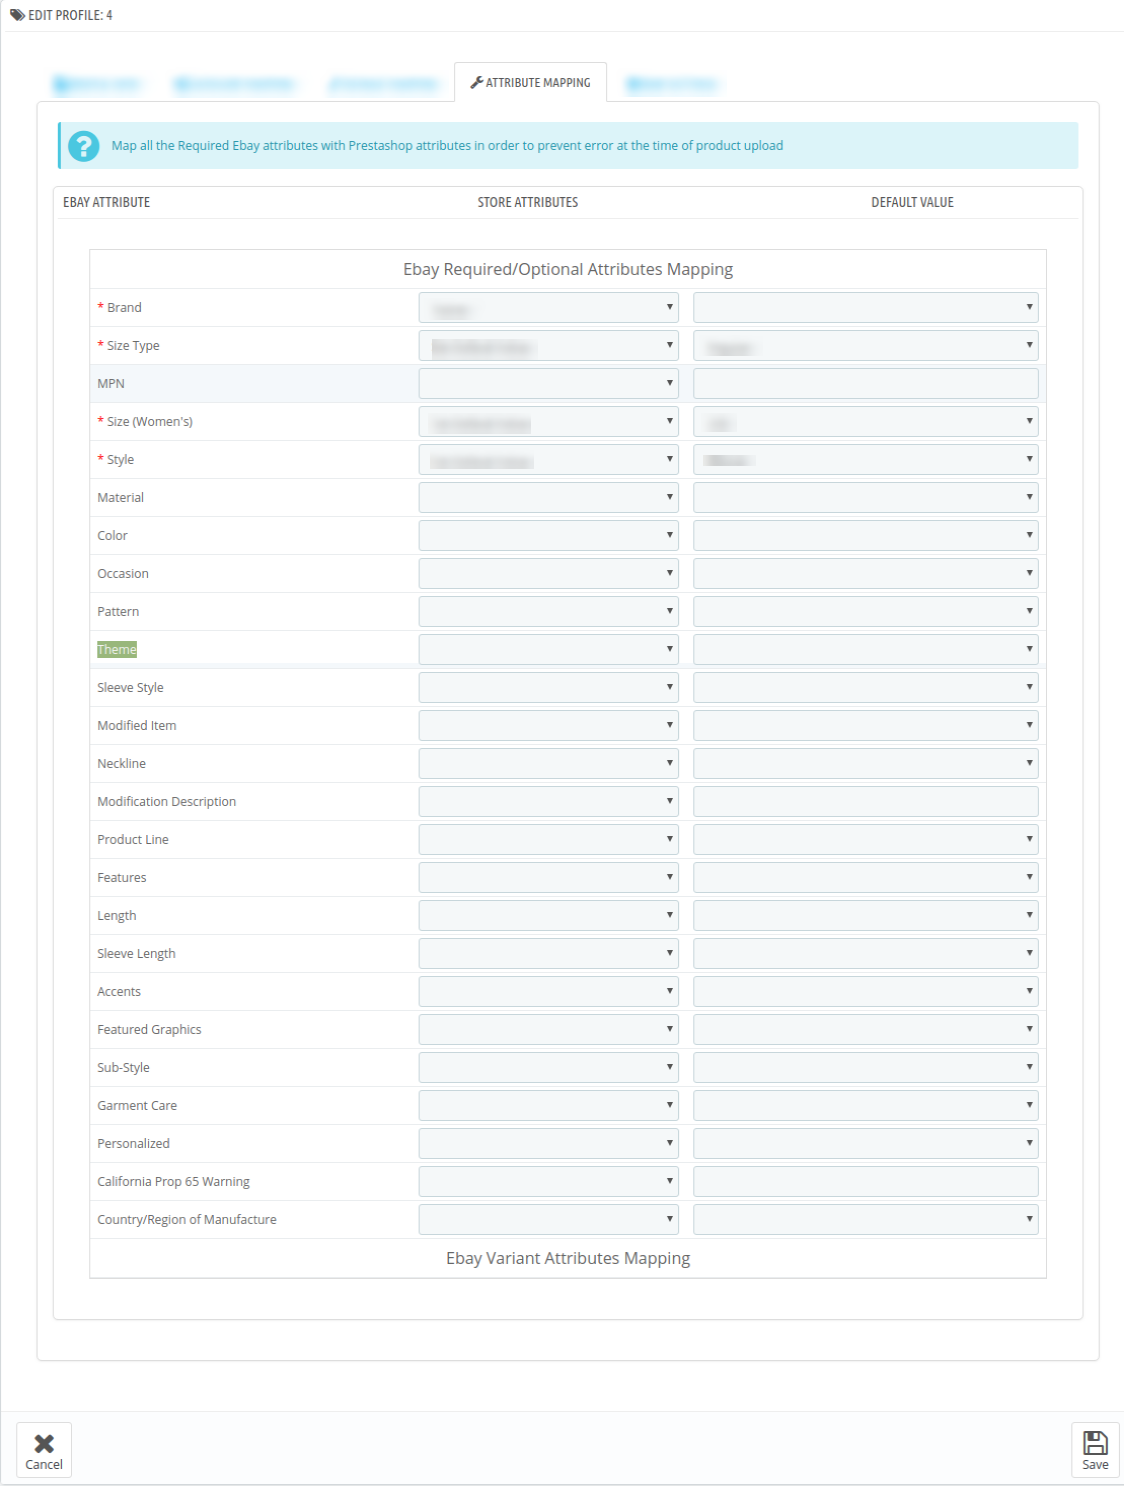
- Map the eBay brand attribute with prestashop attribute.
- Map the eBay size type attribute with prestashop attribute.
- Map the eBay size (women’s) attribute with prestashop attribute.
- Map the eBay style attribute with prestashop attribute.
- Fill all the required details and click on Save button to save the settings,
Now move forward to eBay Products:
- Click on eBay Settings.
The tab appears as shown in the following figure:
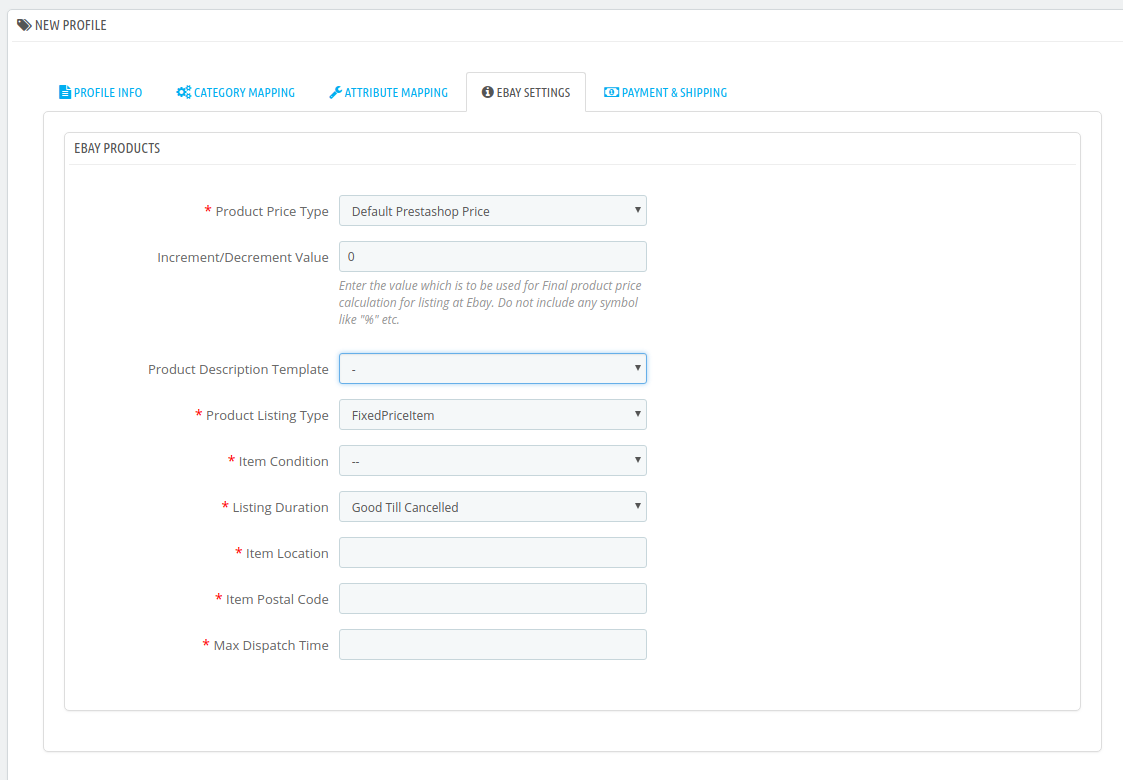
- In the eBay Settings, do the following figure:
- In the Product Price Type, choose the pricing manipulation you want to apply at Prestashop products at time of uploading at eBay.
- Increase Fixed Amount: You may select this option if you want your product price to be increased on eBay as compared to your PrestaShop store.
- Decrease Fixed Amount- You may use this option if you want the price of your PrestaShop product to be decreased on eBay.
- Increase Fix Percentage- You may use this option if you want the price of your PrestaShop product to be increased on eBay by a certain percent.
- Decrease By Fix Percent- You may use this option if you want the price of your PrestaShop product to be decreased on eBay by a certain percent.
- In the Increment/Decrement Value box, enter the numeric value by which you want the prices of your products to be increased/decreased at eBay.
- In the Product Description Template box, enter your product description template name.
- In the Product Listing Type, choose the listing type.
- In the Item Condition, Choose the item’s condition.
- In Listing Duration, Choose the time interval you want your listing to be live at eBay.
- In the Item Location box, enter the location where the product is stocked.
- In the Item Postal Code box, similarly, enter the area code/zip code.
- In the Max Dispatch box, enter the time taken to dispatch an item once an order is received.
- In the Product Price Type, choose the pricing manipulation you want to apply at Prestashop products at time of uploading at eBay.
Now at last move on to Payment&Shipment Settings:
- Click on Payment&Shipment settings.
The tab appears as shown in the following figure: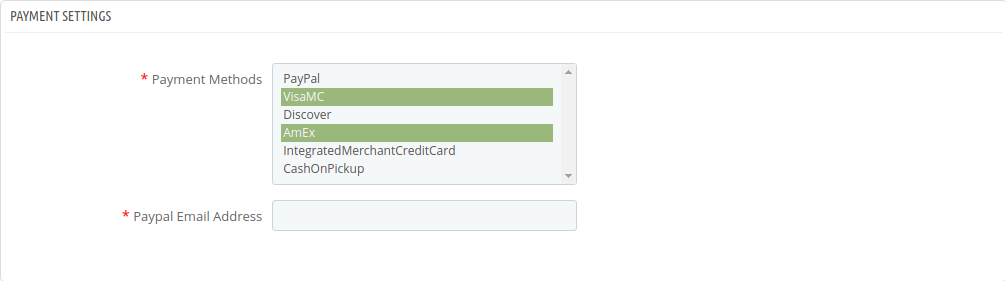
- In the Payment Settings, do the following steps:
- In the Payment Methods drop-down menu, choose all the desired payment methods.
- In the Paypal email address field, enter the email address related with your PayPal account.
- In the second tab, Go to eBay Return Settings,
The tab is shown in the following figure:
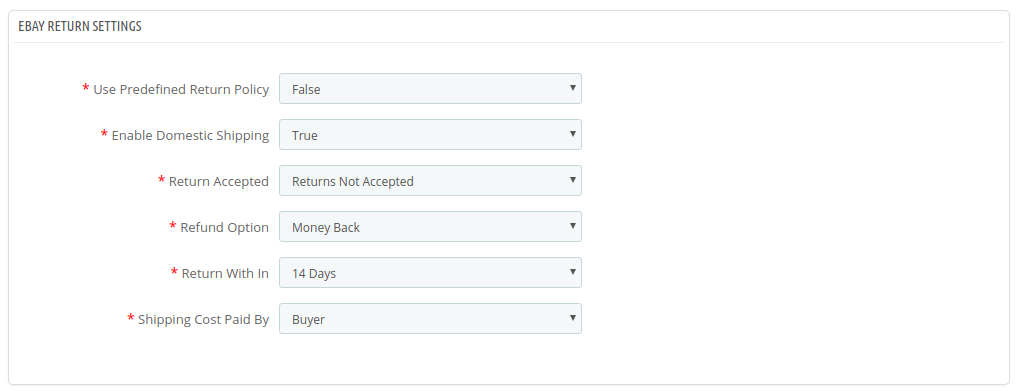
- In the eBay Return Settings, do the following steps:
- In the Return Accepted field, select if you want to accept returns or not.
- In the Refund Option, choose the type of Refund you want to offer.
- In the Return Within, enter the minimum number of days to return the product
- In the Shipping Cost Paid by, choose if the cost is to be beared by Seller or Buyer
- In the Third tab, Go to eBay Shipping:
The tab is shown in the following figure:
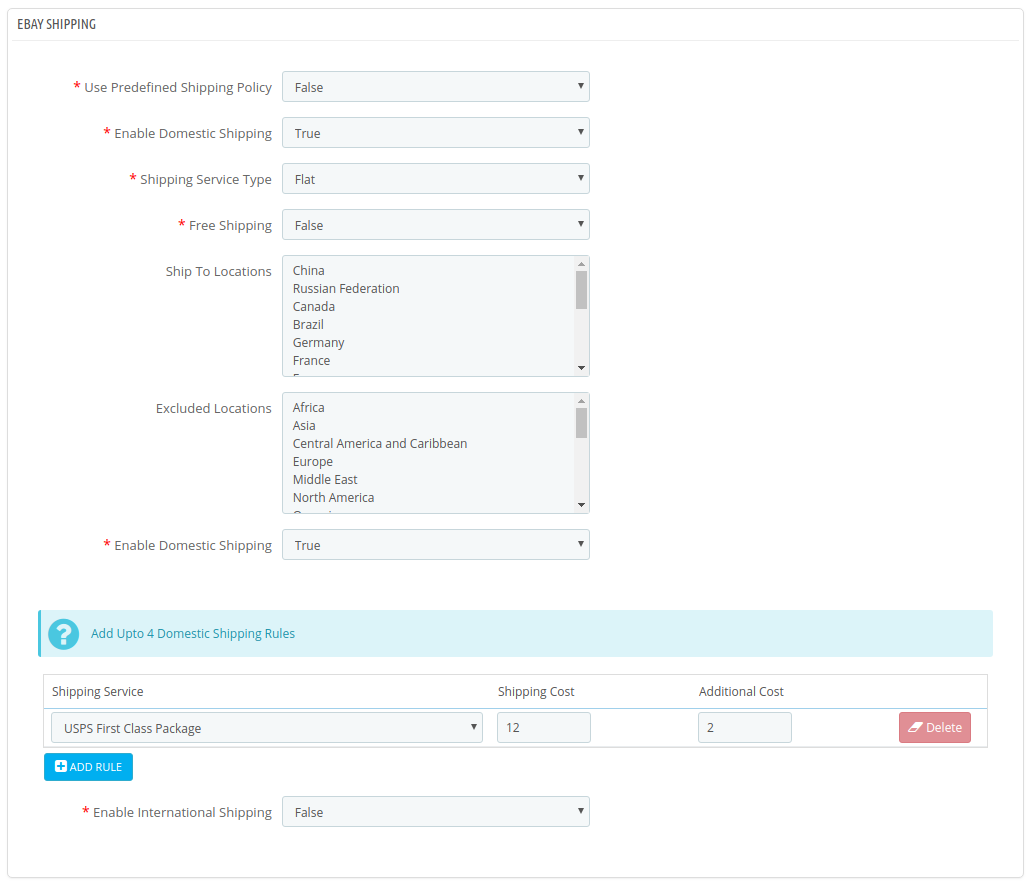
- In the eBay Shipment settings, do the following steps:
- In the Predefined Return Policy field, select the option whether you need to use return policy or not.
- In the Shipment Service Type field, enter the shipment method you wish to choose for delivery.
- In the Free Shipping, choose True to enable free shipping and false to disable it.
- In the Ship-to Locations option, select the location where you want to ship.
- In the Excluded Locations option, select the location which you want to exclude.
- In the Enable Domestic Shipping option, select True, to enable the domestic shipping.
In the Domestic Shipping:
- In this tab, choose the desired domestic carriers for your profile.
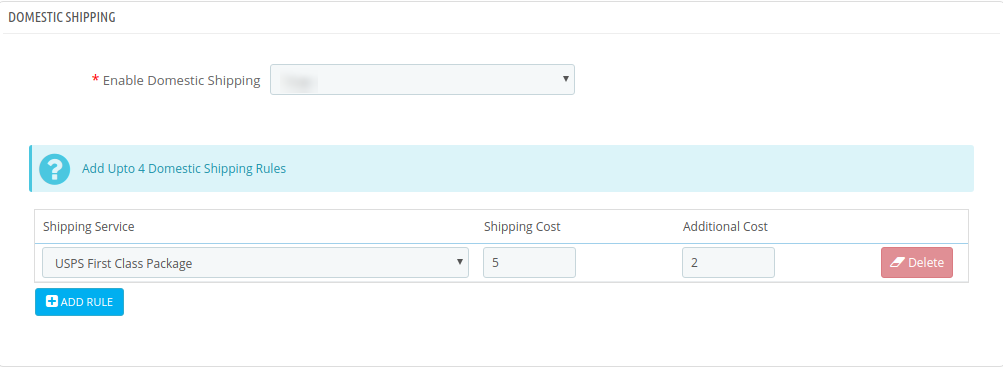
- Click on Add Rule to add new domestic shipment carries, you can add as many carriers for your country.
In the International Shipping
- In this tab, choose the desired International carriers for your profile.
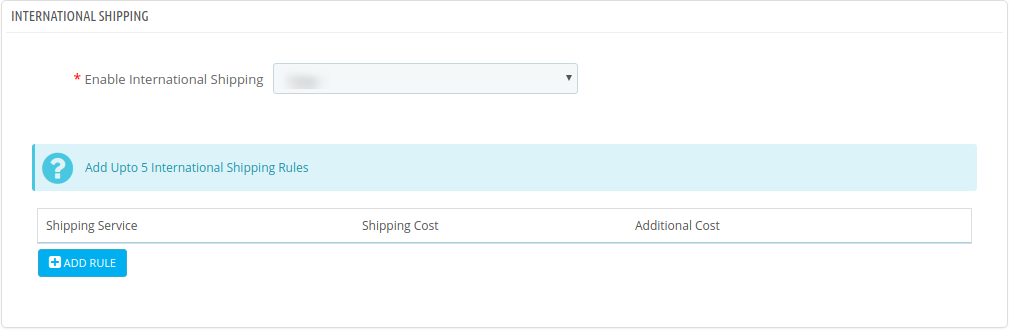
- Click on Add Rule to add new international shipment carries, you can add as many carriers for your country.
- Once you’re done profiling everything proceeds to Save to store the changes and Cancel to discard them.
×


