
4.OnBuy Profiles ↑ Back to Top
To set up the OnBuy Profile settings in the Opencart Admin panel
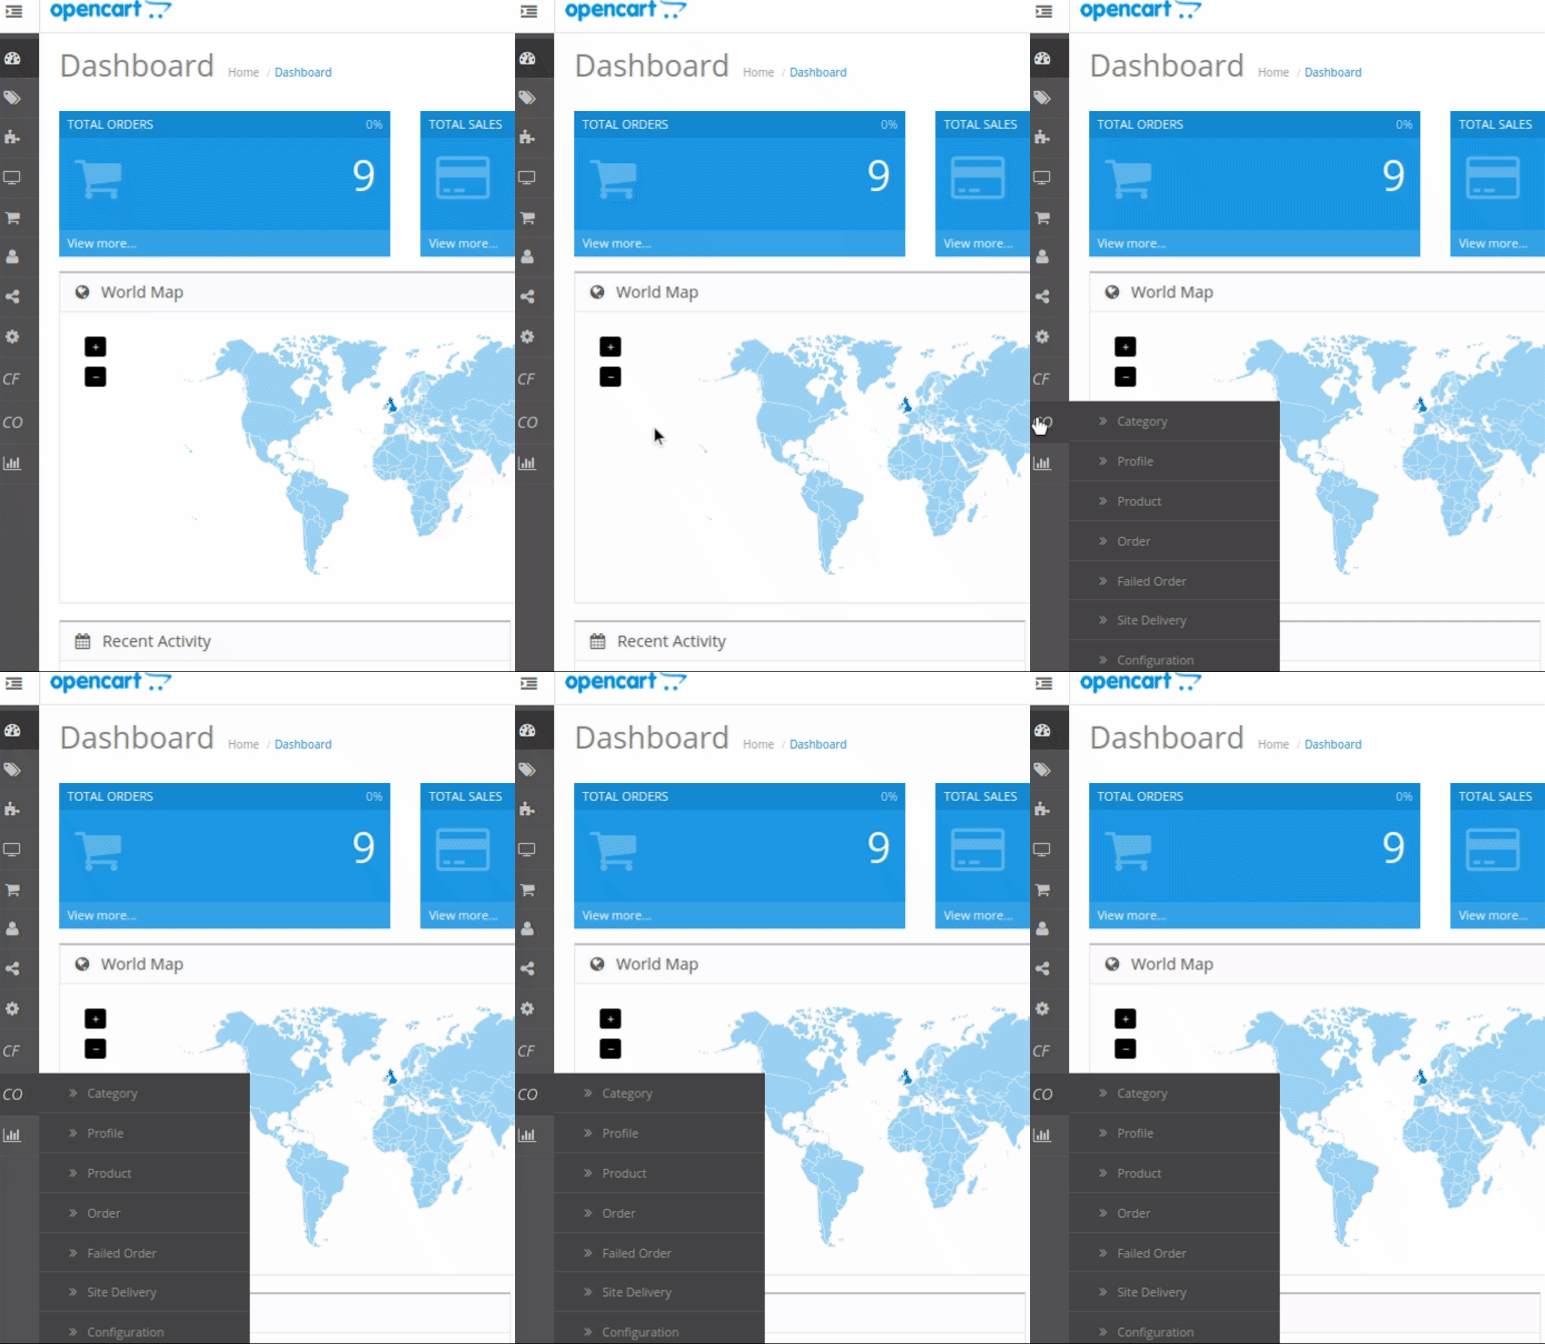
- Place the cursor on CO on the left navigation bar of the admin panel as shown below:
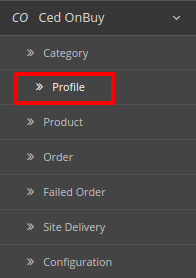
- Now Click on Profile.
- Once you click on OnBuy Profile,
The following page appears:

- Now click on Add New Profile. You will be taken to the page as shown below:
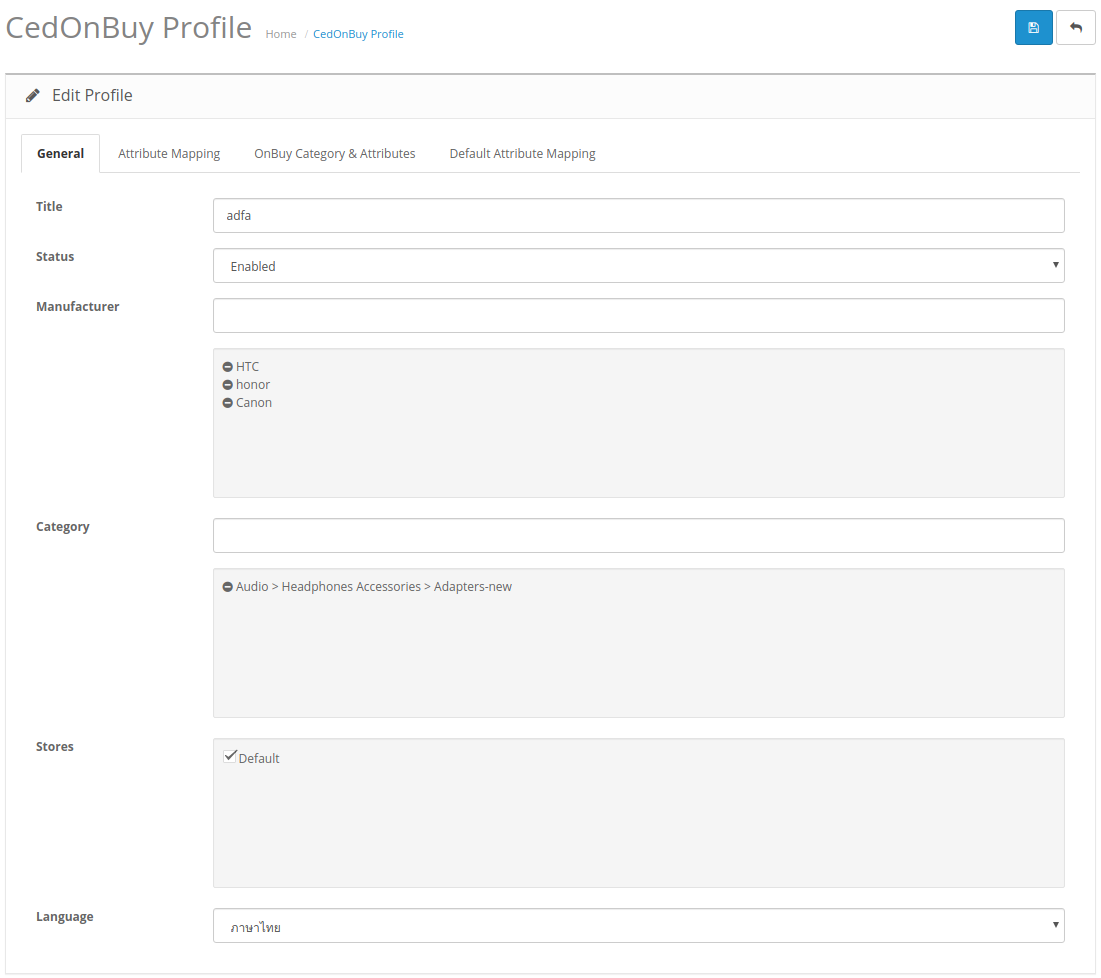
- In the Title, enter the title that you want to give to your profile.
- In the Status, select Enable to enable the profile that you are creating.
- In the Manufacturer box, enter the name of the product manufacturer whose product you want to add in the profile.
- In the Category box, enter the category of the products that you want to add in the profile.
- In Stores, enter the store that you want to integrate with OnBuy.
- In Language, select the language in which you want the system to proceed.
- Now Click on Attribute Mapping adjacent to the Profile Info tab, and you’ll come across a section as below:
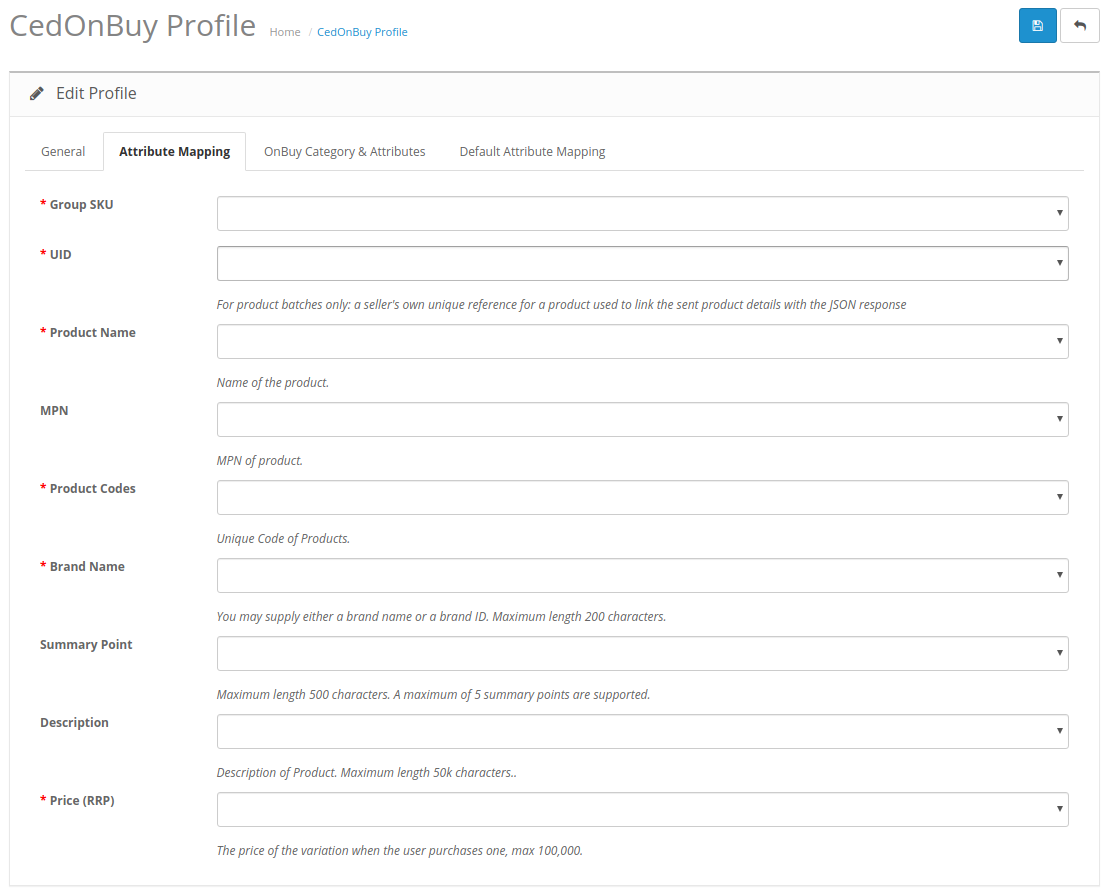
- In this tab, map the relevant attributes of the product profiles with that of attributes of items on OnBuy.
- Now click on OnBuy Categories & Attributes. You will be taken to the page as shown below:

- In this tab, map the relevant Opencart store attributes of the product profiles with that of attributes of items on OnBuy and also you can set default values.
- Also, a Variants Attributes Mapping section.
- Here you can map your OnBuy Variants attributes to your Opencart Store Attributes values.
- Now click on Default Attribute Mapping. You will be taken to the page as shown below:
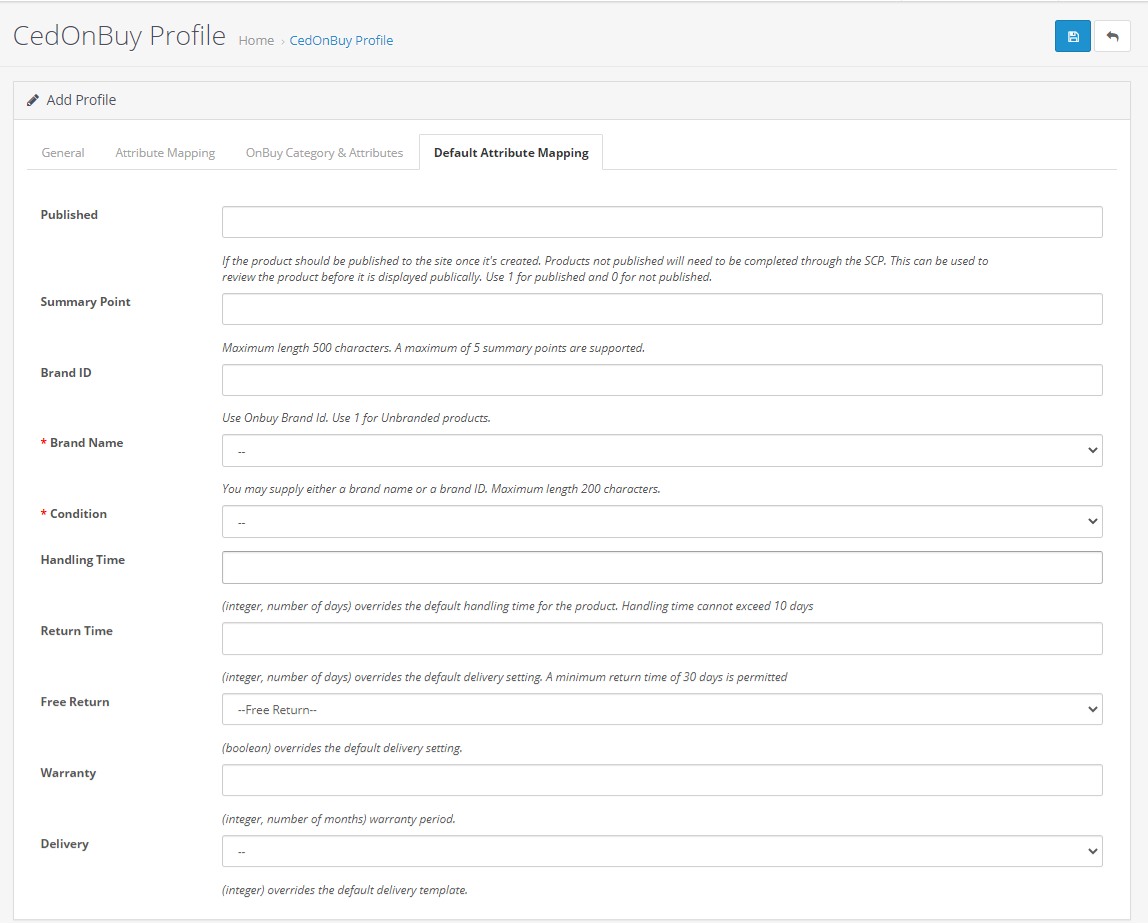
- In this tab, map the relevant attributes of the product profiles with that of attributes of items on OnBuy.
- Once you’re done profiling everything proceeds to Save to store the changes and Cancel to discard them.
×


