
Configuration Settings
To Set up the Configuration Settings,
- Go to the Magento 2 admin panel.
- On the left navigation bar, click on the Zalora Integration menu.
The appears as shown below:
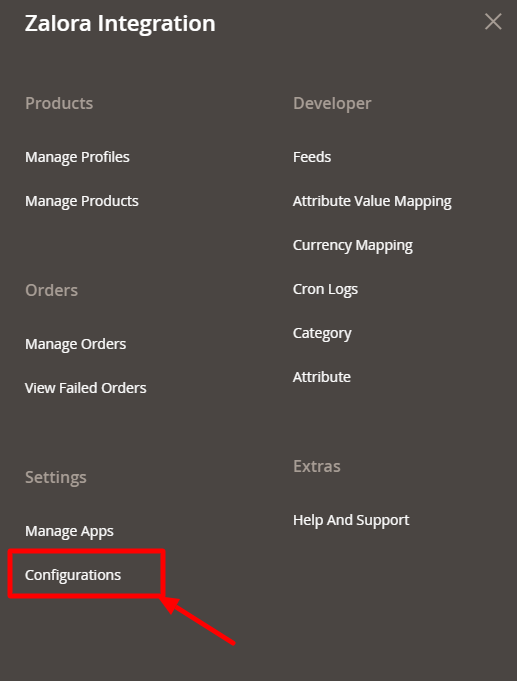
- Click on Configuration.
The Zalora Configuration page appears as shown below:
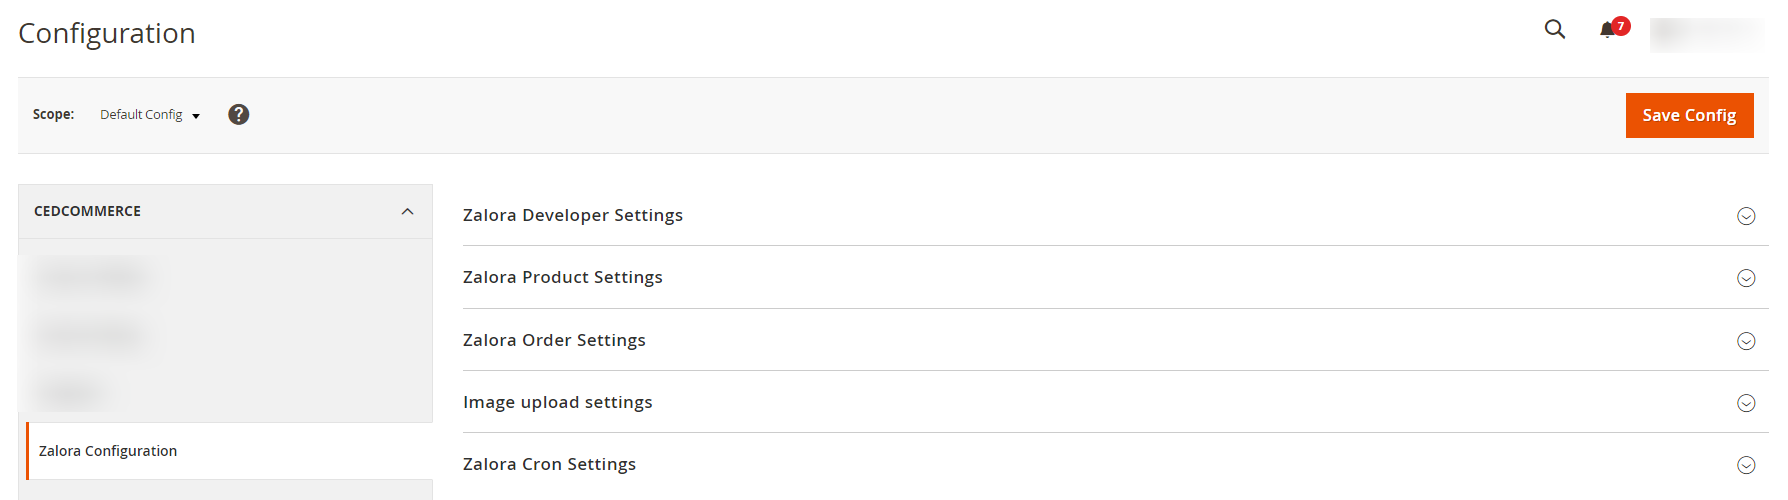
- In the right panel, click the Zalora Developer Settings tab.
The Zalora Developer Settings tab is expanded and the relevant fields appear as shown in the following figure:

- In the Zalora Settings, do the following steps:
- In the Debug, select Yes if you want to create the logs.
- Scroll down and click on Zalora Product Settings, the section is expanded as shown below:
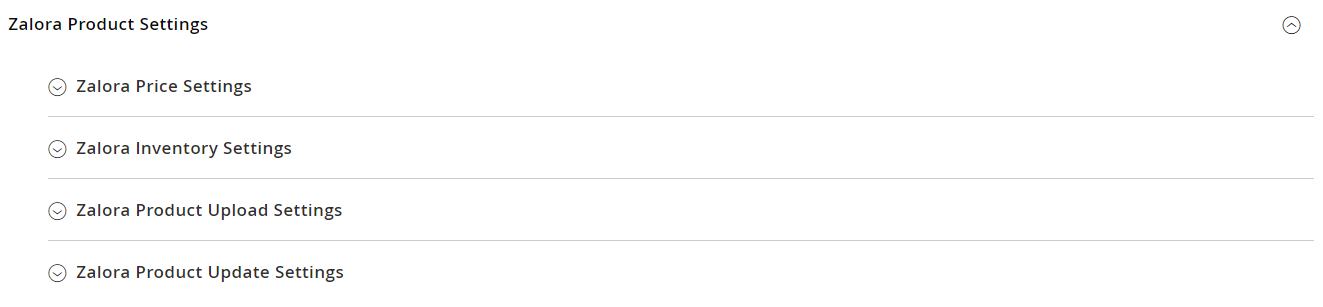
- Under Zalora Product Settings, do the following steps:
- Click on Zalora Price Settings, the section is expanded as shown below:
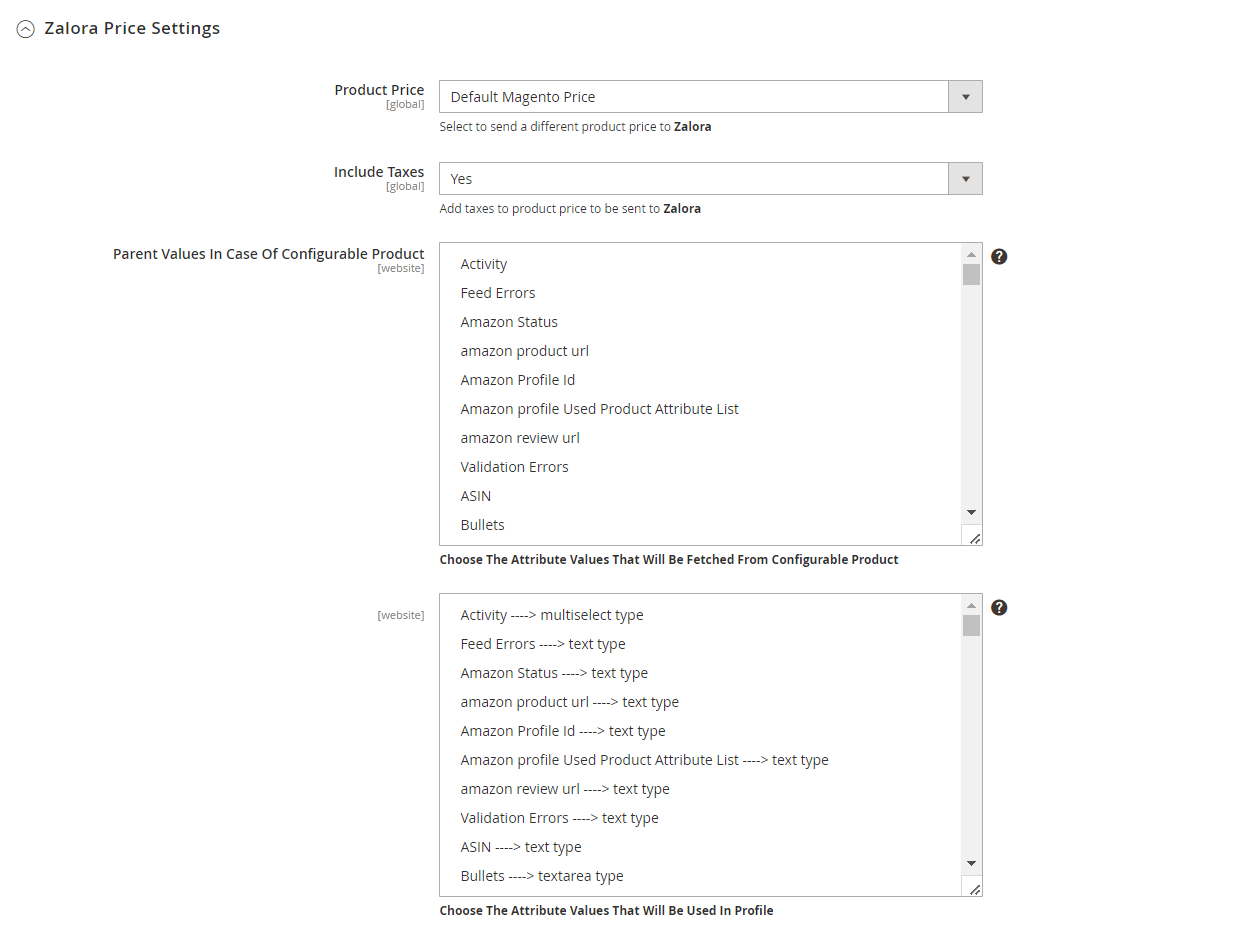
- In the Product Price, list, select one of the following options:
- Increase by Fixed Price: If selected, then the Modify by Fix Price field appears.
- Increase by Fixed Percentage: If selected, then the Modify by Percentage Price field appears.
Enter the numeric value to increase the price of the Zalora, product price by the entered value % of Magento 2 price.
For Example,
Magento 2 price + 5% of Magento 2 price.
Magento 2 Price = 100
Select Increase By Fixed Percentage option
Modify by Percentage Price = 5
100 + 5% of 100 = 100 + 5 = 105
Thus, Zalora Product Price = 105 - Decrease by Fixed Price: If selected, then the Modify by Fix Price field appears.
- Decrease by Fixed Percentage: If selected, then the Modify by Percentage Price field appears.
Enter the numeric value to decrease the price of the Zalora product price by the entered value % of Magento 2 price
For Example,
Magento 2 price – 5% of Magento 2 price.
Magento 2 Price = 100
Select Decrease By Fixed Percentage option
Modify by Fix Price = 5
100 – 5% of 100 = 100 – 5 = 95
Thus, Zalora Product Price = 95
- In Include Taxes, select Yes to add taxes to the product price to be sent to Zalora.
- In Parent Values In Case Of Configurable Product, choose the attribute values that will be fetched from the configurable product.
- In the Product Price, list, select one of the following options:
- Click on Zalora Inventory Settings, the section is expanded as shown below:

- Under Zalando Inventory Settings, do the following steps:
- In the Set Inventory on Basis of Threshold list, select Enable option if required to set the inventory based on a threshold.
Note: Only when the admin selects Enable, other fields appear. Threshold Inventory is the minimum count of an item that the store owner wants to keep in stock. - In the Inventory Threshold Value box, enter the required value.
- In the Send Inventory for Lesser Than Threshold Case box, enter the required value.
- In the Send Inventory for Greater Than Threshold Case box, enter the required value.
- In the Set Inventory on Basis of Threshold list, select Enable option if required to set the inventory based on a threshold.
- Click on Zalora Product Upload Settings, the section is expanded as shown below:

- Under Zalora Product Upload Settings, do the following steps:
- In Zalora Attribute Id, products that have this Attribute and its value are 1 those products will be displayed in the Zalora Product grid.
- In Zalora Markdown Discount, select the markdown discount which will send the discount amount if added to a product.
- Now scroll down and click on Zalora Product Update Settings, the section is expanded as shown below:
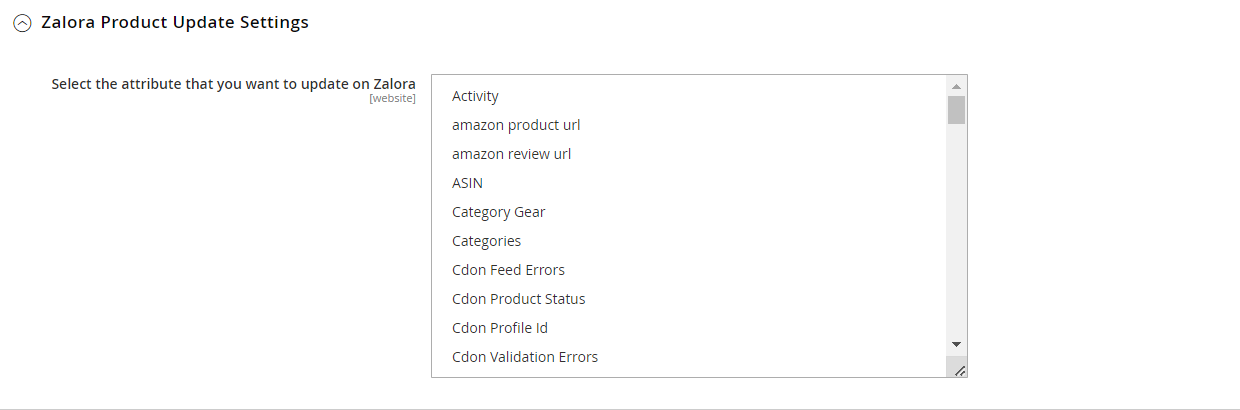
- Under Zalora Product Upload Settings, do the following steps:
- In Select the attribute that you want to update on Zalora, choose the attribute to update on the Zalora marketplace.
- Click on Zalora Price Settings, the section is expanded as shown below:
- Now scroll down and click on Zalora Order Settings, the section is expanded as:
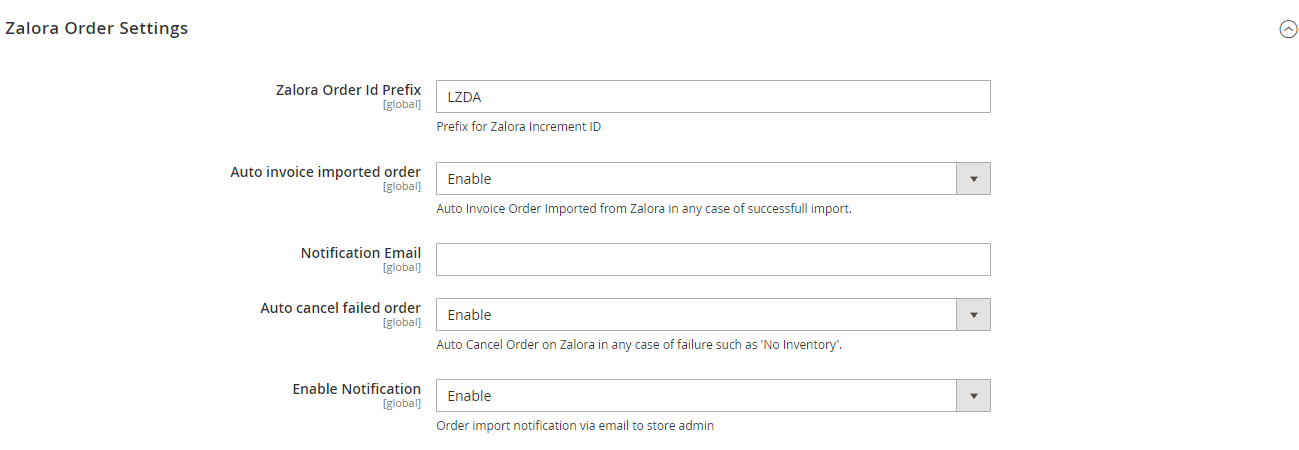
- Under Zalora Order Settings, do the following steps:
- In the Zalora Order Id Prefix, enter the unique prefix id for your Zalora orders.
- In Auto Invoice Imported Order, select Enable to automatically Import from Zalora in any case of successful import.
- In Notification Email, enter the email id on which you want to receive the notifications.
- In Auto Cancel Failed Order, select Enable to automatically cancel the failed orders.
- In Enable Notification, select Enable to receive the notifications.
- Now scroll down and click on Image Upload Settings, the section is expanded as shown below:
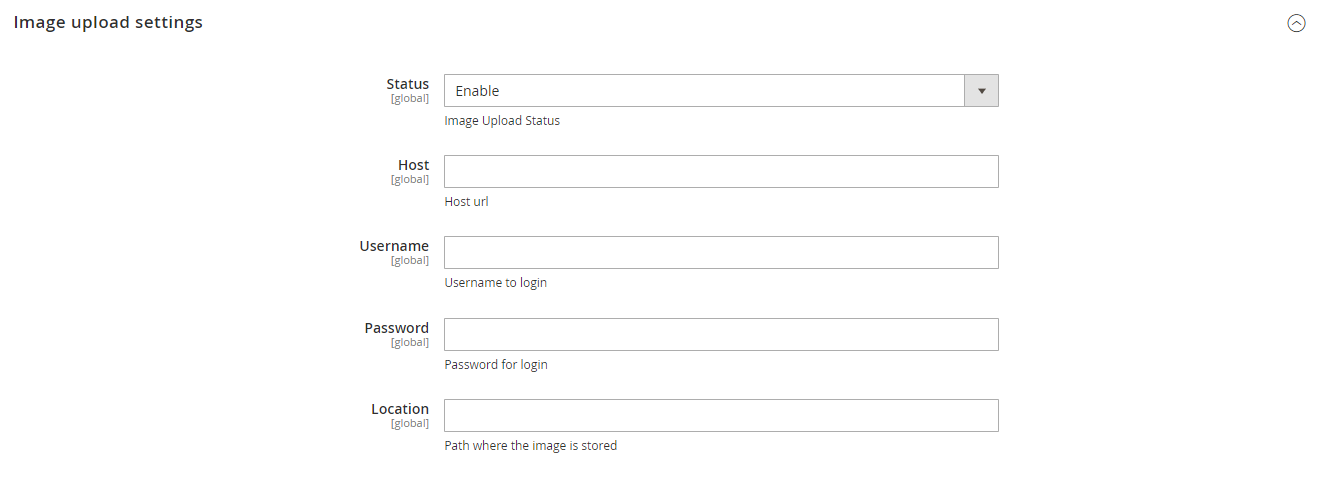
- Under Image Upload Settings, do the following steps:
- In Status, select Enable, to change the image upload status.
- In Host, enter the host URL.
- In Username, enter the username for login.
- In Password, enter the password.
- In Location, enter the path where the image is stored.
- Now click on the section Zalora Cron Settings, the section is expanded as:
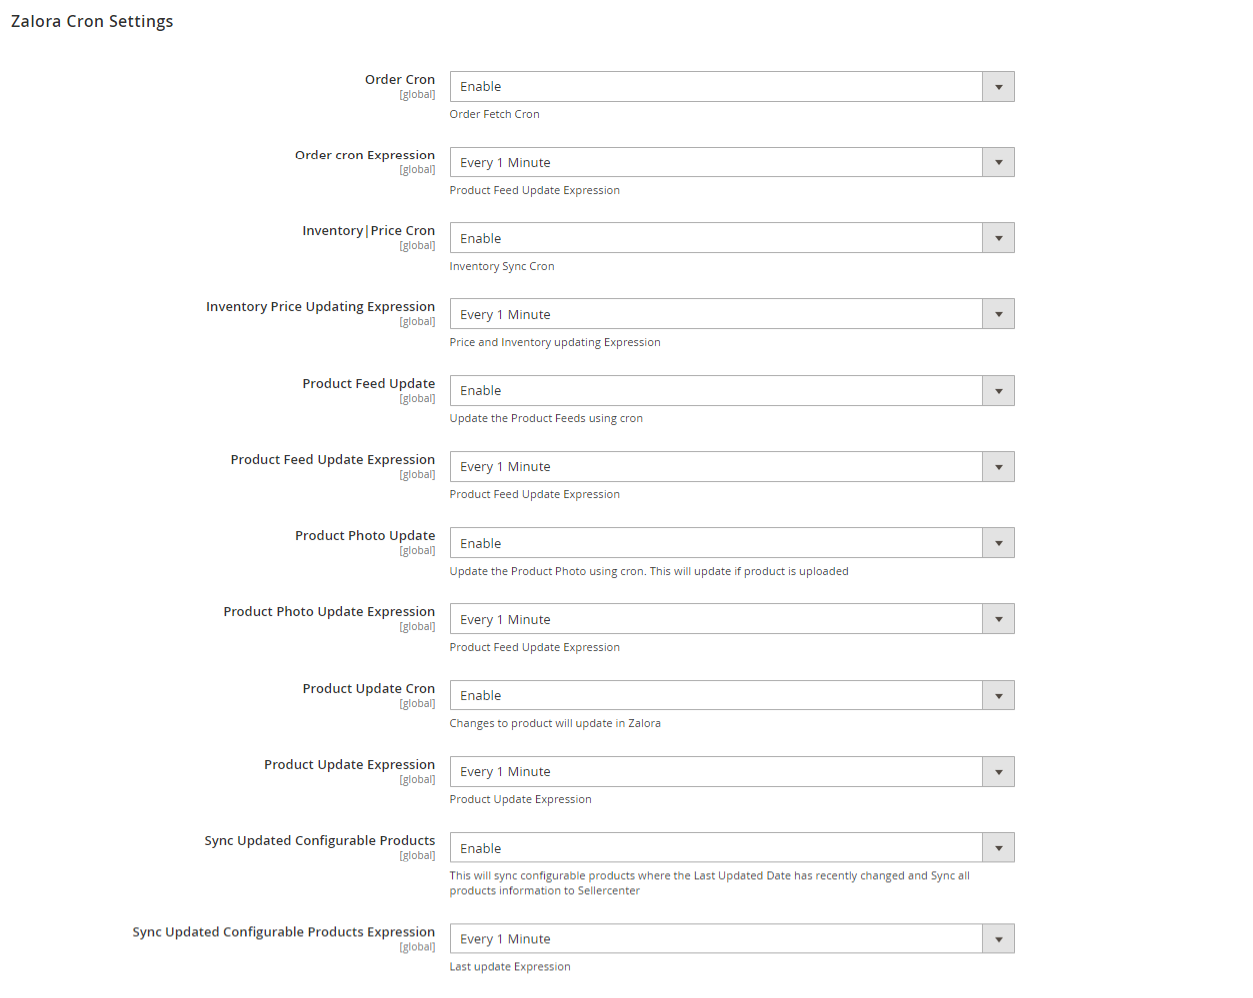
- Under this Zalora Cron Settings, do the following steps
- In the Order Cron list, select the Enable option to enable the fetch order cron.
- In Order cron Expression, select the duration at which you want the order cron to run.
- In Inventory|Price Cron, select Enable to sync Inventory and Price.
- In Inventory Price Updating Expression, select the duration in which you want inventory and price to be synced.
- In Product Feed Update, select Enable to update the product feeds.
- In Product Feed Update Expression, select the duration in which you want the feeds to be updated.
- In Product Photo Update, select Enable to update the product photo.
- In Product Photo Update Expression, select the duration to run this cron.
- In Product Update Cron, select Enable to update products.
- In Product Update Expression, select the duration at which you want to update the products.
- In Sync Updated Configurable Products, select Enable to synchronise the configurable products.
- In Sync Updated Configurable Products Expression, select the duration at which you want to sync the configurable products.
- Click the Save Config button to save the entered values and information.
The configuration will be saved.
×


