
Configuration Settings
To configure the extension,
- Go to the Magento Admin Panel.
- On the left navigation bar, click on WooCommerce Magento Integration.
The menu appears as shown below:

- Click on Configuration.
The Configuration page appears as shown below:
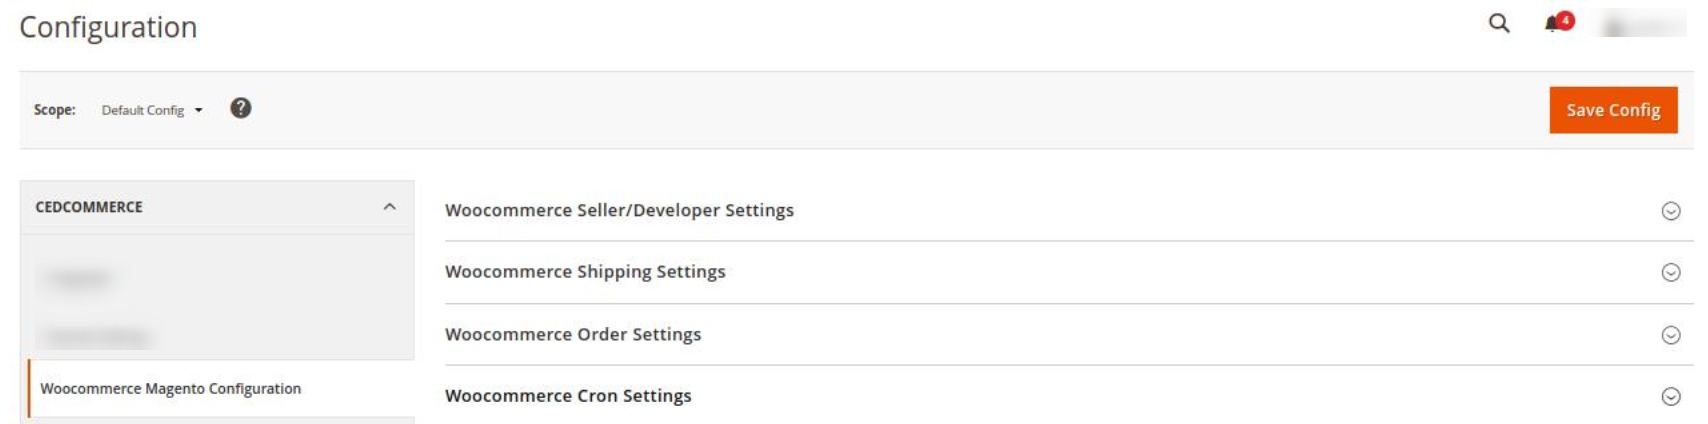
- In the right panel, click on WooCommerce Seller/Developer Settings. The section is expanded as shown below:
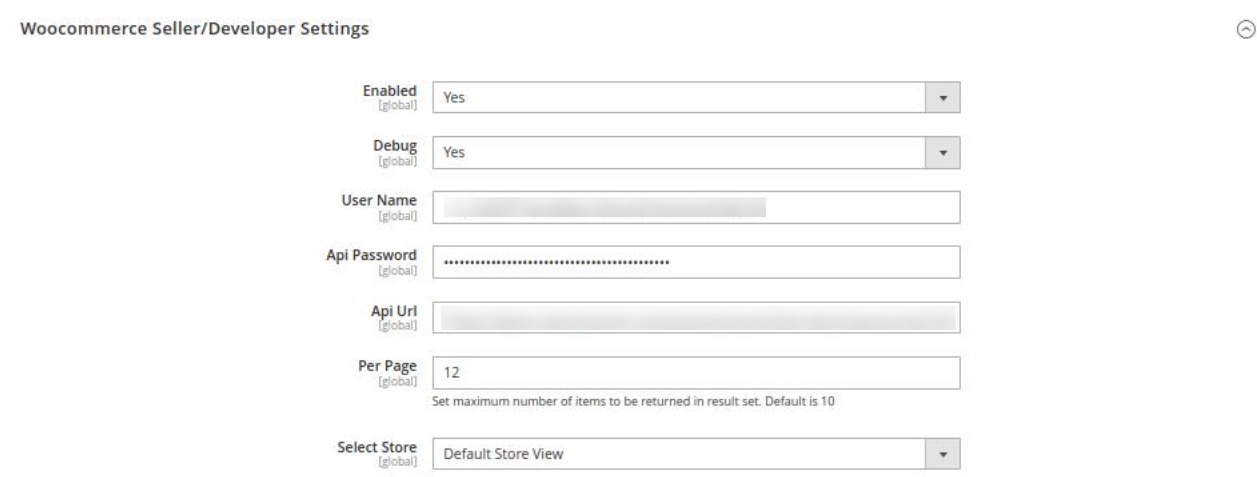
- Under WooCommerce Seller/Developer Settings do the following steps:
- In Enabled, select Yes to enable the extension configuration settings.
- In Debug Mode, select Yes if you want the logs to be created. This setting is for the developers.
- To enter the User Name, API Password, API Url you need to follow the below steps:
- Login to your WordPress Seller Panel.
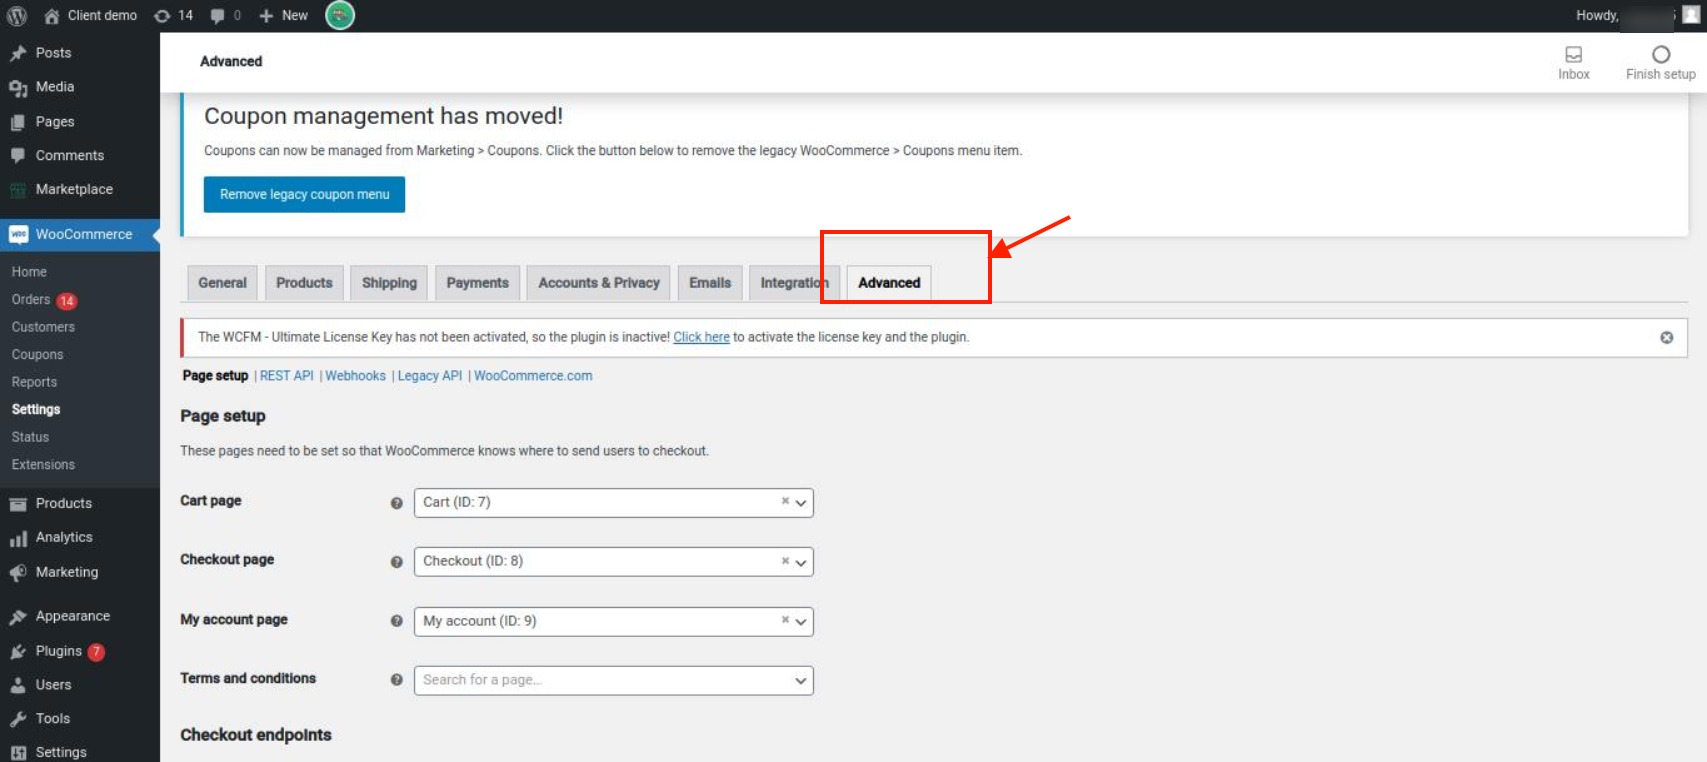
- Then go to WooCommerce, click on Settings.

- Then click on Advanced. The section appears as shown below:
- Under Advanced, click on Rest API. The keys will be generated and displayed as shown below:
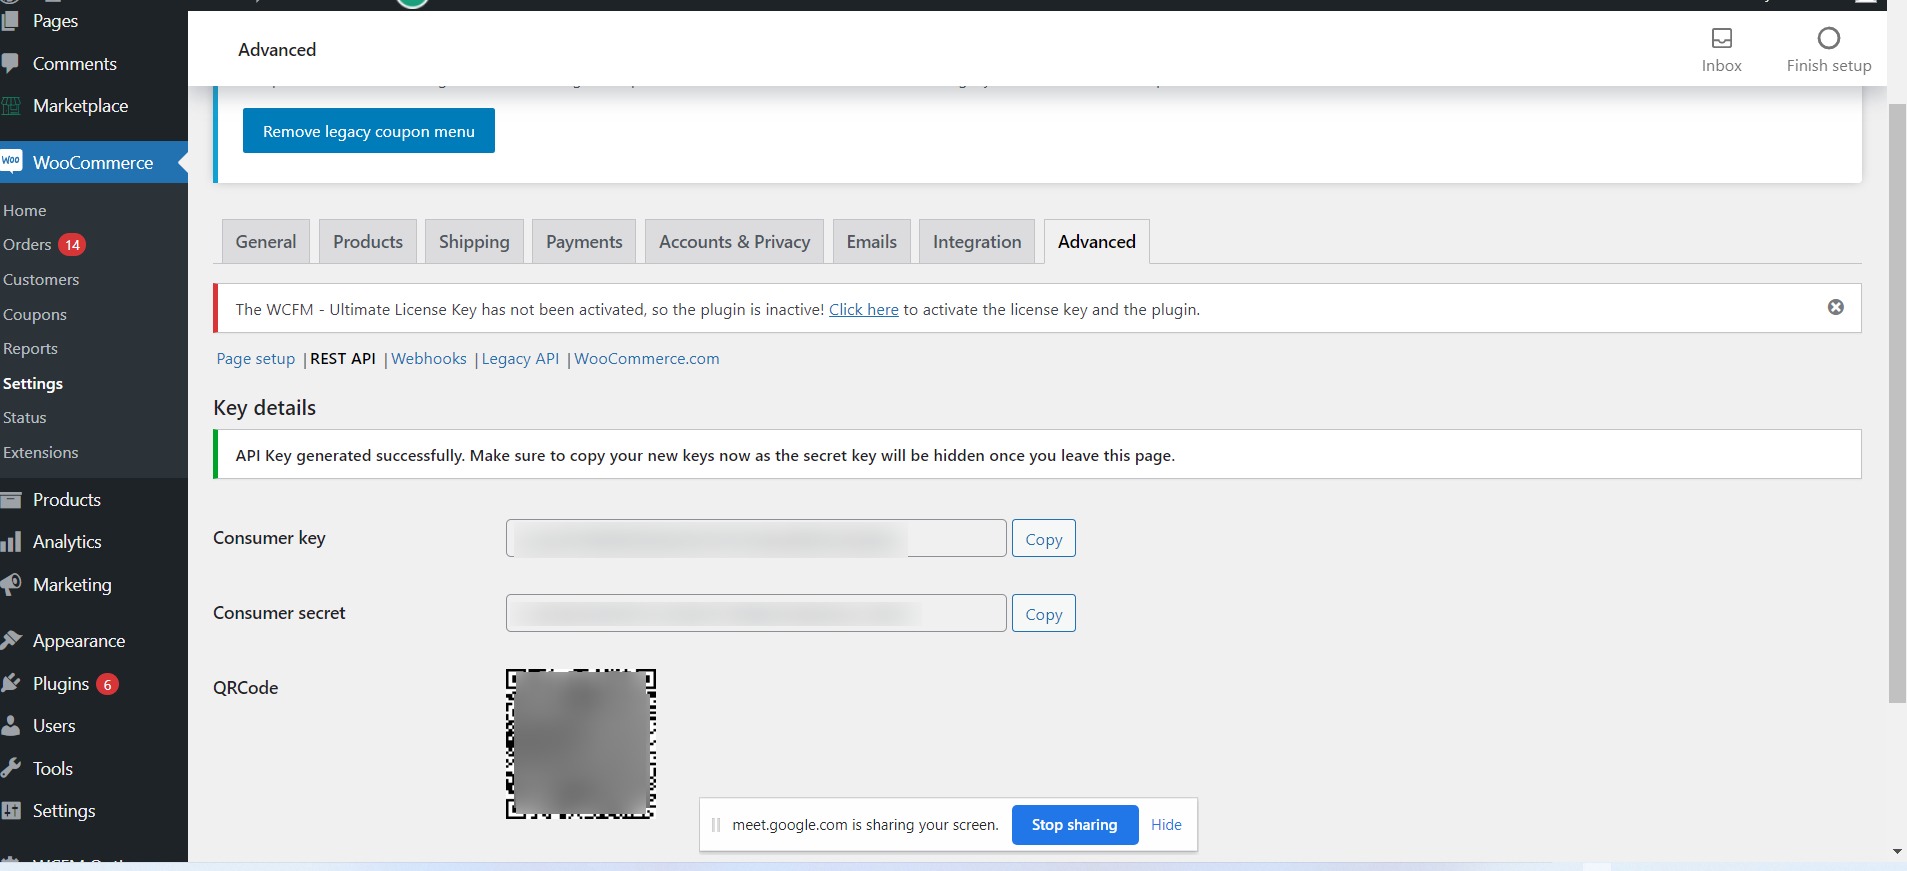
- The Consumer Key, Customer Secret keys will be fetched. Copy these keys from here then paste them in your Magento admin panel.
- In Per Page, enter the value to set the maximum number of items to be returned in the result set. (By default the value is set as 10.)
- In Select Store, select the store view from the drop-down list that you want for your store.
- Scroll down and click on WooCommerce Shipping Settings. The section is expanded as shown below:
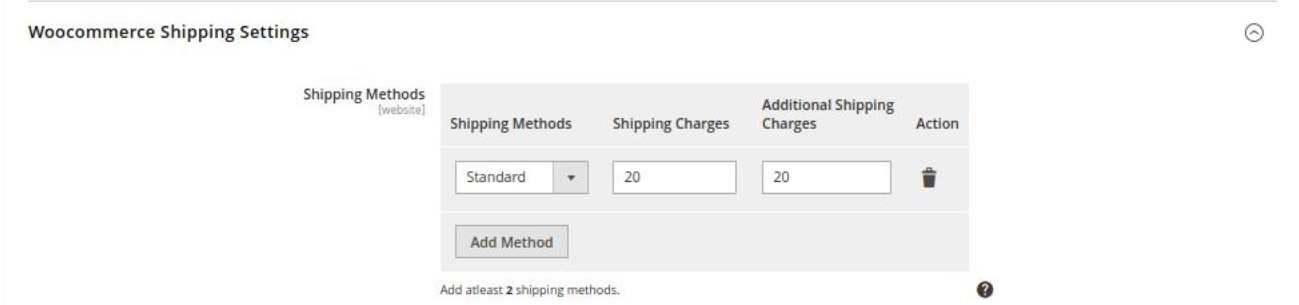
- Under WooCommerce Shipping Settings, do the following steps:
- In the Shipping Methods, map the shipping methods with the shipping charges along with the additional shipping charges of the orders. You need to add a minimum of 2 shipping methods.
- Scroll down and click on WooCommerce Order Settings. The section is expanded as shown below:
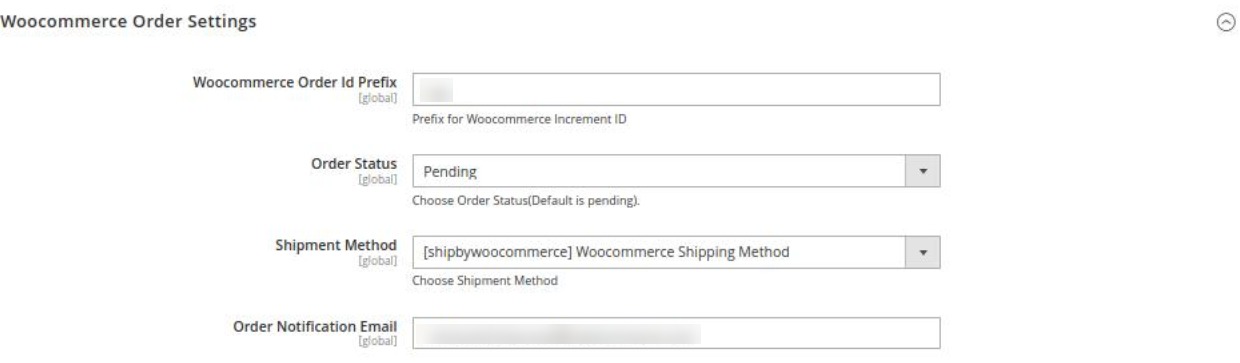
- Under WooCommerce Order Settings, do the followings steps:
- In Woocommerce Order Id Prefix, enter the prefix id for the order. This prefix id you enter here will be displayed along with your orders in the order grid.
- In Order Status, the particular state of the order will be fetched. By default, the Pending status is selected.
- In the Shipment Method, choose the WooCommerce shipment method for your order.
- In the Order Notification Email, enter the email id on which you wish to receive the notifications to stay updated regarding the orders.
- Now scroll down and click on WooCommerce Cron Settings. The section is expanded as shown below:
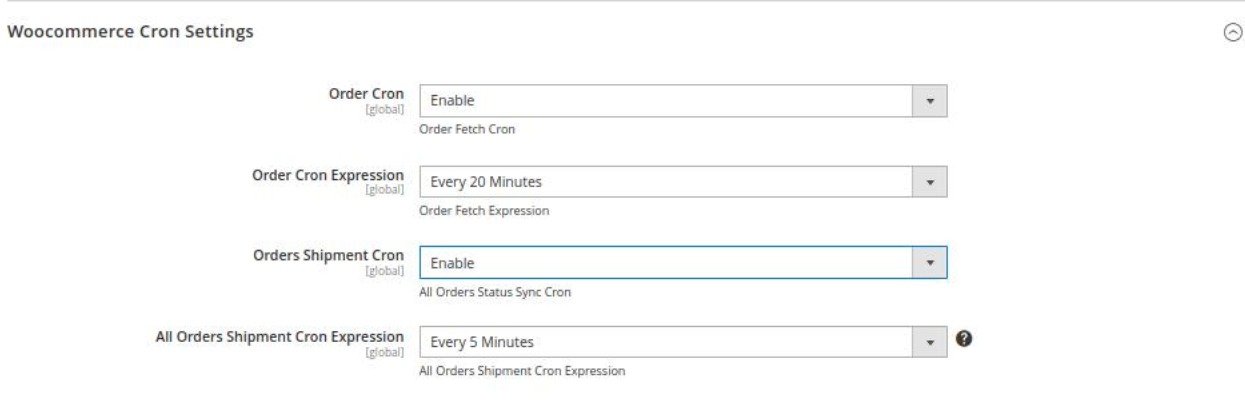
- Under WooCommerce Cron Settings, do the following steps:
- In Order Cron, select Enable if you want to fetch the orders automatically. Order Crons are used to fetch the orders at regular intervals of time.
- In Order Cron Expression, select the duration for running the order import cron. Whatever time is selected by you at that duration the order cron will run and import the order.
- In Order Shipment Cron, the tracking details of orders existing on WooCOmmerce will be updated as it is on the Magento orders if you select Enable option.
- In All Order Shipment Cron Expression, select the duration to track the shipment of the order through the crons.
- Click on the Save Config button.
The selected configuration settings will be saved.
×


