
3.2.Create Deals ↑ Back to Top
Vendors can create an exciting and interesting deals for a specific product to attract their customers towards their products and thus increase their sale.
To create deals
- Go to the Vendor panel.
- On the left navigation bar, click the Vendor Deals menu, and then click Create Deals.
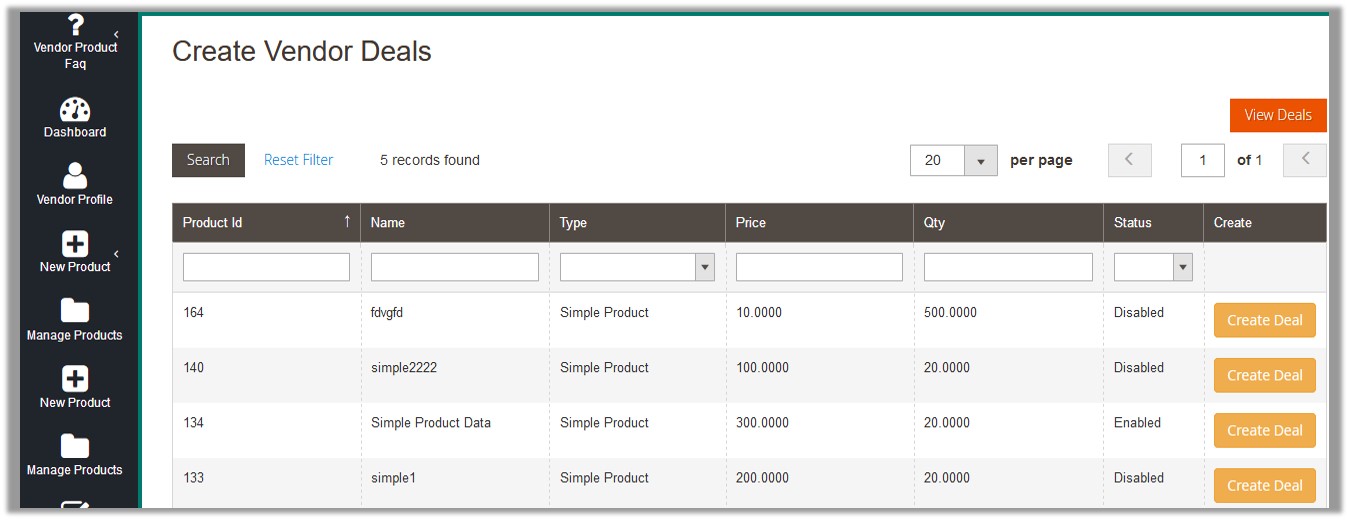
- Scroll down to find the required product for which the admin wants to create the deal.
- In the Create column of the required product row, click the Create Deal button.
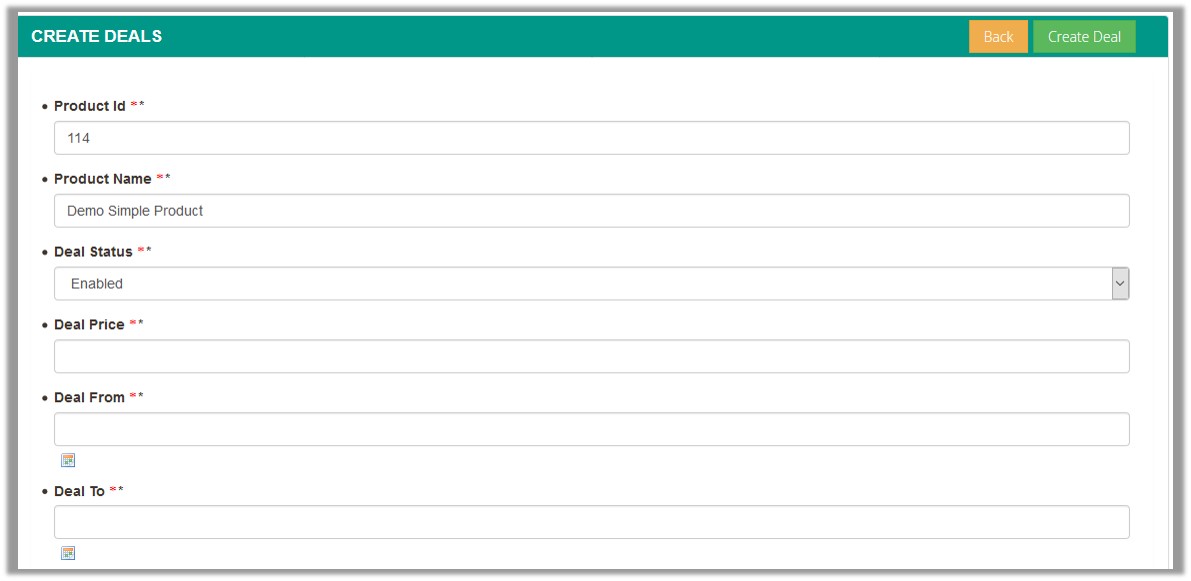
The following fields appear on this page:- Product Id: Product Id of the product for which the vendor is creating deal. The appeared value is read-only.
- Product Name: Product name of the product for which the vendor is creating deal. The appeared value is read-only.
- Deal Status: Status of the deal, such as Enabled, Disabled, and Expired.
- Deal Price: The offer price that the vendor wants to set up for the specific product.
- Deal From: The date when the deal starts.
- Deal To: The date when the deal ends.
- In the Deal Status list, select the required status of the deal.
- In the Deal Price box, enter the offer price.
- In the Deal From box, click the box.
Calendar appears as shown in the following figure:
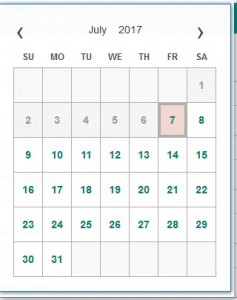
- Click to select the required date.
The date appears in the the Deal From box.
- Click to select the required date.
- In the Deal To box, click the box.
Calendar appears as shown in the following figure:
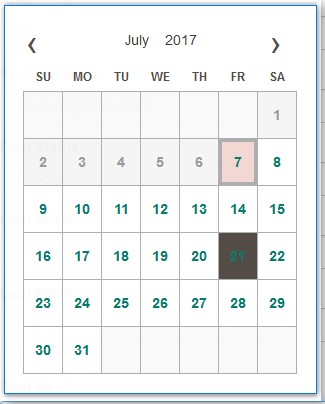
- Click to select the required date.
The date appears in the the Deal To box.
- Click to select the required date.
- In the upper-right corner, click the Create Deal button.
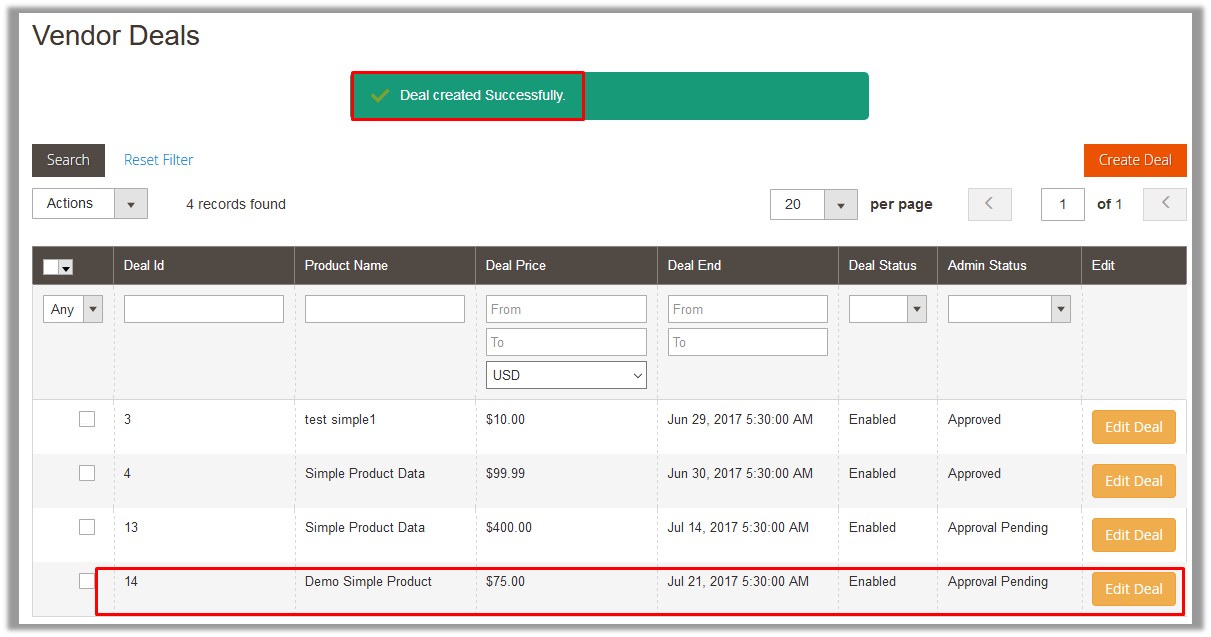
The deal is created for the product and the page is redirected to the Vendor Deals page, where the deal is listed and a success message appears as shown in the following figure:
×


Leave a Reply
You must be logged in to post a comment.