
Account Settings

To Manage Account On Shopee,
- Go to the Magento 2 admin panel.
- On the left navigation bar, click Shopee Integration.
- When the menu appears, click Accounts.
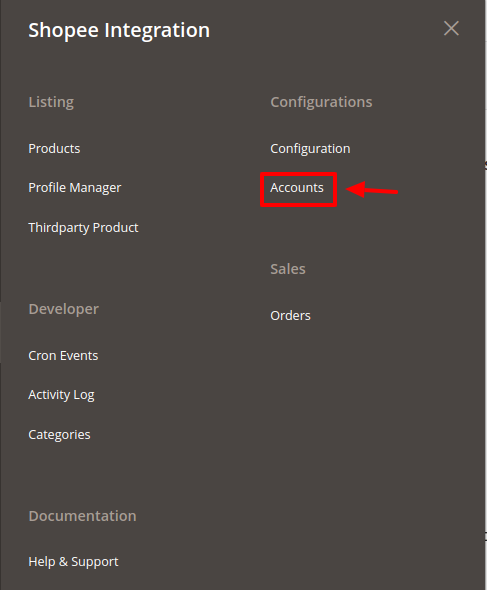
- On clicking it, you will be navigated to the page as shown below,

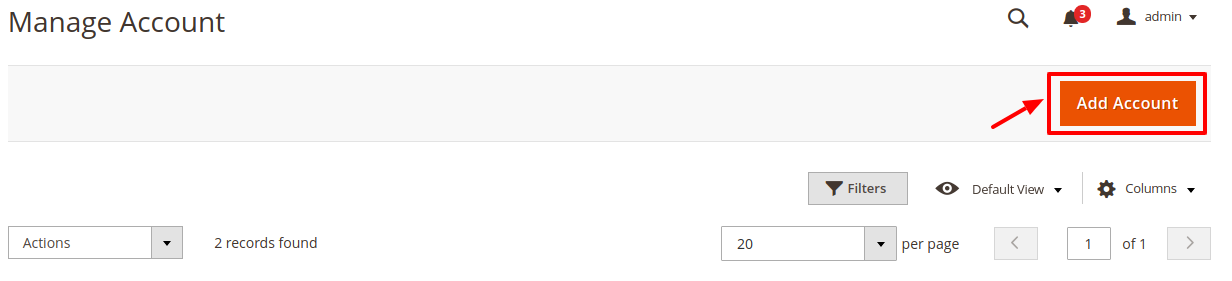
- All the accounts that are created will be listed here along with the details associated with them.
- To add a new account, click on Add Account button on the top right corner.
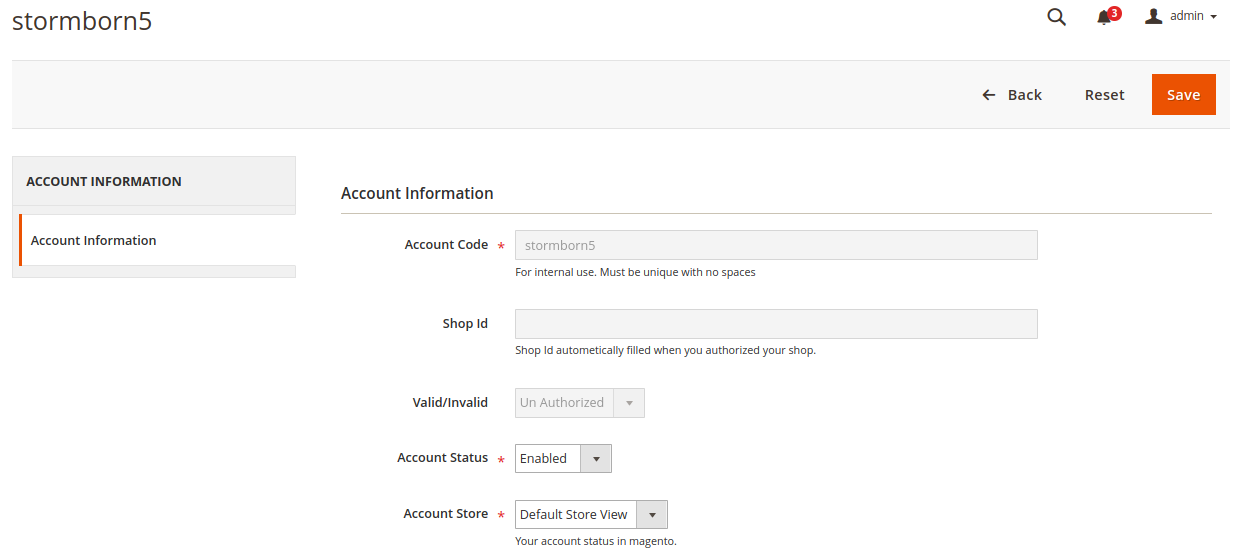
- You’ll be redirected to a new accounts page:
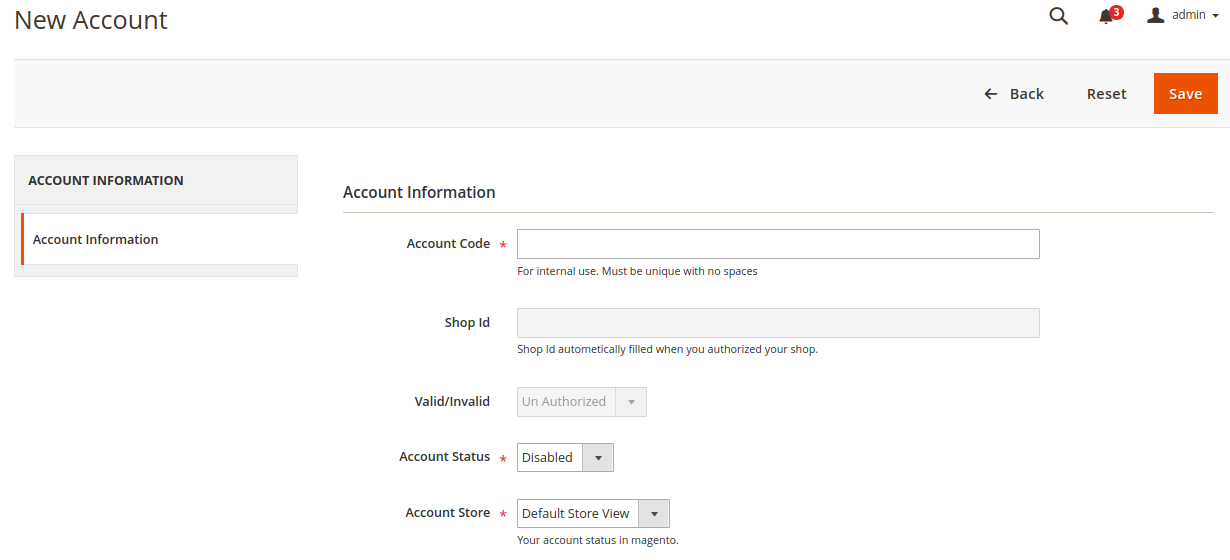
- Enter the Account Code in the first section.

Example: You can name the account code something like SHO1 depicting the account of your 1st store of Shopee.
- The Shop Id will be fetched automatically from the Shopee seller panel if you have entered the right details in the configuration section.
- The Valid/Invalid section gets automatically filled based on your store’s validation. It is performed afterward.
- You can choose the current status of the account under the section Account Status. Choose Disable if you do not wish to use this account and Enable when you want it active.
- In the Account Store section choose the view of the Magento store.
- Once all the actions have been taken so far, click on the Save button on the top right of the page. The success message appears:

- You are redirected back to the accounts page.
To validate the Account:

- Click on the authorize button associated with the account you wish to validate as shown in the figure below:
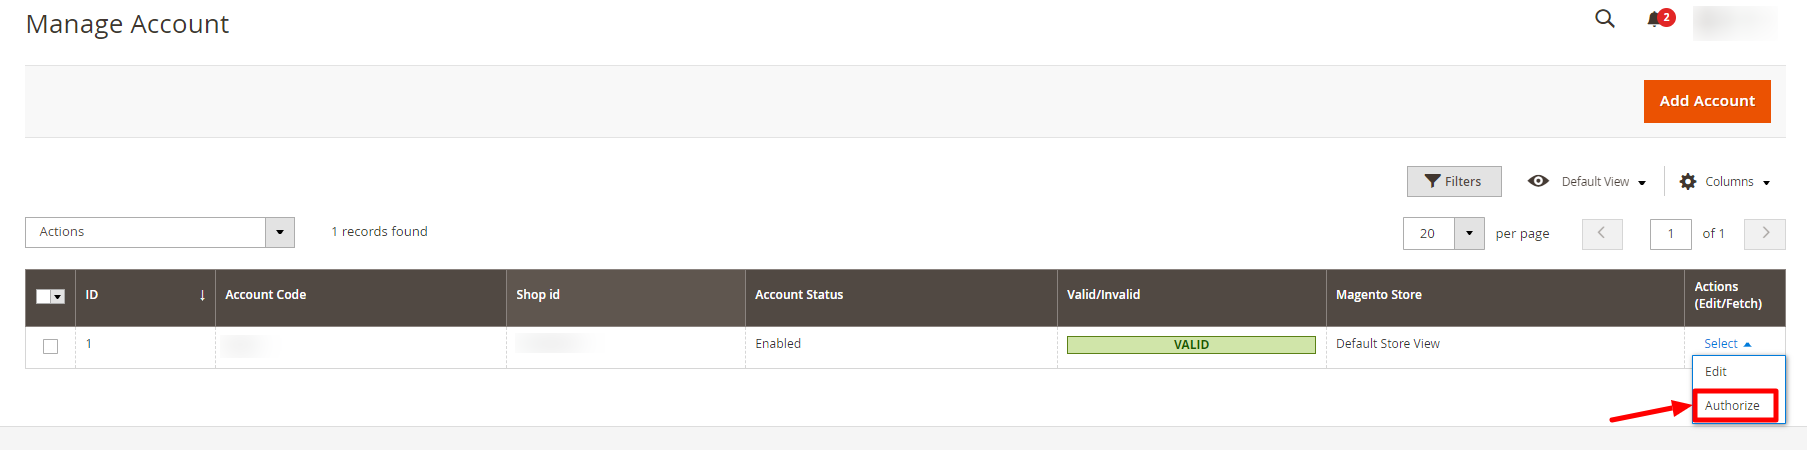
- You will be redirected to your Shopee Seller panel and then after verification redirected back to your Magento panel.
- The Valid/Invalid section of your account shows a green box named valid.

- Congratulations, your account is now valid and can be used.
To Edit The Account:
- Click on the edit button associated with the account you wish to make changes in:
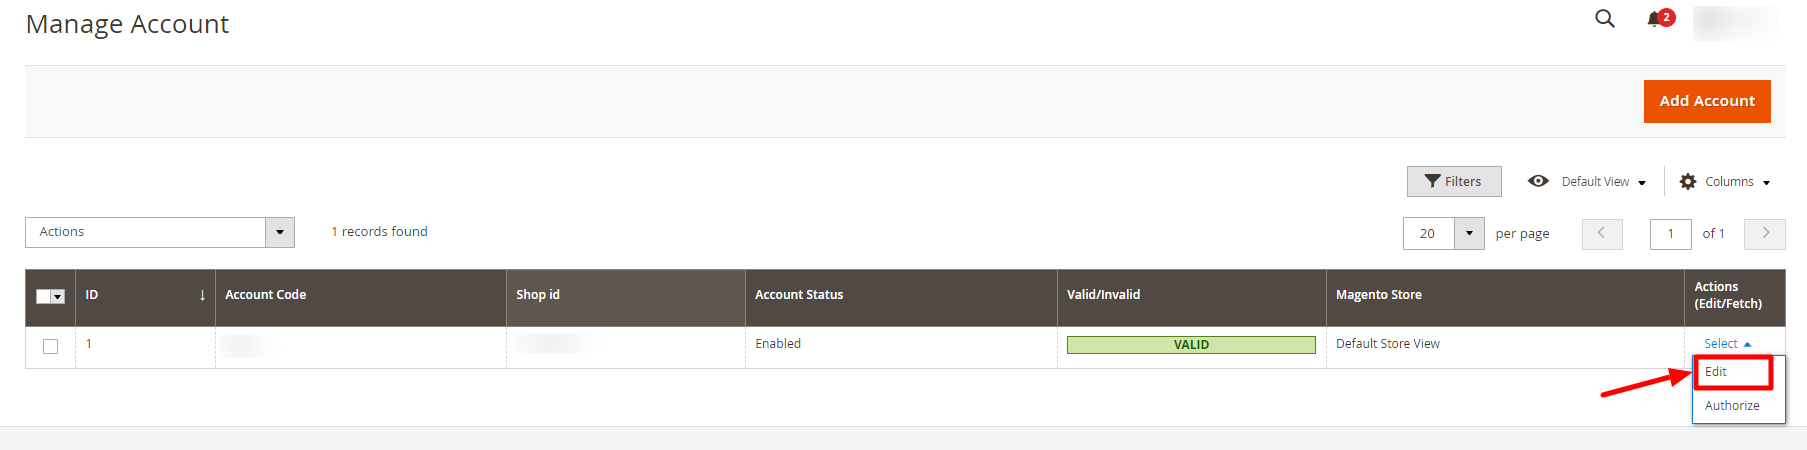
- The edit account page opens up where you can make the desired changes as you wish:
- Click on the Save button and account changes are finalized.
×


