
2.1.Configuration Settings ↑ Back to Top
To set up the configuration settings
- Go to the Admin panel.
- On the left column menu, click the CED MARKETPLACE.
The side menu appears as shown in the following figure:
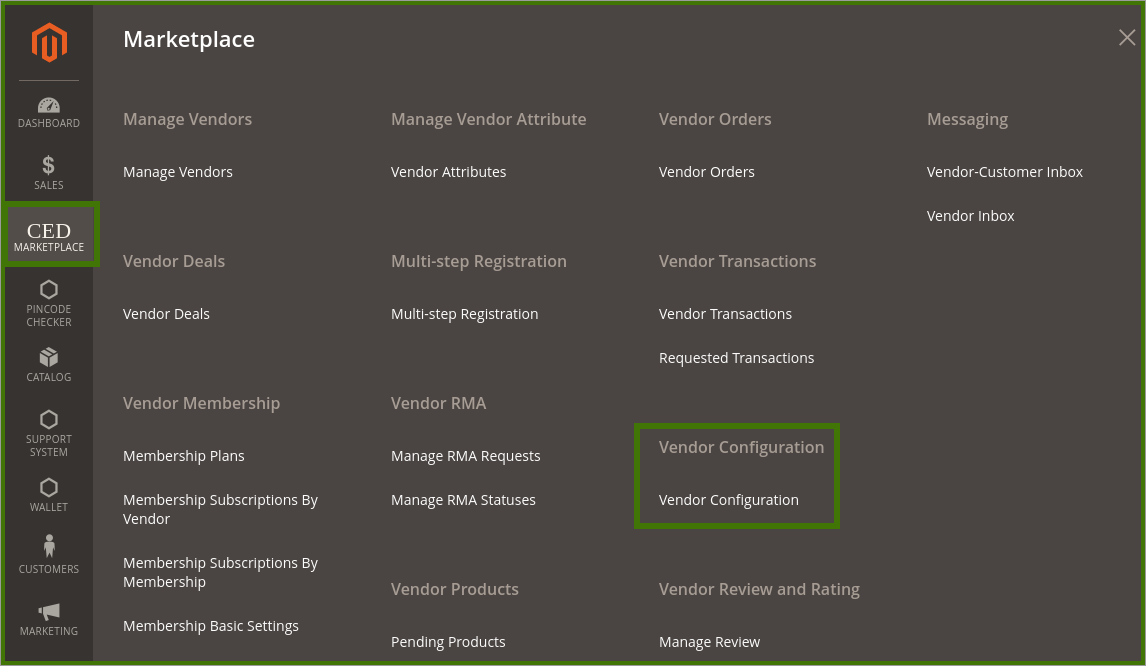
Click on the Vendor Configuration a new page appears as shown in the following figure:

1. General Settings:
Under Vendor RMA General Settings, set up the required values in the following fields:
- Enable Extension: To enable or disable the Vendor RMA features in Magento 2.
- Default Transfer RMA to Vendor: Select Yes to transfer all the newly created RMA automatically to the vendor if the admin does not want to manually transfer each RMA to the respective vendor. Hence vendor can start handling RMA whenever created.
- Allow Guest to request RMA: Admin can allow or avoid permitting Guests to request for RMA.
-
Time after delivery for permitting RMA Request: Minimum period in a number of days, such as warranty period for which any order is available for RMA after the period is over.
2. Mail Contacts:
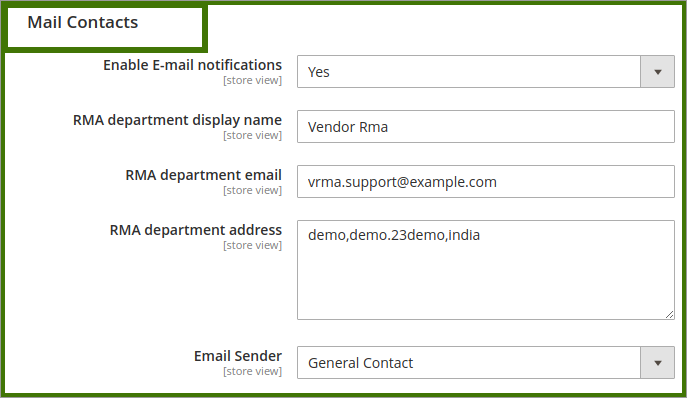
Under Mail Contacts Settings, enter the required values in the following fields:
- Enable E-mail Notifications: If the admin selects Yes, then the email notification is sent on RMA creation and updating.
-
RMA department display name: Admin can provide the name of the RMA service department other than the alternative option of Administrator. The provided name appears in the mails sent by the admin, available chats window, and so on.
-
RMA department email: Mail Id that the admin wants to use for sending and receiving mails on behalf of the RMA department.
-
RMA department address: The correspondence address of the RMA department.
-
Email sender: Define the sender of the email notifications.
3. Chat Contacts:

Under Chat Contacts Settings, enter the required values in the following fields:
- Enable chats and their mail notifications: Admin can enable it to YES/NO the chats and the email notifications through email.
- Chat sender’s name: Admin can set the name of the chat person name.
4. Return Policy:
 Under Return Policy Settings, enter the required values in the following fields:
-
Return Policy Description: Enter the text that the Admin wants to display as the policy description.
5. Properties:
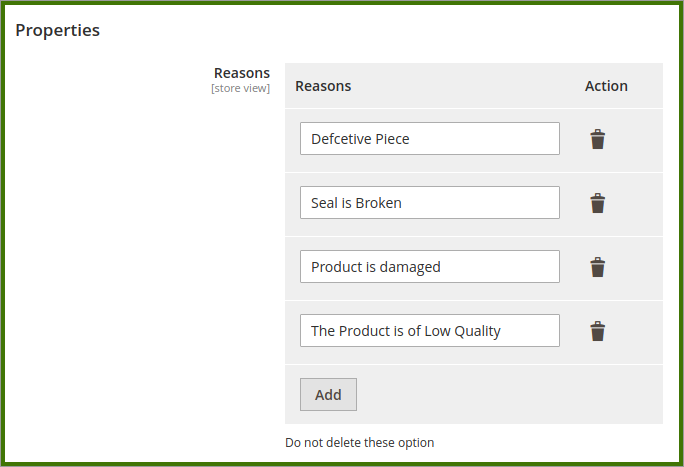
- Reasons: Contains a list of a few sample reasons. To add more reasons, click the Add Reasons button, and enter the required reason in the appeared box.
- providing reasons option for requesting RMA, then the user has to compulsorily provide the reason for requesting RMA.
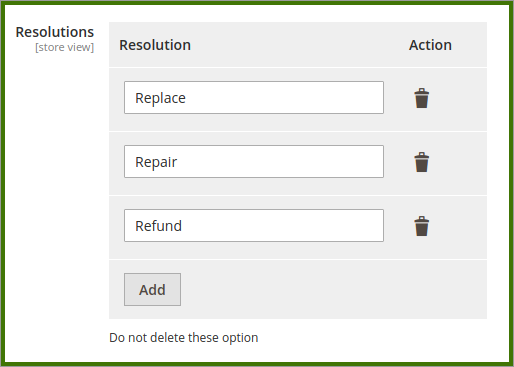
- Resolutions: Contains a list of a few sample conditions. To add more resolutions, click the Add Resolutions button, and enter the required resolution in the appeared box. e.g Replace/Repair/Refund can be set by admin that is to be done, after reasons selected by the user for RMA.
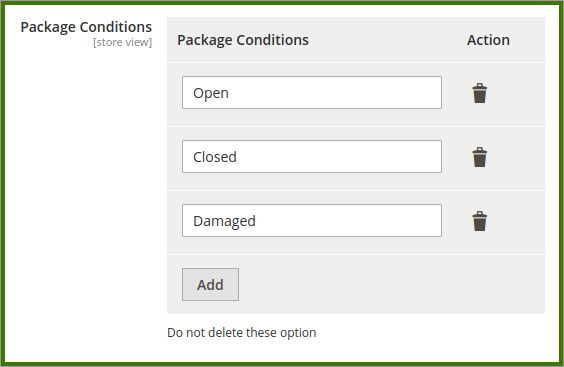
- Package Conditions: Contains a list of a few sample conditions. To add more package condition, click the Add Conditions button, and enter the required conditions in the appeared box, this allows user to select the package related issue.
6. RMA for Order Status Settings:
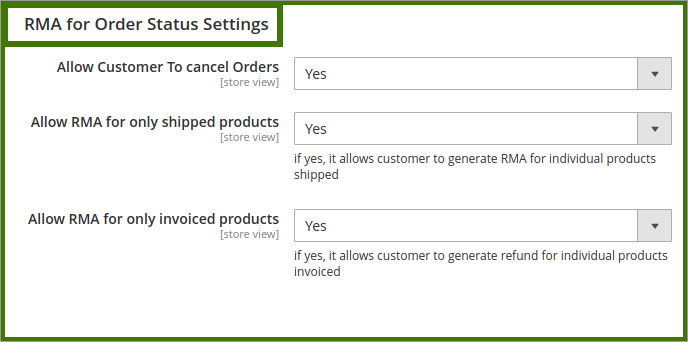
Under RMA for Order Status Settings, enter the required values in the following fields:
- Allow Customer To cancel Orders: If the admin selects Yes, then the customers can cancel the order before invoice & shipment.
- Allow RMA for only shipped products: If the admin selects Yes, then the users can generate RMA for the individual product that is shipped.
- Allow RMA for only invoiced products: If the admin selects Yes, then the users can generate RMA for the individual product that is invoiced but has not yet shipped.
×


