
Add a New Vendor Group
While adding a new vendor group, the admin can add the following group information:
- Group Name and Code
- Group Configuration settings related to Vendor Products, Orders, and Payments
- Group Role Resources
- Assign the selected vendors to the group
To add a new vendor group
- Go to the Admin panel.
- On the left navigation bar, click the MARKETPLACE menu, and then click Vendor Groups.
The Manage Vendor Groups page appears as shown in the following figure:
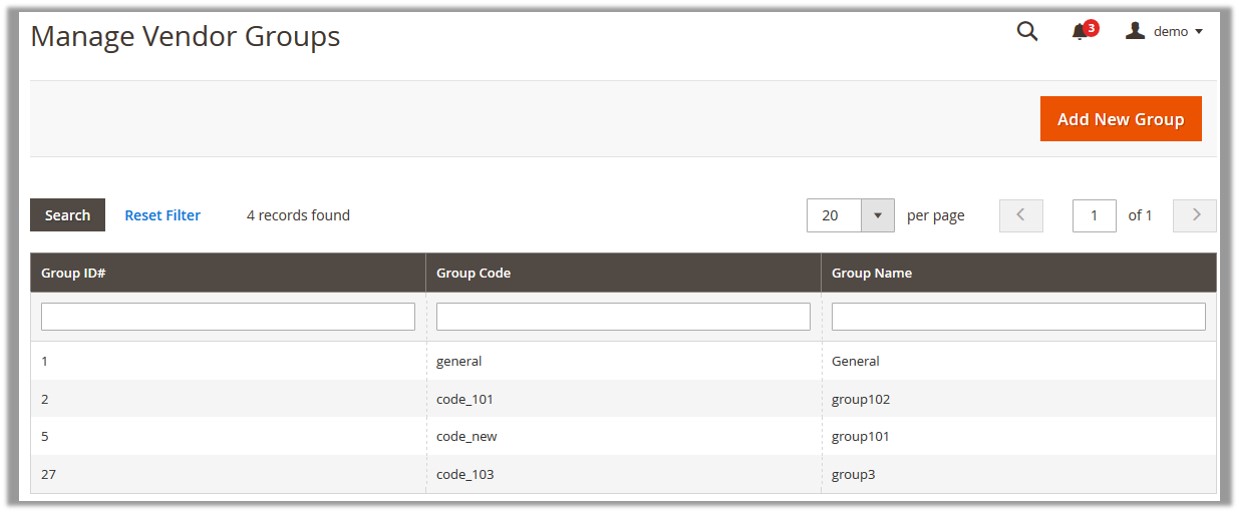
- Click the Add New Group button.
The New Vendor Group page appears as shown in the following figure:
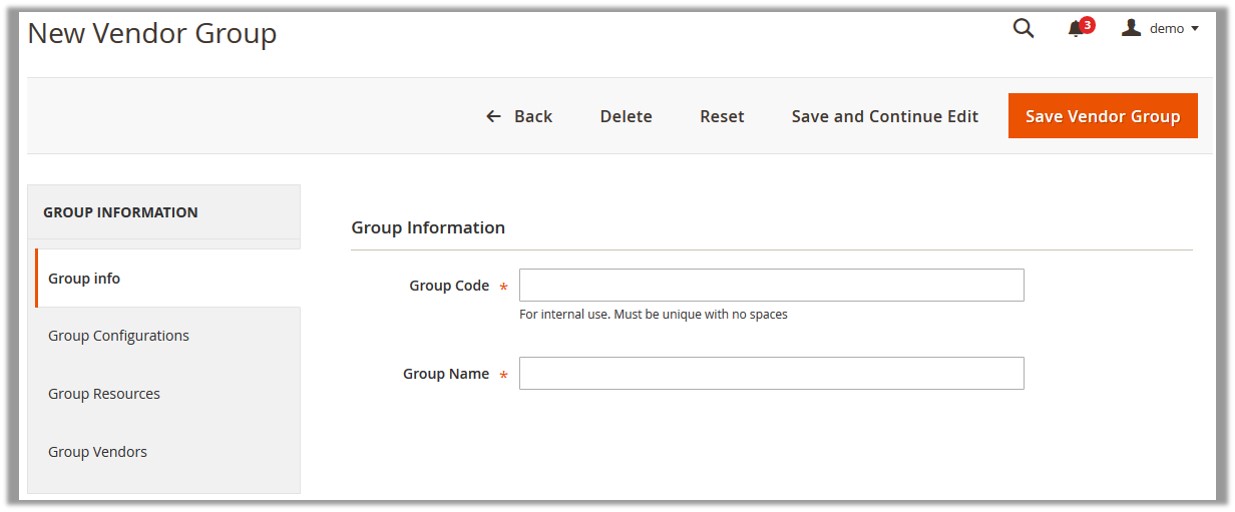
- In the right panel, under the Group Information section, do the following steps:
- In the Group Code box, enter a unique code.
Enter a unique code without space. - In the Group Name box, enter the name of the group.
- In the Group Code box, enter a unique code.
- Click the Save and Continue Edit button.
- In the left navigation panel, click the Group Configurations menu.
The page appears as shown in the following figure:
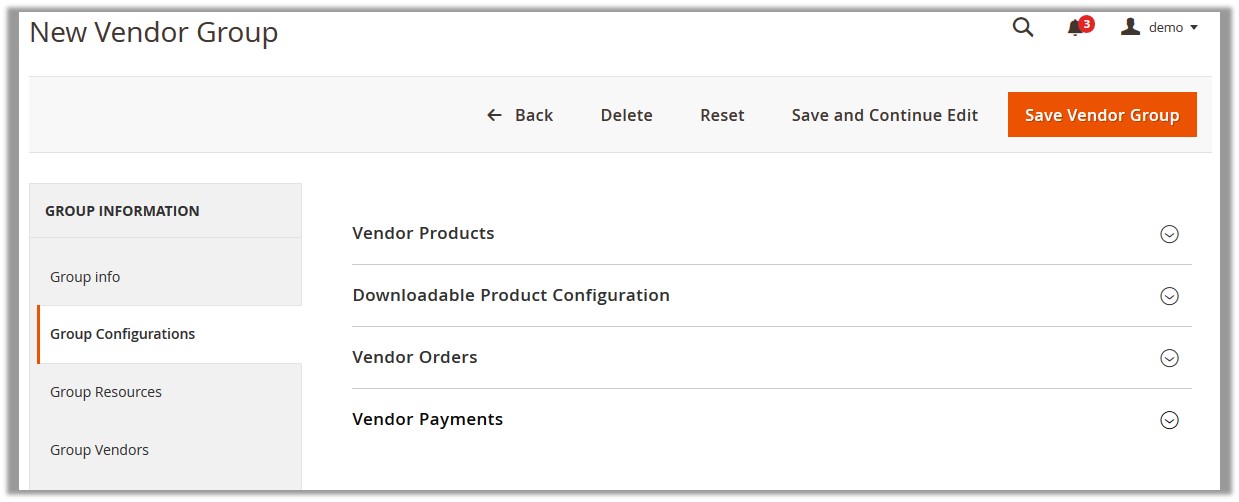
- In the right panel, click the Vendor Products tab.
The tab is expanded and the corresponding fields appear as shown in the following figure:
Note:
Select the corresponding Use System Value check box, to use the default value.
OR
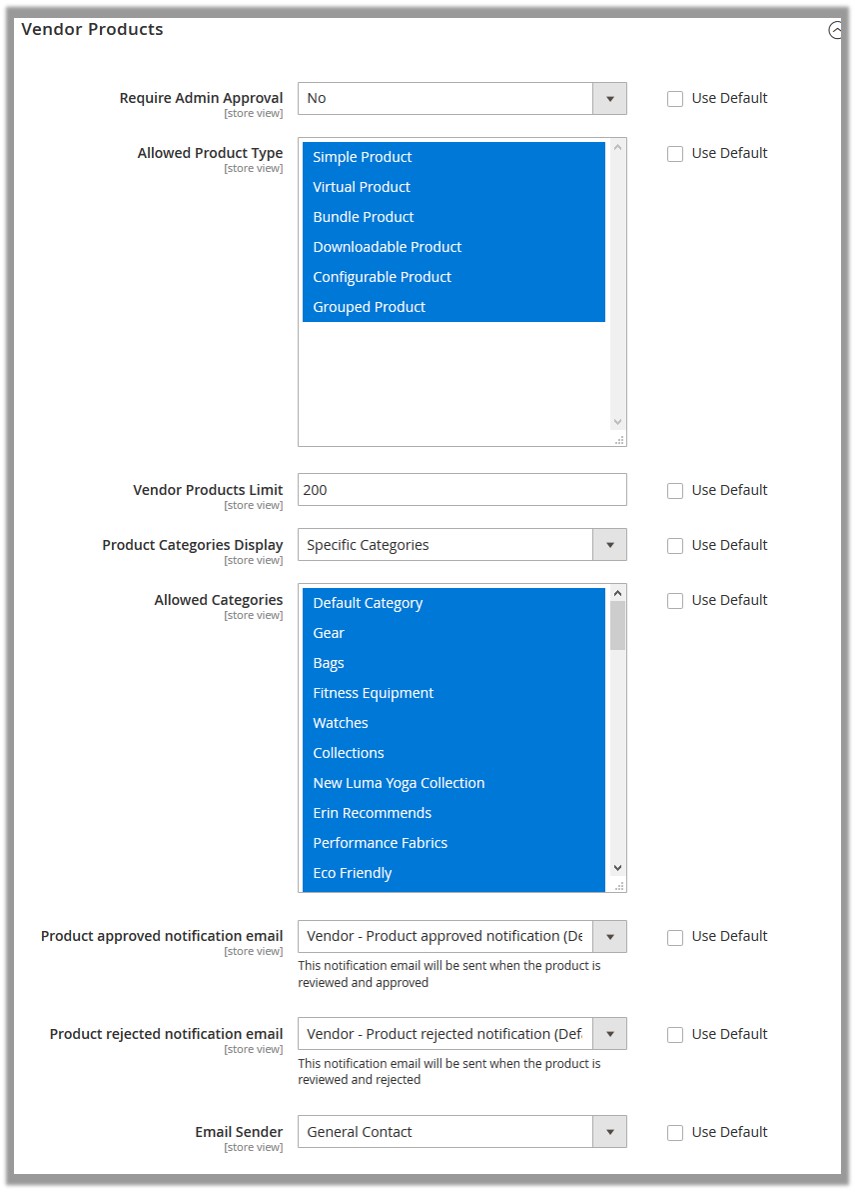
Clear the Use System Value check box, and then enter the required value in the required fields. - Under the Vendor Products section, do the following steps:
- In the Require Admin Approval list, select Yes to enable the requirement of admin approval for the vendor products.
- In the Allowed Product Type list, select the required product types.
- In the Vendor Products Limit box, enter the required number of products.
Restricts the vendor from creating the products more than the specified number. - In the Product Categories Display list, select one of the following options:
- All Allowed Categories: Allows the vendors to use all the available categories.
- Specific Categories: On selecting this option, the next field Allowed Categories appears, from where admin can select the each required product category from the list.
- In the Product approved notification email list, select the notification email that needs to send when the product is reviewed and approved.
- In the Product rejected notification email list, select the notification email that needs to send when the product is reviewed and rejected.
- In the Email Sender list, select the name of the individual who is responsible to send the emails.
- Scroll down to the Downloadable Product Configuration tab, and then click the tab.
The tab is expanded and the relevant fields appear as shown in the following figure:
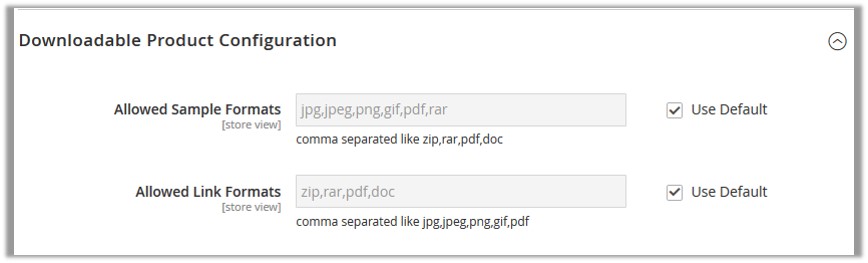
Note: Here the default values are applied as the Use System Value check box is selected. To use the custom value, clear the Use System Value check box, and then enter the required value in the required fields. - Under the Downloadable Product Configuration section, enter the required values in the following fields:
- In the Allowed Sample Formats box, enter the file formats.
Admin can set the various allowed file formats for the sample version of the downloadable product. Admin has to enter each file format with comma separated. - In the Allowed Link Formats box, enter the file formats.
Admin can set the various allowed file formats of the downloadable product used in the link. Admin has to enter each file format with comma separated.
- In the Allowed Sample Formats box, enter the file formats.
- Scroll down to the Vendor Orders tab, and then click the tab.
The tab is expanded and the relevant fields appear as shown in the following figure:
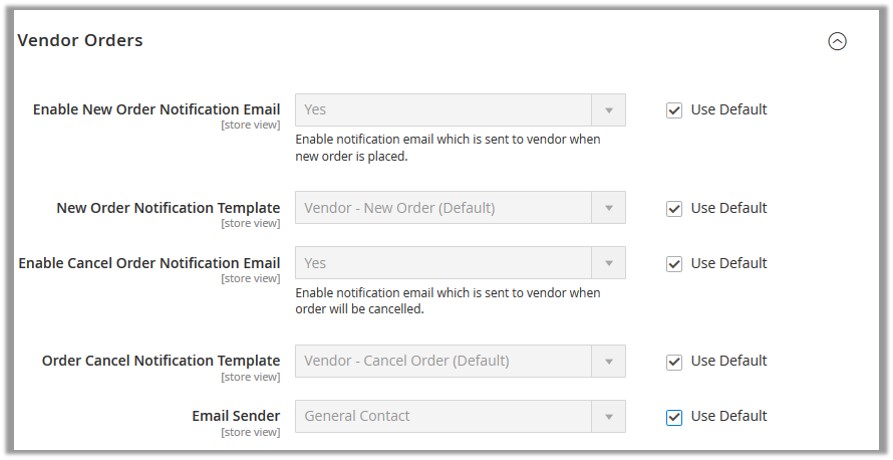
Note: Here the default values are applied as the Use System Value check box is selected. To use the custom value, clear the Use System Value check box, and then enter the required value in the required fields. - Under Vendor Orders, enter the required values in the following fields:
- Enable New Order Notification Email: Select Yes to enable the notification email, which is sent to the vendor when a new order is placed.
- New Order Notification Template: Select the notification email template for the new order notification email, which is sent to the vendor when a new order is placed.
- Enable Cancel Order Notification Email: Select Yes to enable notification email, which is sent to the vendor when the order is canceled.
- Order Cancel Notification Template: Select the notification email template for the order cancelation notification email, which is sent to the vendor when an order is canceled.
- Email Sender: Select the required individual as a sender of the email.
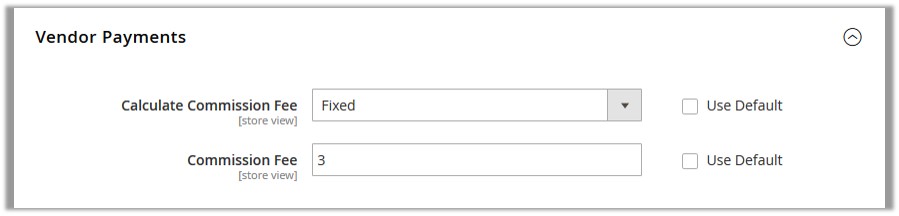
- Scroll down to the Vendor Payments tab, and then click the tab.
The Vendor Payments tab is expanded and the relevant fields appear as shown in the following figure:
Note:
Select the corresponding Use System Value check box, to use the default value.
OR
Clear the Use System Value check box, and then enter the required value in the required fields. - Under Vendor Payments, do the following steps:
- In the Calculate Commission Fee list, select the unit of the commission price entered in the Commission Fee box.
- Percentage
- Fixed
- In the Commission Fee box, enter the commission value, either in a percentage of fixed, as per selected Calculate Commission Fee list.
For instance,
Commission Fee = 10
Calculate Commission Fee = Percentage, then the commission rate = 10% of the order total amount,
Calculate Commission Fee = Fixed, then the commission rate = 10 (currency amount).
- In the Calculate Commission Fee list, select the unit of the commission price entered in the Commission Fee box.
- Click the Save and Continue Edit button.
- In the left navigation panel, click the Group Resources menu.
The page appears as shown in the following figure:
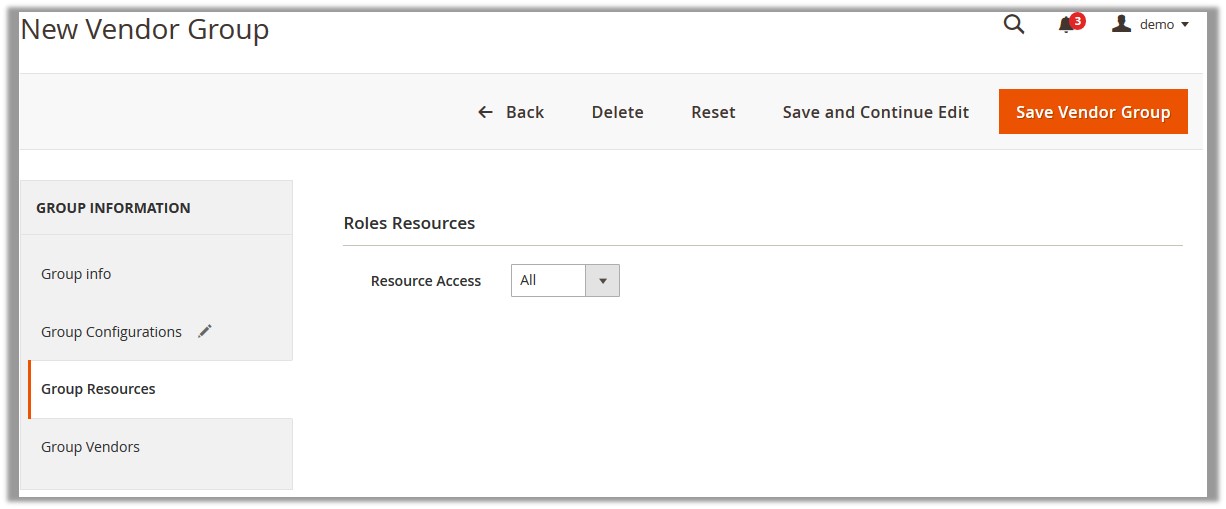
- In the right panel, under the Roles Resources section, do the following step:
- In the Resource Access list, select one of the following options:
- All: All the resources are provided to the current vendor group.
- Custom: If selected, then the resources list appears as shown in the following figure and the Admin can select the check boxes associated with the required resources.
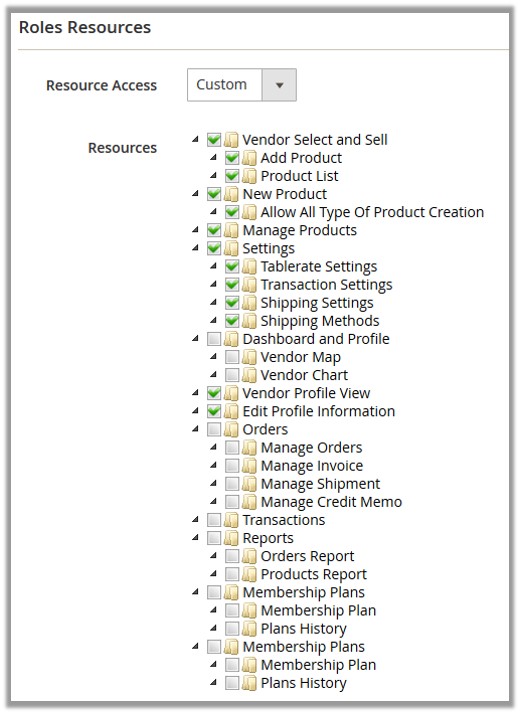
- In the Resource Access list, select one of the following options:
- Click the Save and Continue Edit button.
- In the left navigation panel, click the Group Vendors menu.
The page appears as shown in the following figure: 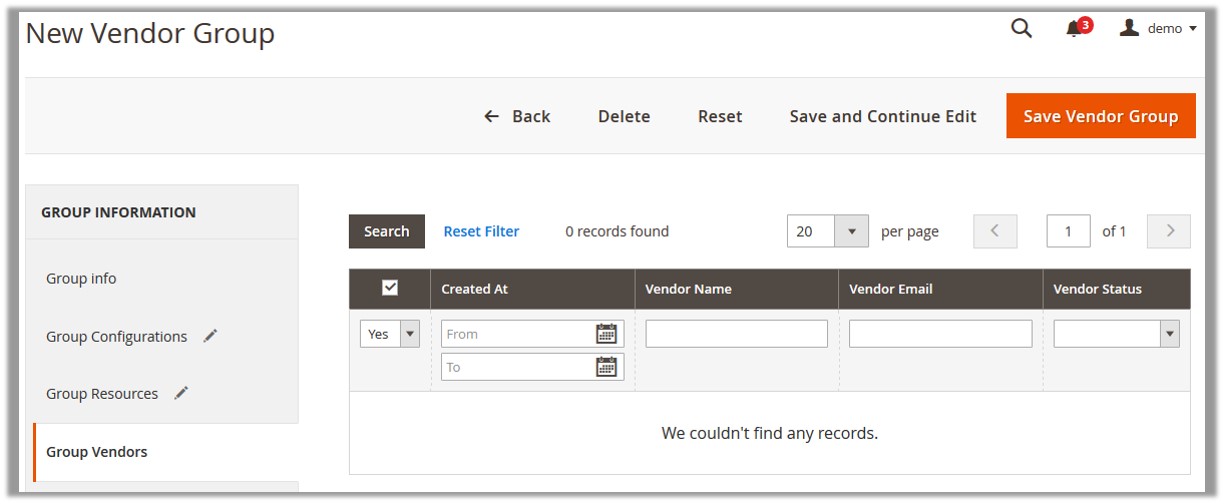
- Click the Reset Filter link.
Lists all the available vendors on the page.
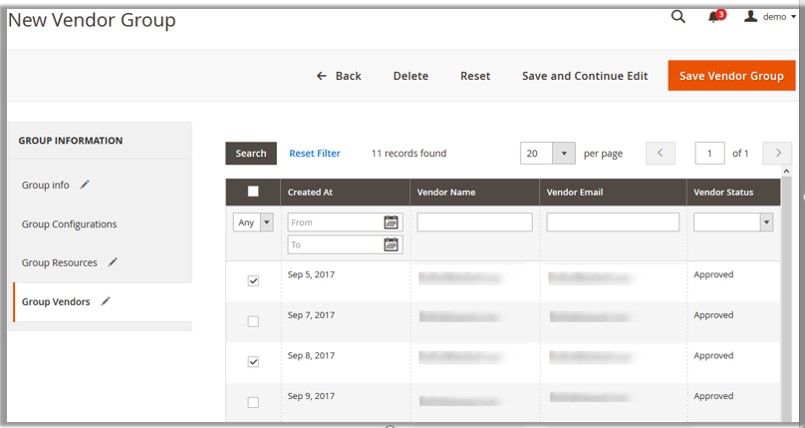
- In the right pane, select the check boxes associated with the required vendors to add then in the current vendor group.
The current vendor group is assigned to the selected vendors. - Click the Save Vendor Group button.
The created vendor group is saved and listed on the Mange Vendor Groups page. A success message appears on the page.
×


