
Edit the Existing Vendor CMS Blocks
The admin can edit the blocks created by the vendor before approving the blocks and getting it reflected on the front-end view.
To edit the blocks created by a vendor
- Go to the Admin panel.
- On the left navigation bar, click the MARKETPLACE menu, and then click Manage Vendor Blocks.
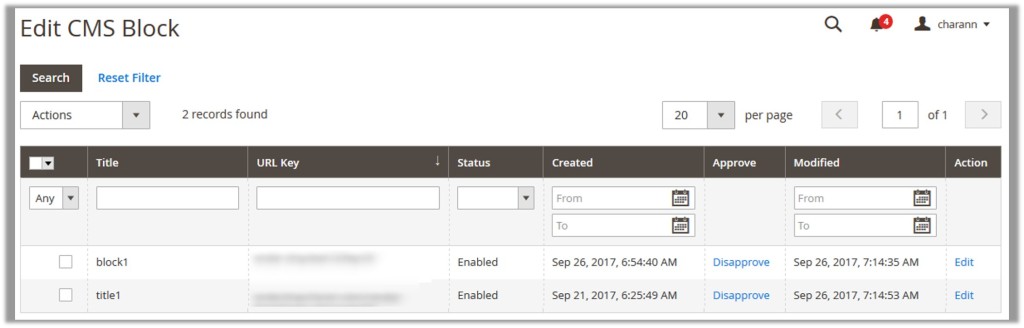
The Edit CMS Block page appears as shown in the following figure:
- In the Action column, click the Edit link associated with the required block page.
The corresponding page appears as shown in the following figure:

- In the right panel, under General Information, do the following steps if required:
- In the Block Title box, enter the title of the Vendor Block.
- In the Identifier box, enter the Block Identifier to prefix it with vendor shop url key.
- In the Store View list, select the required store view.
- In the Status list, select one of the following options:
- Enabled: Enables the Vendor Block.
- Disabled: Disables the Vendor Block.
- Click the Show/Hide Editor button next to the Content field.
The following buttons appear:- Insert Widget
- Insert Image
- Insert Variable.
- Click the required button and insert the widget, image, or variable in the Content box.
- Click the Save Block button.
The changes are saved and the view moves to the Edit CMS Block page.
×


