
Edit the Existing Vendor CMS Page
The admin can edit the CMS pages created by the vendor before approving the page and getting it reflected on the front-end view.
To edit the CMS page created by a vendor
- Go to the Admin panel.
- On the left navigation bar, click the MARKETPLACE menu, and then click Manage Vendor CMS.
Edit CMS Page appears as shown in the following figure:
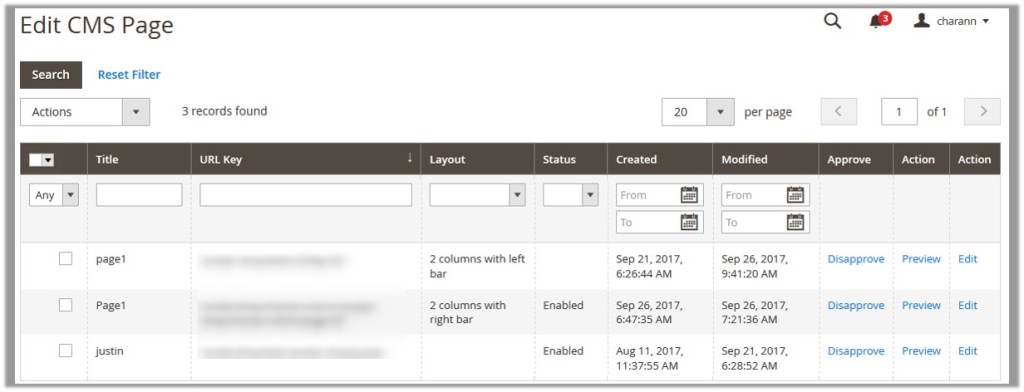
- In the Action colum, click the Edit link associated with the required CMS page.
The corresponding page appears as shown in the following figure:
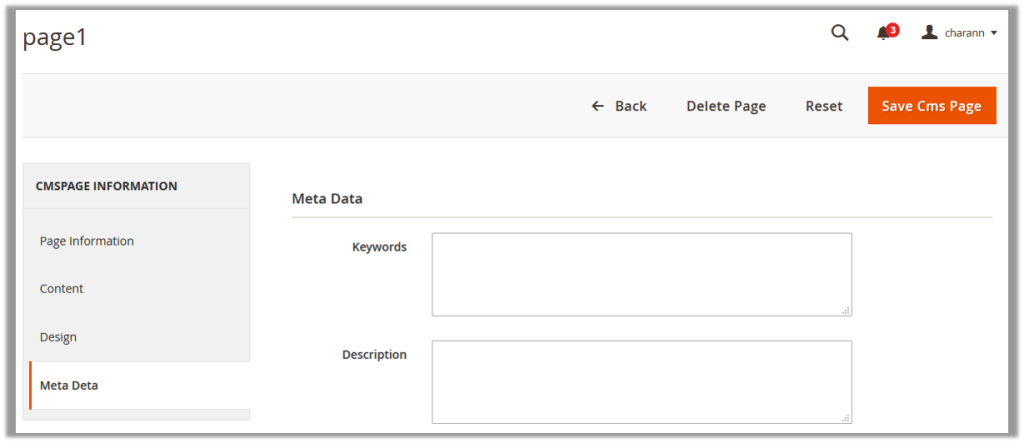
- In the right panel, under Meta Data, enter the following information:
- Keywords: A specific word or phrase that describes the content of the Vendor CMS page in the context of search engine optimization.
- Description: The information that summarizes the content of the Vendor CMS page.
- In the left navigation panel, click the Page Information menu.
The page appears as shown in the following figure:
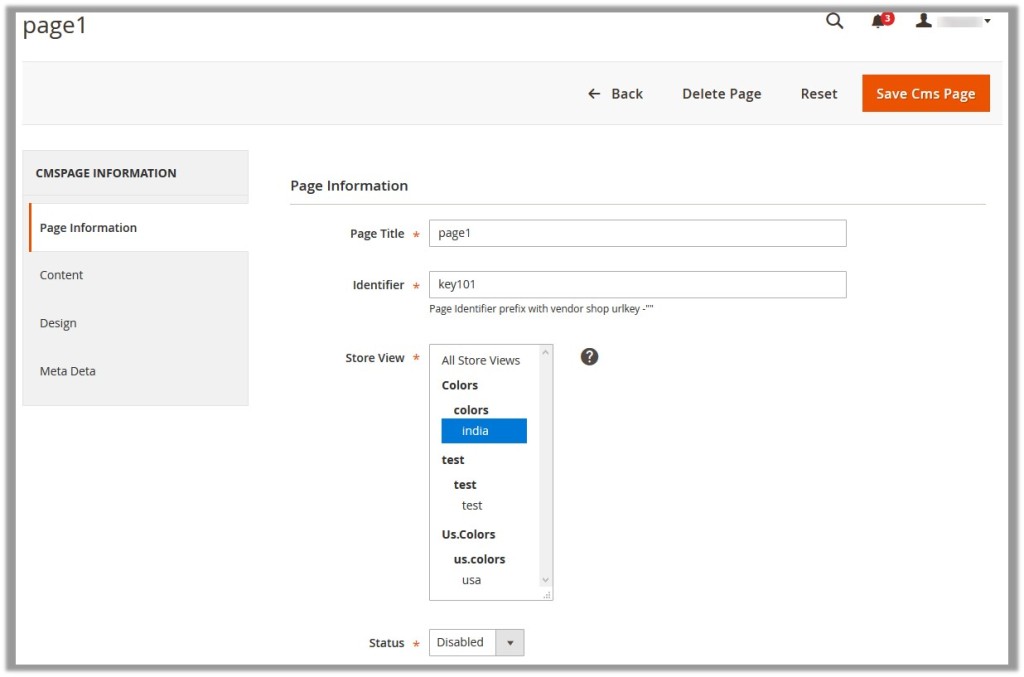
- In the right panel, under Page Information, do the following steps if required:
- In the Page Title box, enter the title of the Vendor CMS page.
- In the Identifier box, enter the Page Identifier to prefix it with vendor shop URL key.
- In the Store View list, select the required store view.
- In the Status list, select one of the following option:
- Enabled: Enables the Vendor CMS page.
- Disabled: Disables theVendor CMS page.
- In the left navigation panel, click the Content menu.
The page appears as shown in the following figure:
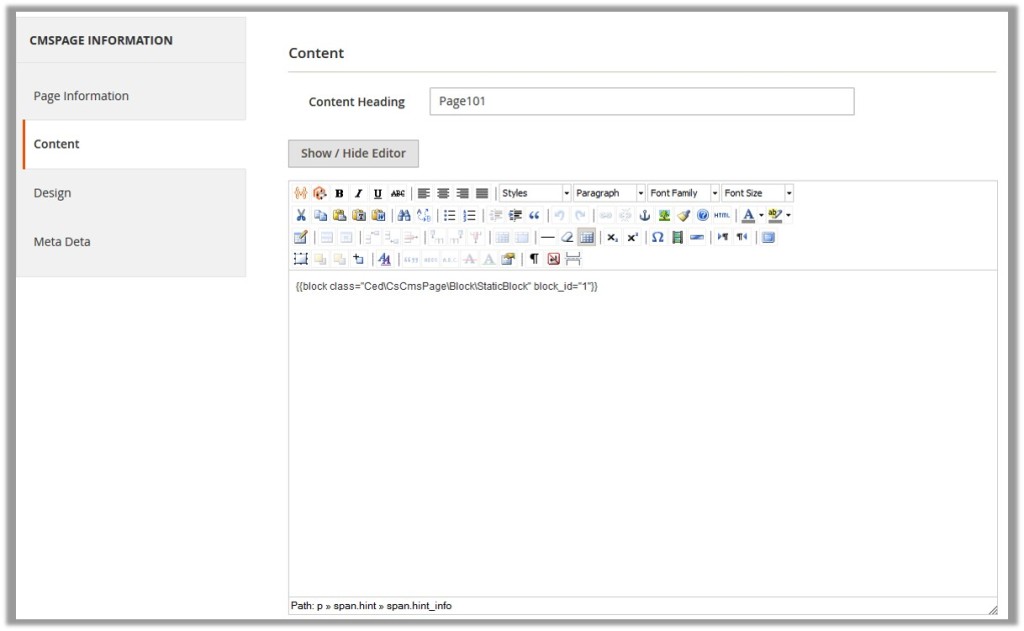
- Make the changes as per the requirement.
- In the left navigation panel, click the Design menu.
The page appears as shown in the following figure:
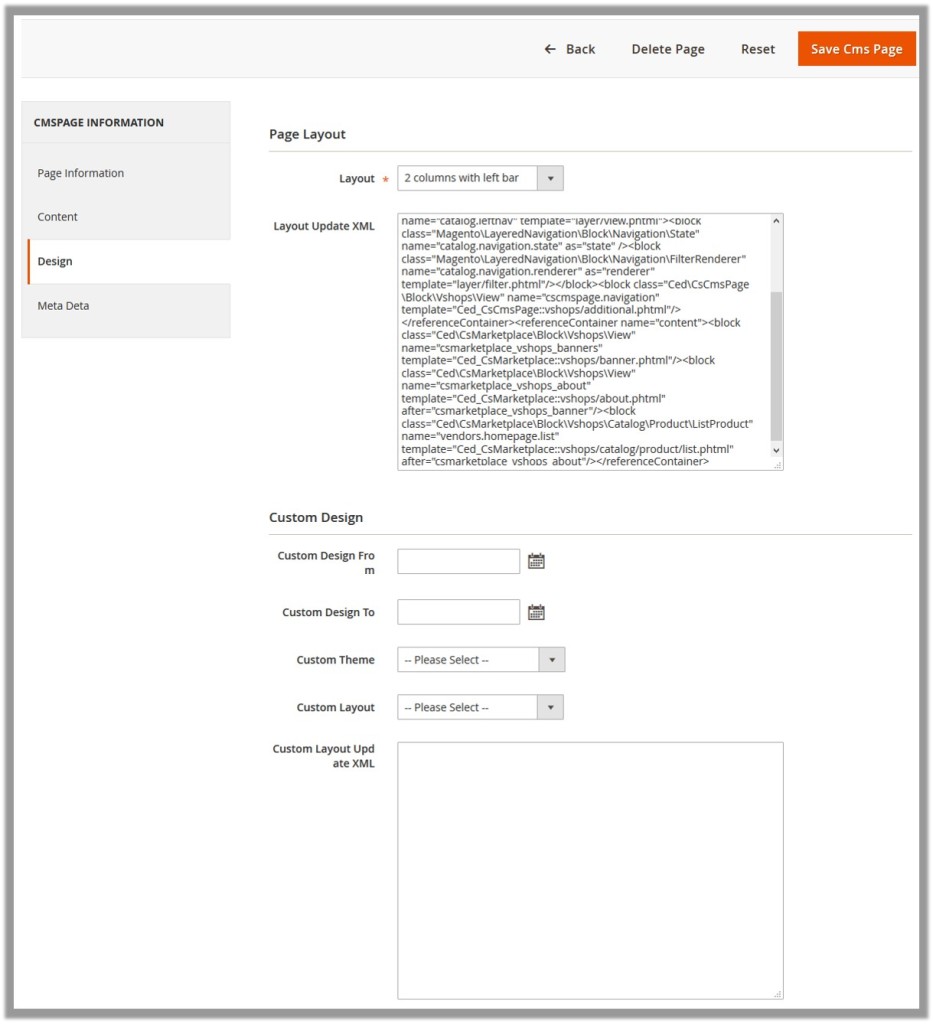
- Make the changes as per the requirement.
- Click the Save Cms Page button.
The changes are saved and the view moves to the Edit CMS page.
×


