
Guest Users
Guest users can do the following tasks:
- Create A New Ticket
- Check Ticket Status
To create a new ticket
- Go to the front-end panel.
- On the top navigation bar of the front-end panel, click the Support System link.

The Support System Home page appears. - Scroll down to the Got Any Issue section displayed on the Support System Home page.
The Got Any Issue section appears as shown in the following figure:
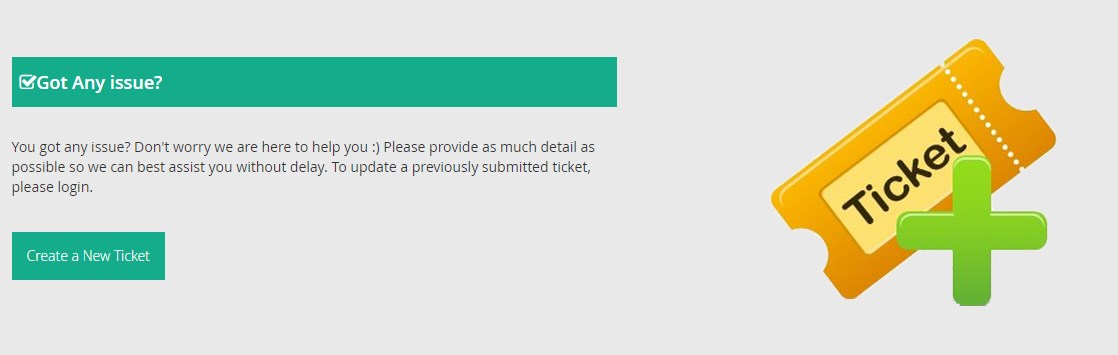
- Click the Create a New Ticket button.
A page appears as shown in the following figure:
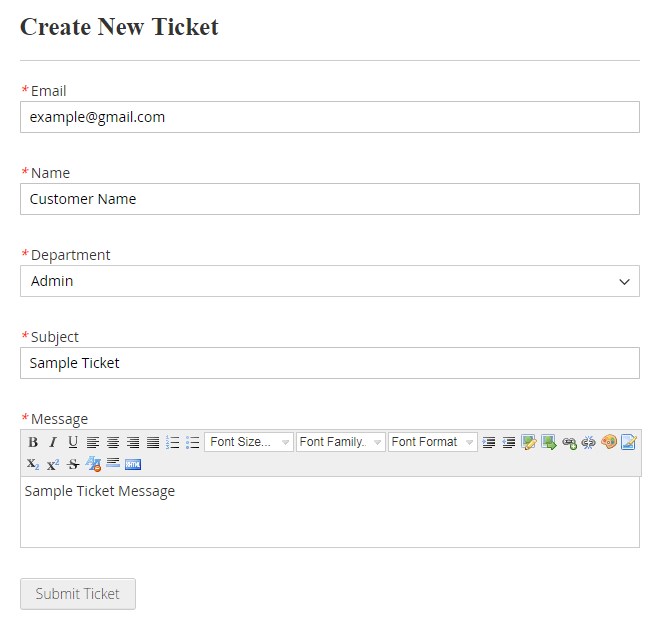
- In the Email box, enter the email Id.
- In the Name box, enter the name of the user.
- In the Department list, select the required department name.
- In the Subject box, enter the subject of the ticket.
- In the Message box, enter the message describing the subject of the ticket.
- Click the Submit Ticket button.
The ticket is submitted and a success message appears as shown in the following figure:

To check the ticket status
- Go to the front-end panel.
- On the top navigation bar of the front-end panel, click the Support System link.

The Support System Home page appears. - Scroll down to the Check Ticket Status section displayed on the Support System Home page.
The Check Ticket Status section appears as shown in the following figure:
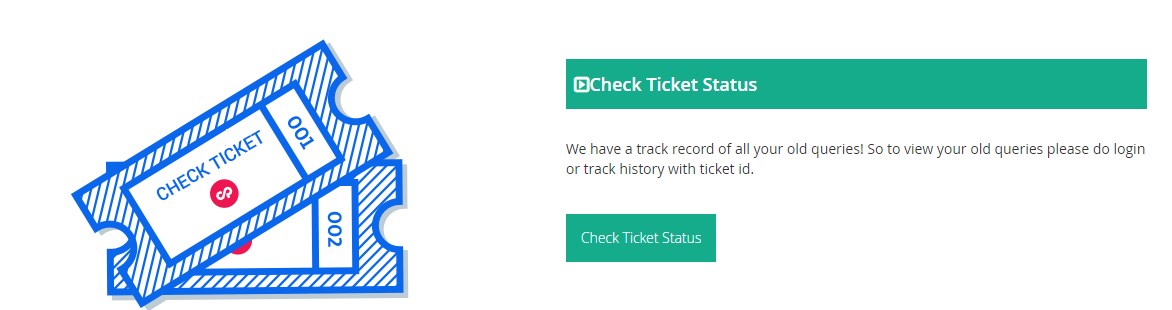
- Click the Check Ticket Status button.
A page appears as shown in the following figure:
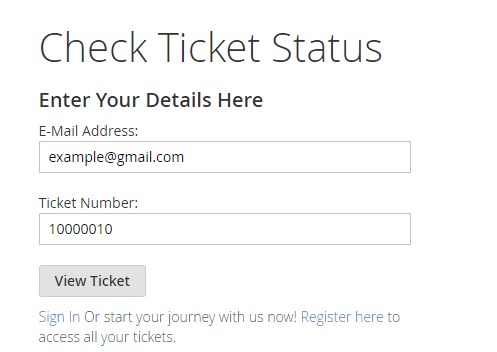
- In the E-Mail Address box, enter the email Id.
- In the Ticket Number box, enter the Ticket Id.
Ticket Id is provided in the success message after the ticket is created. - Click the View Ticket button.
A page appears as shown in the following figure:
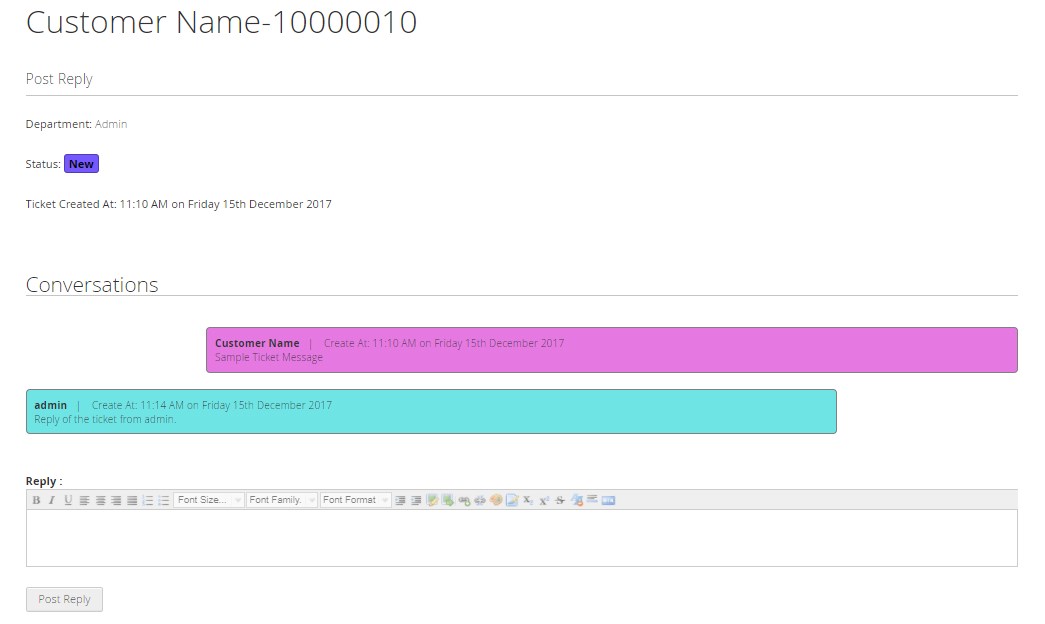
Under the Post Reply section, the status of the ticket appears and also the date and time when the ticket is created appears. Under the Conversations section, the messages from both users and admin appear. - In the Reply box, enter the message if required, and then click the Post Reply button.
A page appears as shown in the following figure:
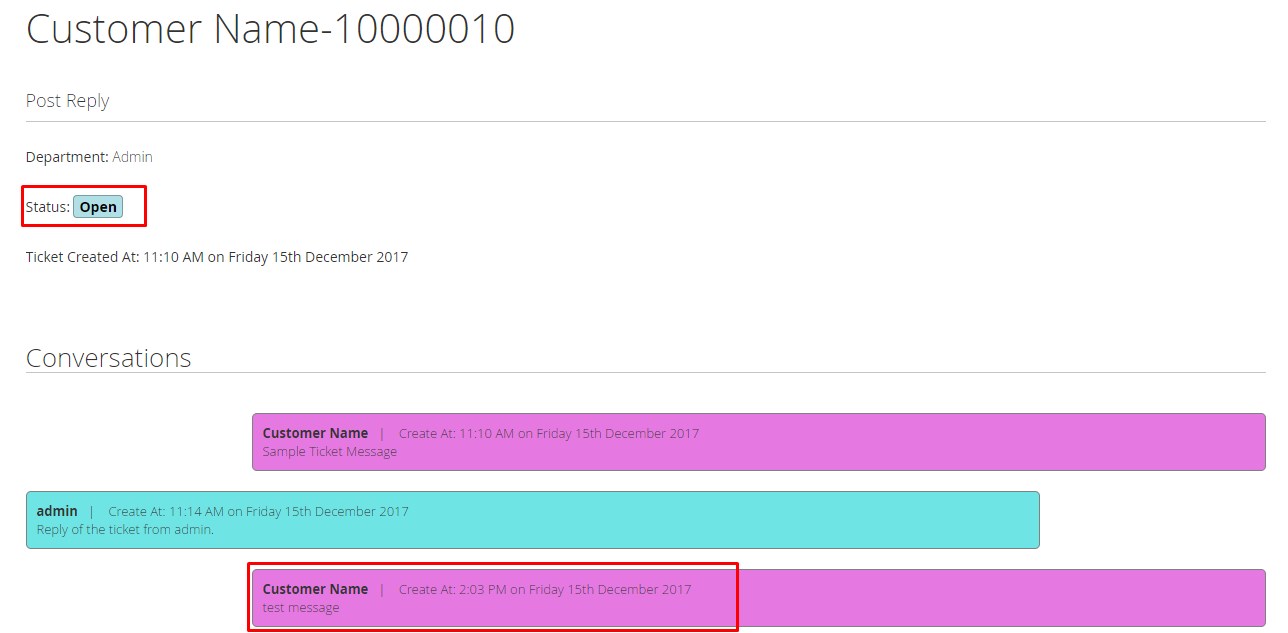
The status is changed to Open from New. Also, the replied message appears under the Conversations section.
×


