
Add A New Department
To add a new department
- Go to the Admin panel.
- On the left navigation bar, click the SUPPORT SYSTEM menu.
The menu appears as shown in the following figure:
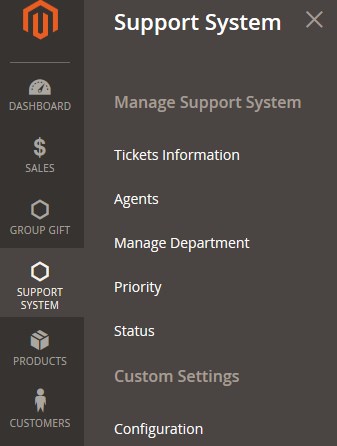
- Click Manage Department.
The Departments page appears as shown in the following figure:
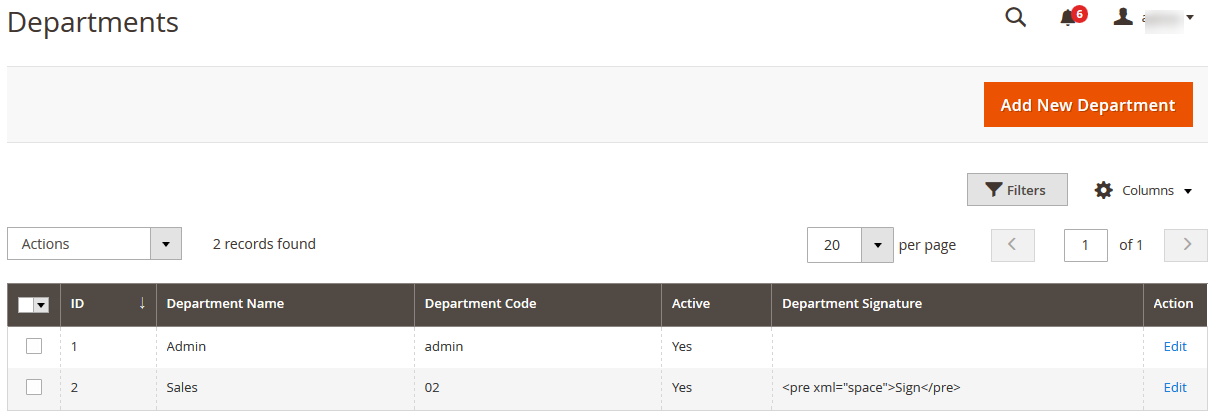
- Click the Add New Department button.
The Manage Department page appears as shown in the following figure: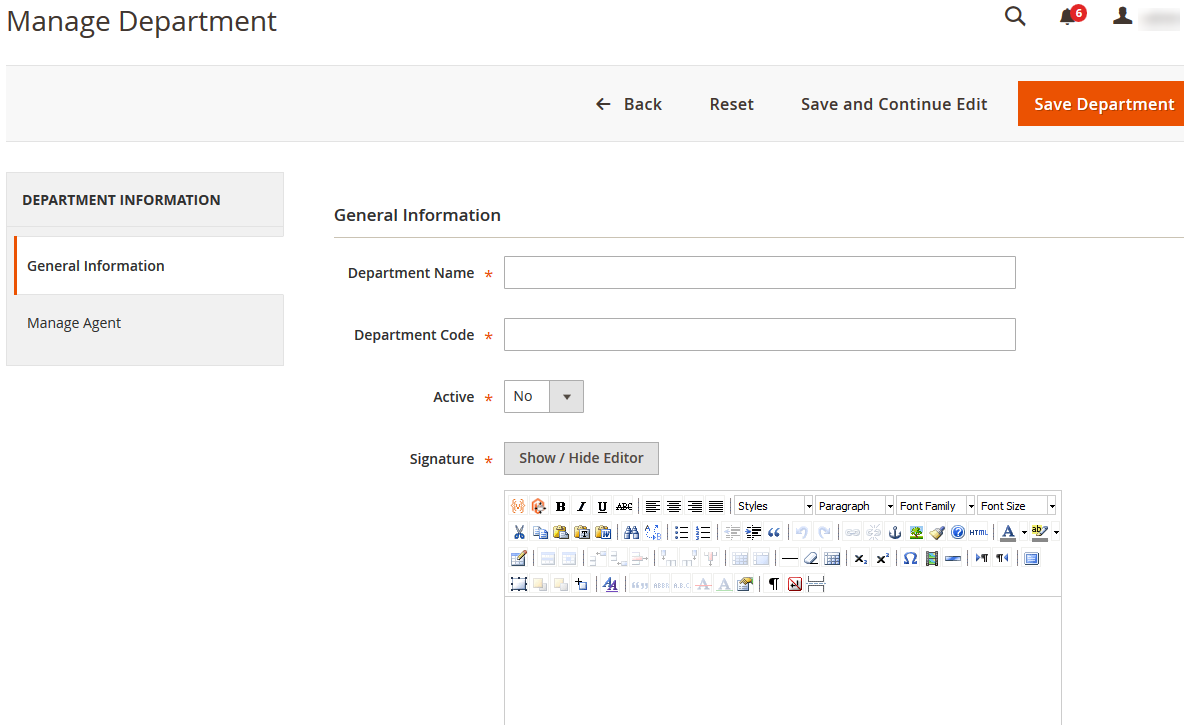
- In the right panel, under General Information, do the following steps:
- In the Department Name box, enter the name of the department.
- In the Department Code box, enter the code of the department.
- In the Active list, select Yes to activate the department.
- In the Signature box, enter the signature.
- Click the Show/Hide button to show or hide the editor respectively.
- In the left navigation panel, click the Manage Agent menu.
The Manage Agent section appears in the rightpanel as shown in the following figure:
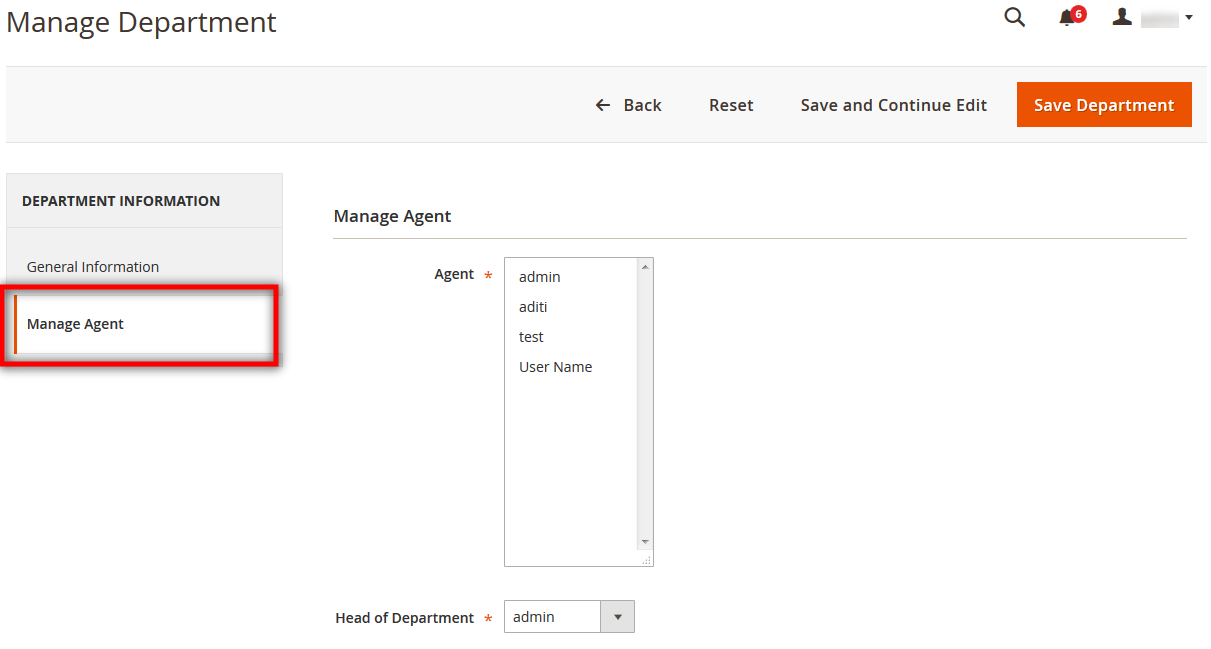
- In the right panel, under Manage Agent, do the following steps:
- In the Agent list, select the required agents.
- In the Head of Department list, select the required agent to make it the head of the department.
- Click the Save Department button.
The department is saved and a success message appears on the Departments page. Also, the created department is listed on the page.
×


