
Add A New Ticket
To add a new ticket
- Go to the Admin panel.
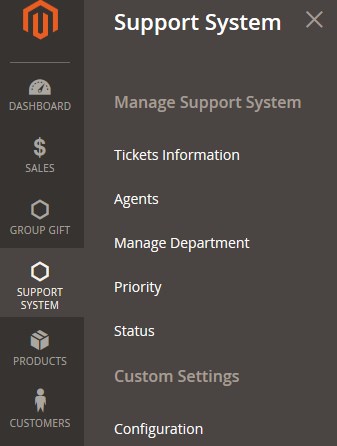
- On the left navigation bar, click the SUPPORT SYSTEM menu.
The menu appears as shown in the following figure:
- Click Tickets Information.
The Ticket Information page appears as shown in the following figure:
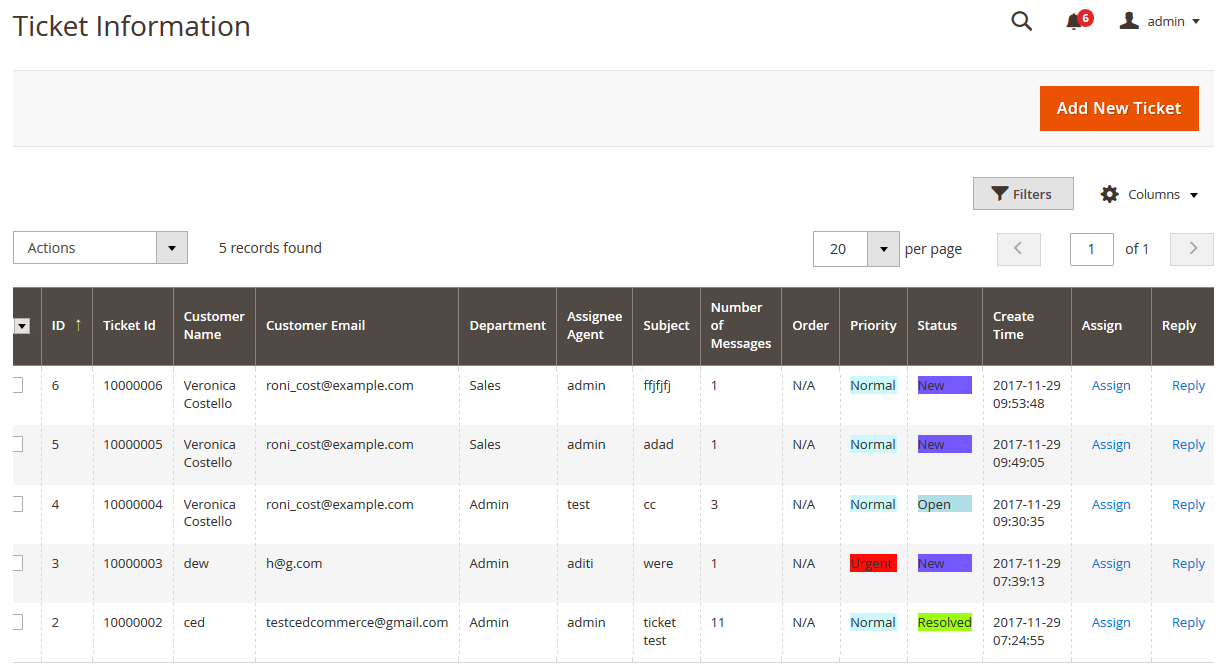
All the available tickets appear on this page. The admin can view all the tickets details at one glance. - Click the Add New Ticket button.
The New Ticket page appears as shown in the following figure:
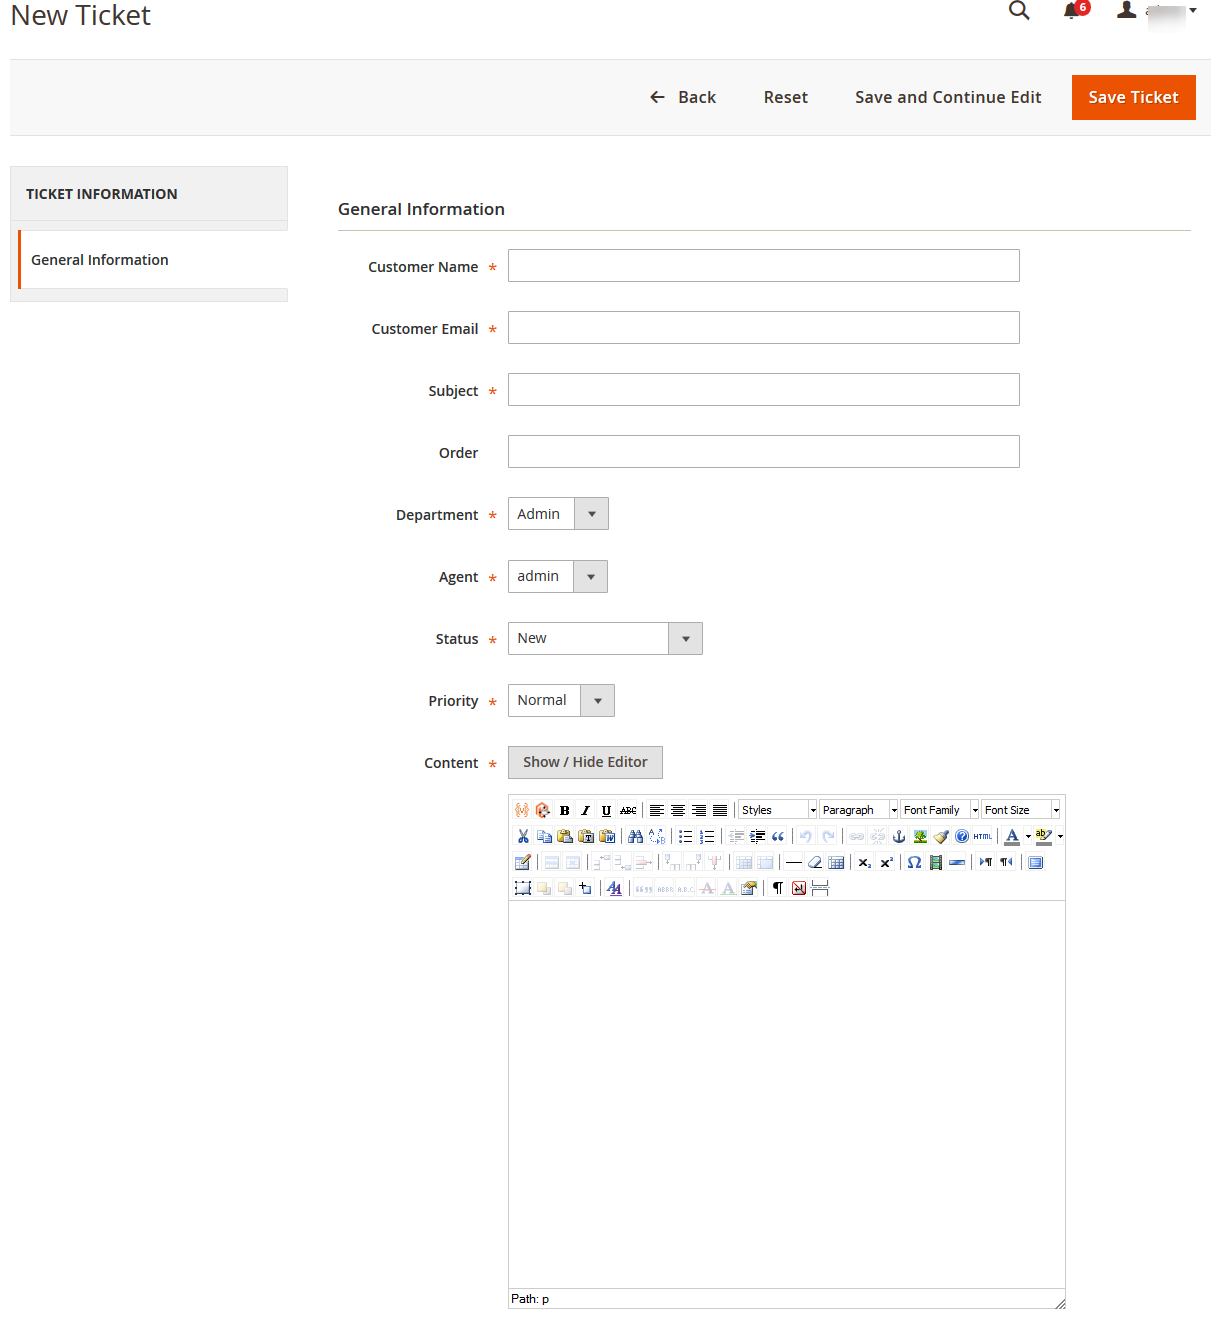
- In the Customer Name box, enter the name of the user.
- In the Customer Email box, enter the email Id of the user.
- In the Subject box, enter the subject of the ticket.
- In the Order box, enter the order Id if available.
- In the Department list, select the department to which the ticket is assigned.
- In the Agent list, select the agent to whom the ticket is assigned.
- In the Status list, select the status of the ticket.
- In the Priority list, select the priority of the ticket.
- In the Content box, enter the ticket description in detail.
- Click the Show/Hide button to show or hide the editor respectively.
- Click the Save Ticket button.
The ticket is saved and a success message appears on the Ticket Information page. The newly created ticket is listed on the page.
×


