
Create A New Attribute
The vendors can use the Magento 2 Manage Attribute feature to add a new attribute.
To create a new attribute
- Go to the Vendor Panel.
- On the left navigation bar, click the Product Attributes menu.
The menu appears as shown in the following figure:
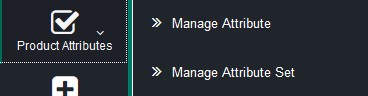
- Click Manage Attribute.
The Vendor Product Attribute page appears as shown in the following figure:
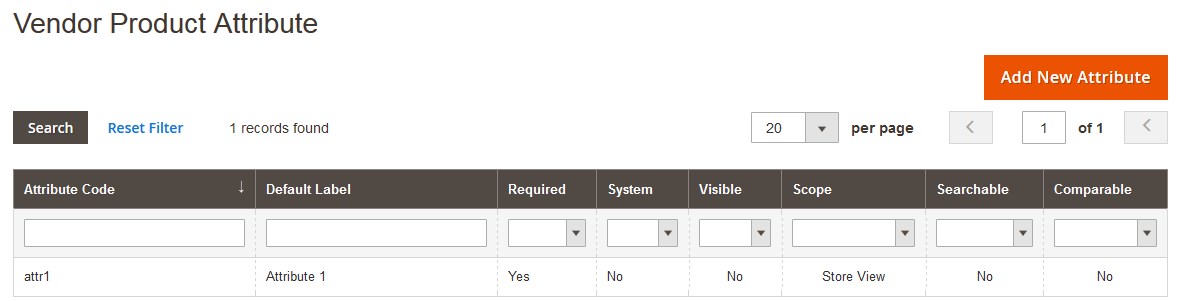
All the created vendor product attributes are listed on the page. - Click the Add New Attribute page.
The page appears as shown in the following figure:

- In the right panel, under Attribute Properties, do the following steps:
- In the Default Label box, enter the default label.
- In the Catalog Input Type for Store Owner list, select the required input type.
- In the Values Required list, select the required option.
If selected Yes, then the value of the attribute is compulsory, that is, the attribute cannot be left empty. - In the Include in Attribute Set list, select the required list of Attribute Set to which the attribute needs to be assigned.
- In the Sort Order box, enter the required value to set the order of the attribute.
- Scroll down to the Advanced Attribute Properties tab, and then click the tab.
The tab is expanded and the relevant fields appear as shown in the following figure:
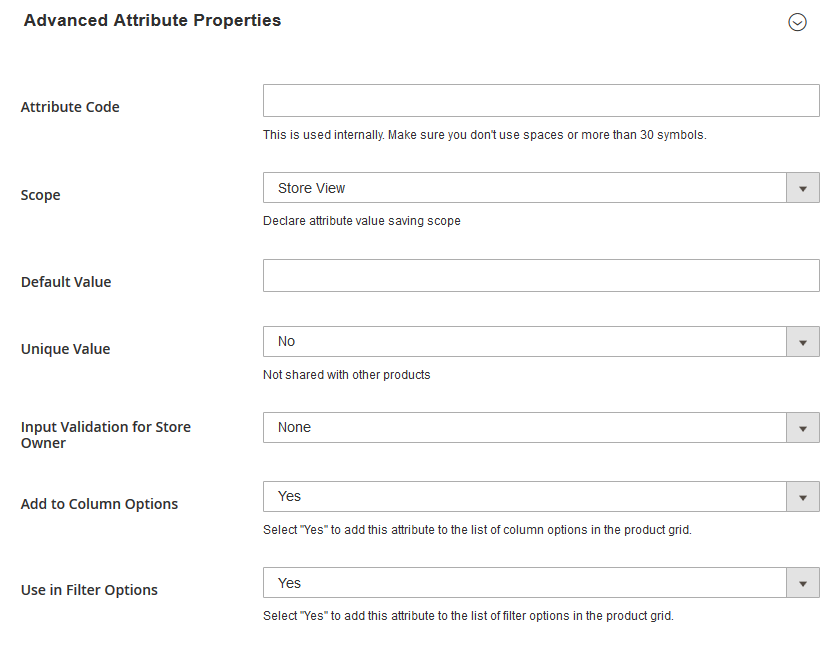
- Under Advanced Attribute Properties, do the following steps:
- In the Attribute Code box, enter the unique attribute code.
- In the Scope list, select the scope value of the product attribute.
- In the Default Value box, enter the default value of the attribute.
- In the Unique Value list, select Yes to enable the users to enter the unique values for the product attributes. Otherwise, select No.
- In the Input Validation for Store Owner list, select the required value.
The users have to provide the attribute value in the selected format. - In the Add to Column Options list, select Yes to add this attribute to the list of column options in the product grid.
- In the Use in Filter Options list, select Yes to add this attribute to the list of filter options in the product grid.
- In the left navigation panel, click the Manage Labels menu.
The page in the right panel appears as shown in the following figure:
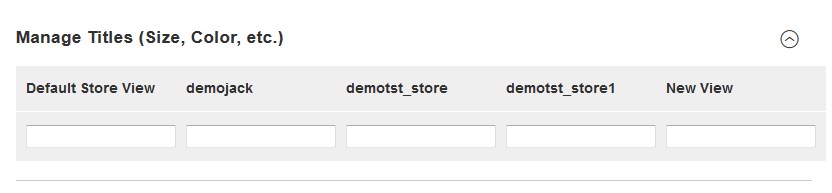
- Under Manage Titles, do the following step:
- Enter the Titles or Labels of the attribute in the respective according to the store view.
- In the left navigation panel, click the Storefront Properties menu.
The page in the right panel appears as shown in the following figure:
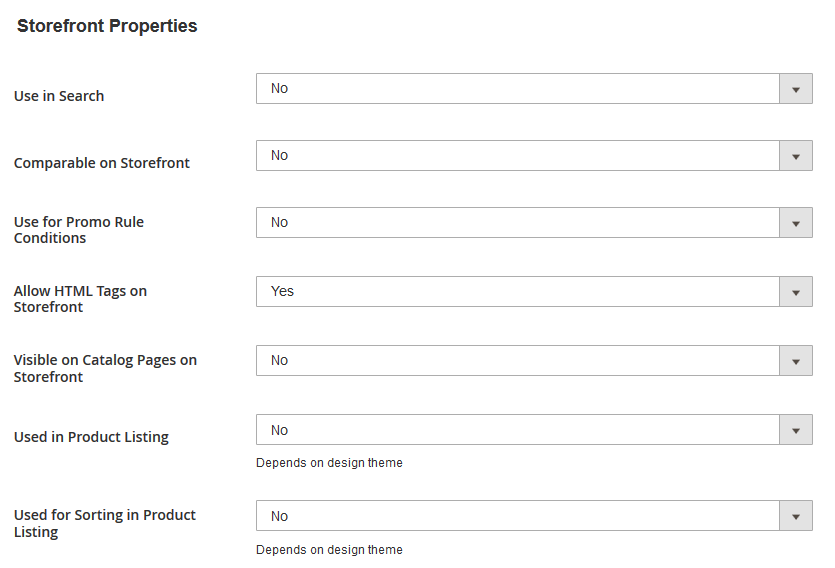
- Under Storefront Properties, do the following steps:
- In the Use in Search list, select Yes to use the product attribute in quick search.
Otherwise, select No. - In the Comparable on Storefront list, select Yes to use the product attribute to compare the products in the front-end view.
Otherwise, select No. - In the Use for Promo Rule Conditions list, select Yes to use the product attribute for the promo rule conditions.
Otherwise, select No. - In the Allow HTML Tags on Storefront list, select Yes to display the HTML tags in the front-end view.
Otherwise, select No. - In the Visible on Catalog Pages on Storefront list, select Yes to display the product attribute on the product view page available on the front-end view.
Otherwise, select No. - In the Used in Product Listing list, select Yes to display the product attribute on the product listing page.
Otherwise, select No. - In the Used for Sorting in Product Listing list, select Yes to enable the use of the product attribute in the product sorting feature.
Otherwise, select No.
- In the Use in Search list, select Yes to use the product attribute in quick search.
- Click the Save Attribute button.
The product attribute is saved and listed on the Vendor Product Attribute page. A success message appears on the page.
×


