
Vendor Approved Products
On the Vendor Approved Products page, the admin can view the list of all the approved products and also, view and edit the product details. Admin can also view the vendor details and disapprove the products, and delete the selected products.
To view and edit the vendor product
- Go to the Admin panel.
- On the left navigation bar, click the MARKETPLACE menu.
The menu appears as shown in the following figure:
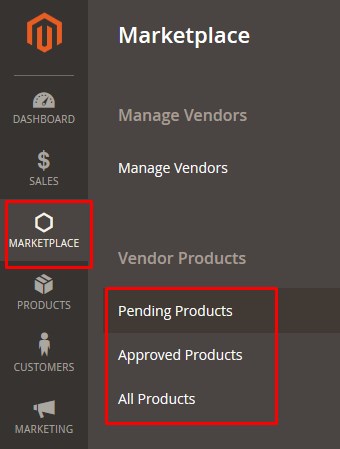
- Click Approved Products.
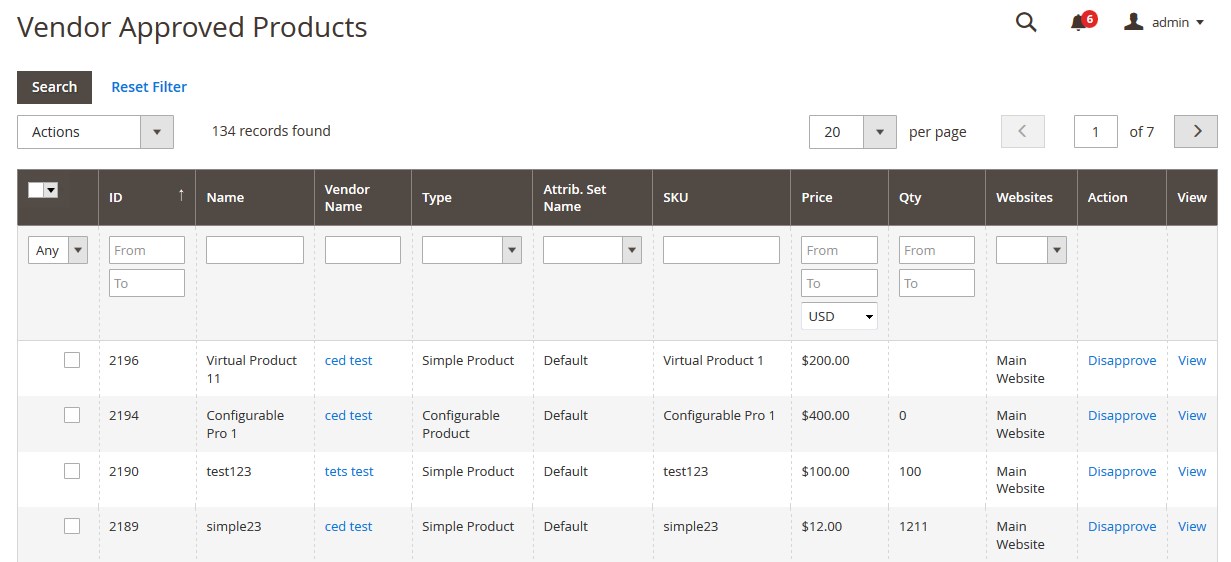
The Vendor Approved Products page appears as shown in the following figure:
- Scroll down to the required product.
- In the View column of the respective row of the required product, click the View link.
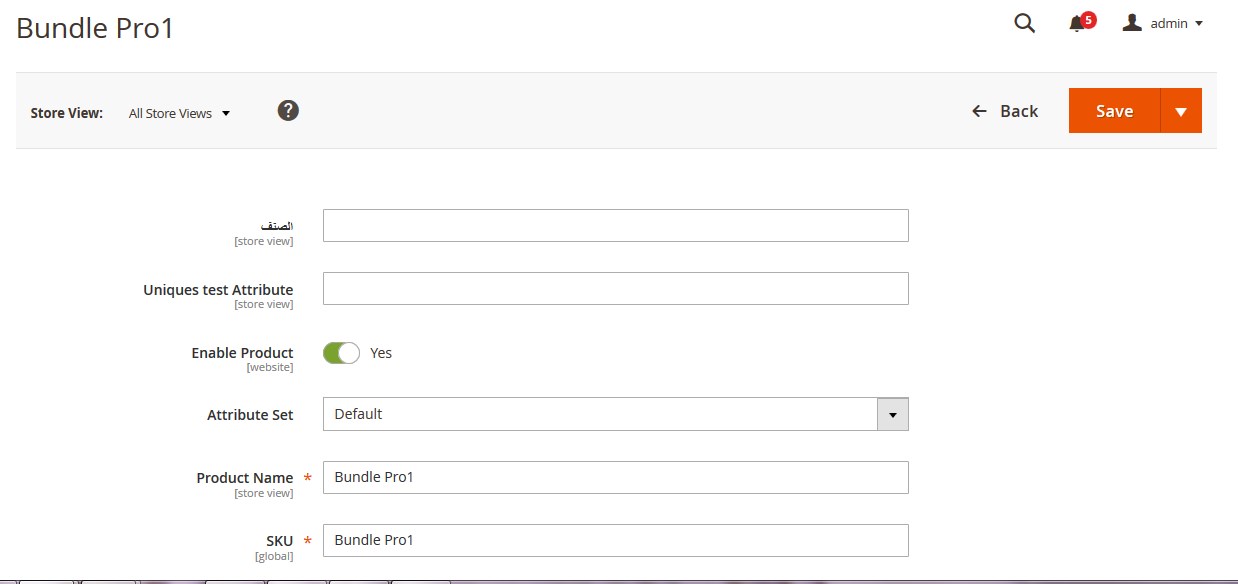
All the product details are available. The admin can click the respective tab to view the details. - Make the changes as per the requirement.
- Click the Save button.
The changes made are saved and a success message appears on the page.
To disapprove the single product
- Go to the Vendor Approved Products page.
- Scroll down to the required product.
- In the Action column of the respective row of the required product, click the Disapprove link.
The product is disapproved and a success message appears.
To approve or disapprove the selected products
- Go to the Vendor Approved Products page.
- Select the checkboxes associated with the required products.
- Move to the Actions list.
- In the Actions list, select the Change Status option.

The Status list and the Submit button appear. - In the Status list, select Approved or Disapproved as per the need.
- Click the Submit button.
The selected products are approved or disapproved based on the action applied on them and a success message appears.
To delete the selected products
- Go to the Vendor Approved Products page.
- Select the checkboxes associated with the products those are no more required or invalid.
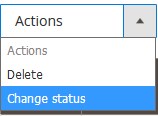
- Move to the Actions list.
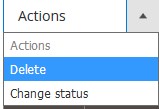
- In the Actions list, select the Delete option.
The Submit button appears as shown in the following figure:
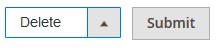
- Click the Submit button.
A confirmation dialog box appears. - Click the OK button.
The selected products are deleted.
To view the Vendor Profile from the Vendor Approved Products page
- Go to the Vendor Approved Products page.
- In the Vendor Name column, click the vendor name link.
The vendor profile appears as shown in the following figure:
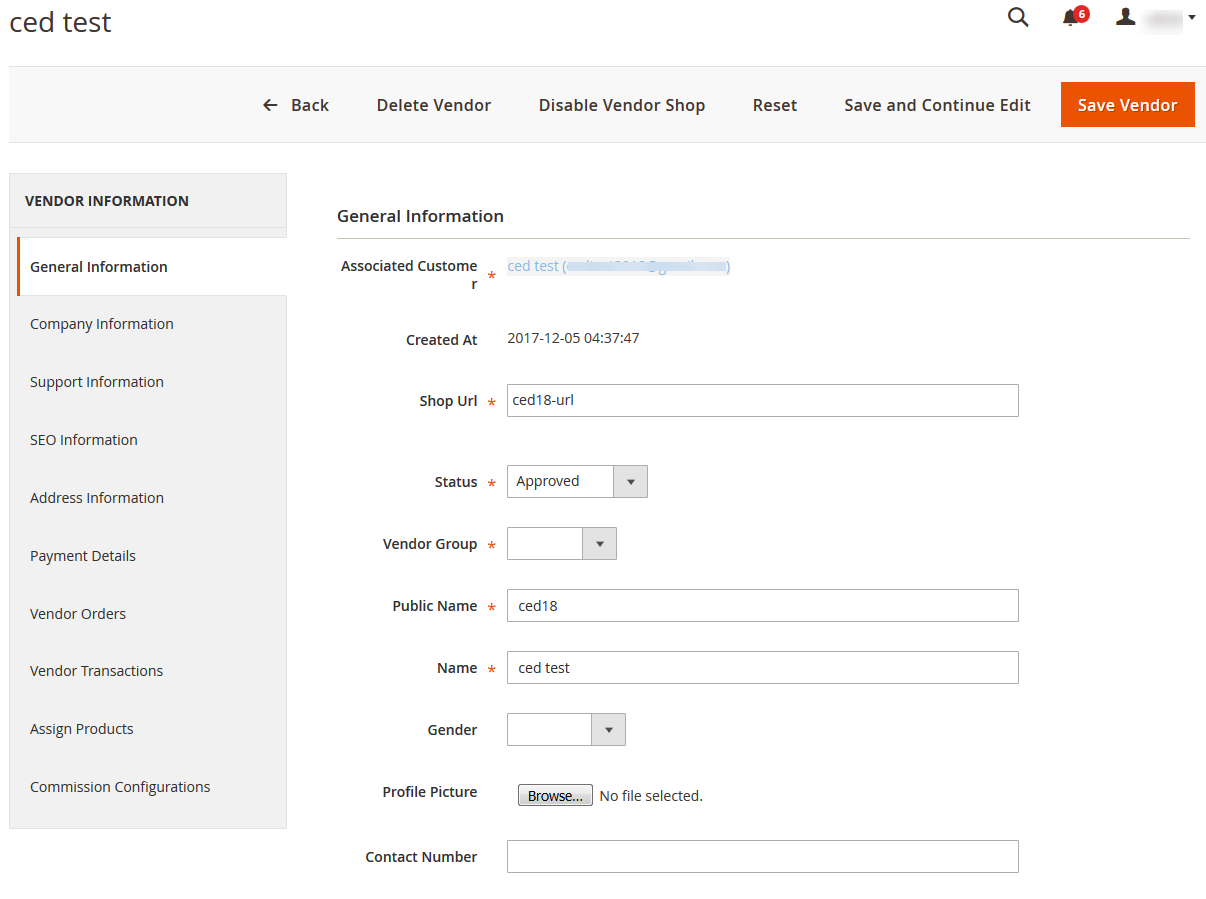
All the vendor details appear. The admin can click the each required menu in the left navigation panel, and view the respective details.
×


