
4.Manage Accounts ↑ Back to Top
To Manage Accounts
- Go to the Magento 2 Admin panel.
- On the left navigation bar, click the GROUPON menu.
The menu appears as shown in the following figure:

- Click on Manage Accounts.
The Manage Accounts page appears as shown in the following figure: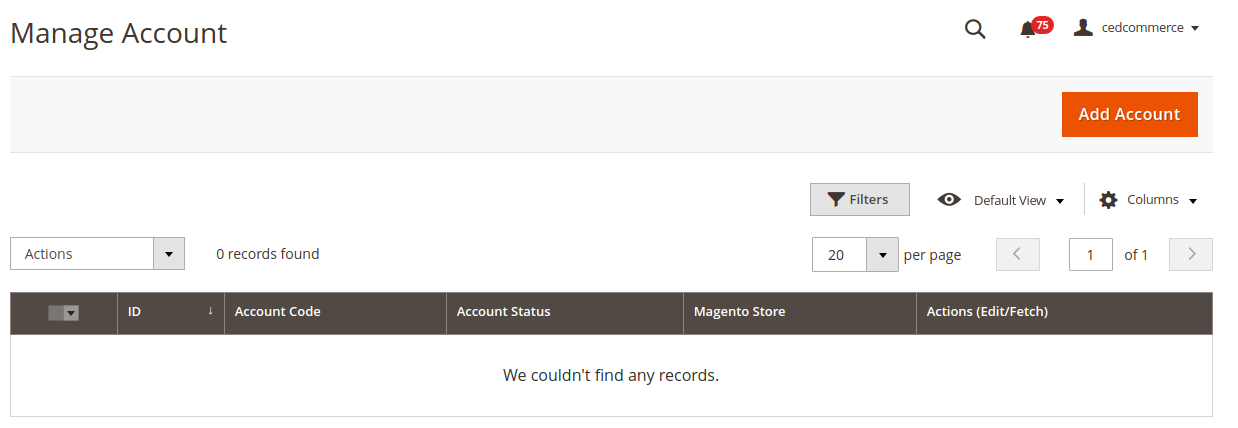
- Click the Add Account
The Add Account page appears as shown in the following figure:
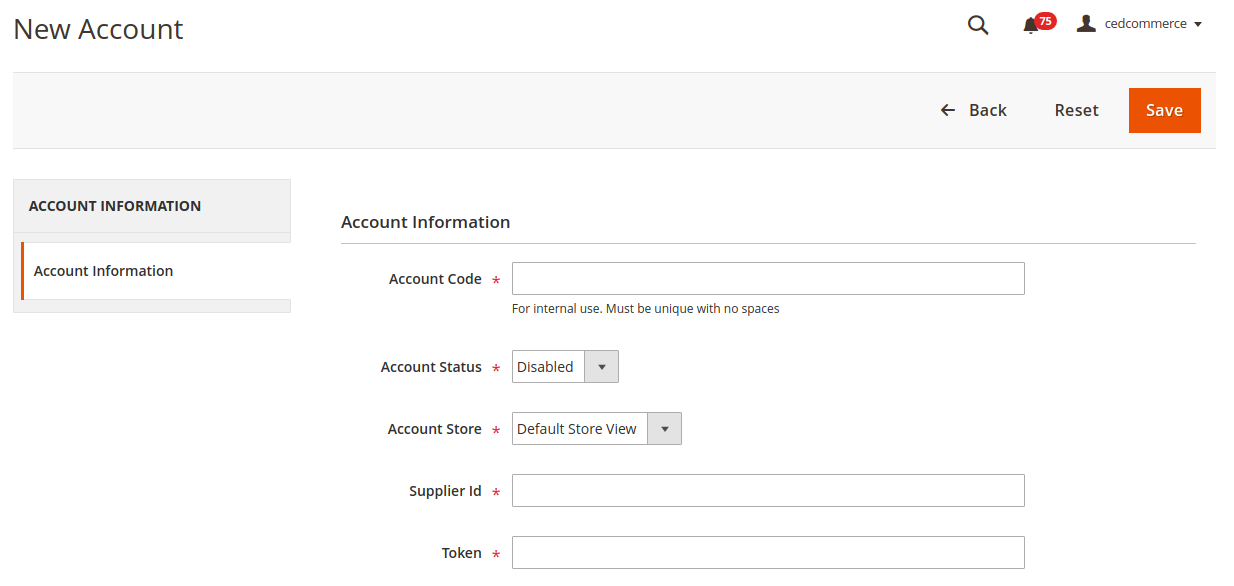
- Under the Account Information, do the following figure:
- In the Account Code box, enter the unique account code with no spaces.
- In the Account Status box, select the Enable option to enable the account status.
- In the Account Store box, select the default store view option.
- To know the information that you need to fill in this section(Supplier Id), you need to go to the Groupon seller account. For that,
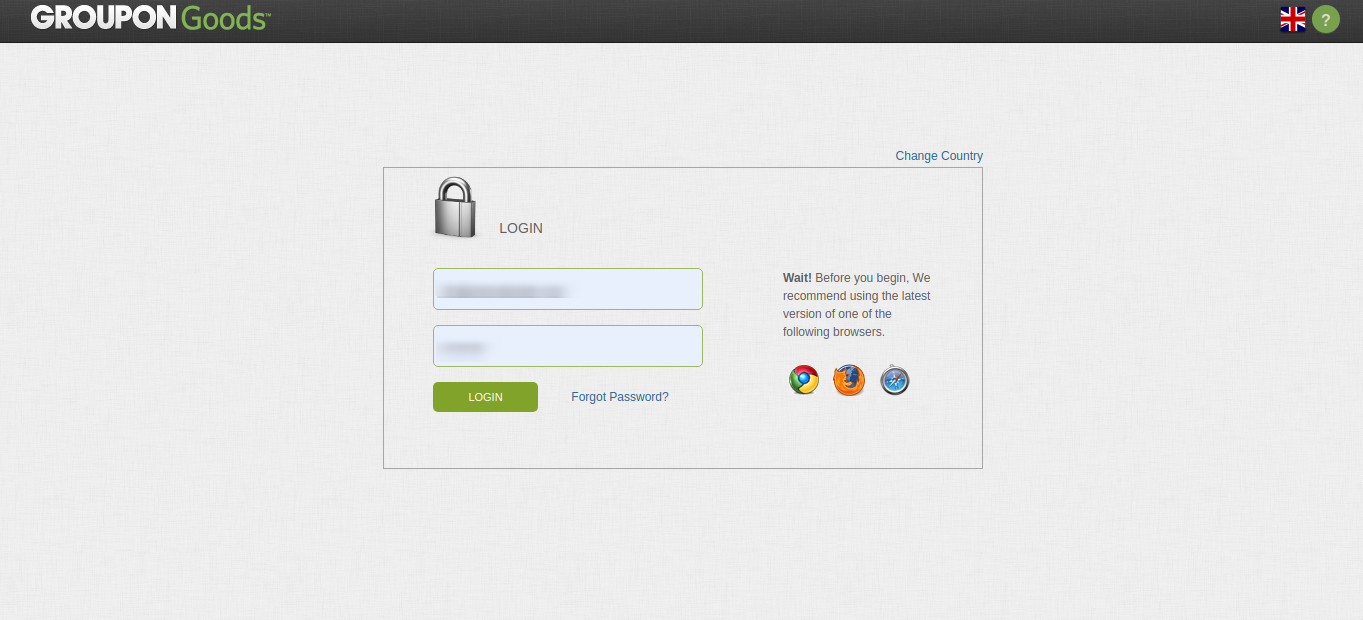
- Log in to the Groupon seller account.
- On the left side of the Groupon seller central, place the cursor on Settings.
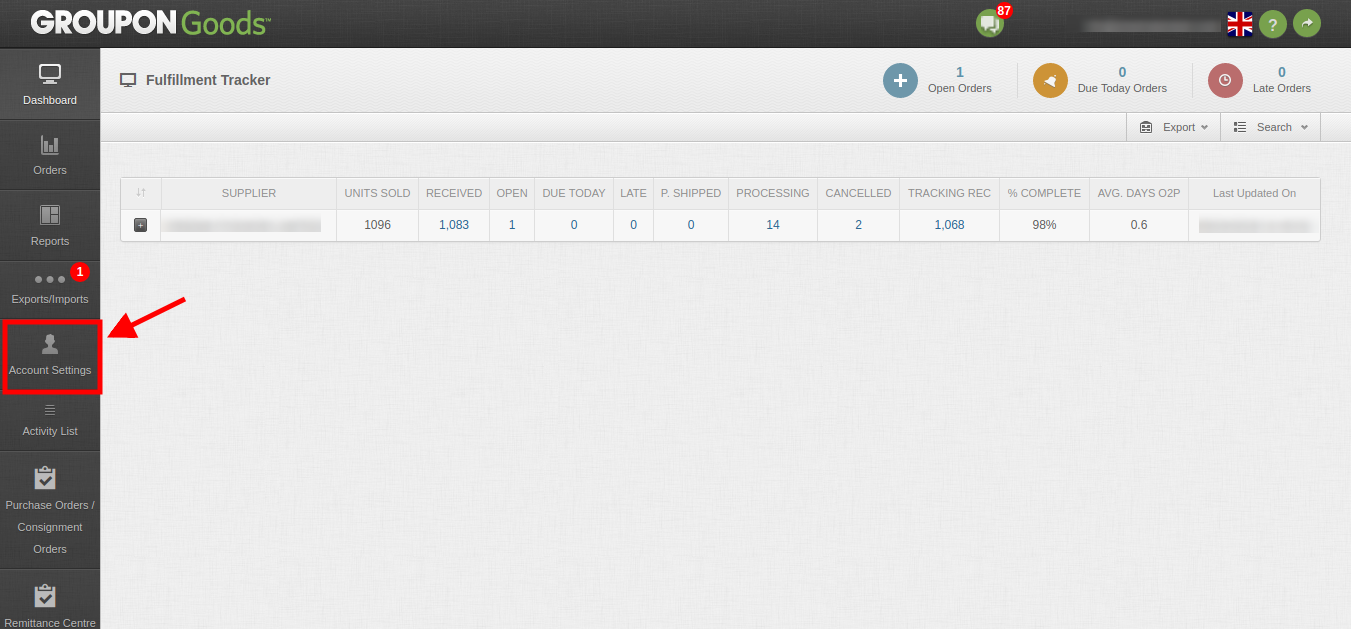
- Click on the Preferences. The screen will appear as in the below screen.
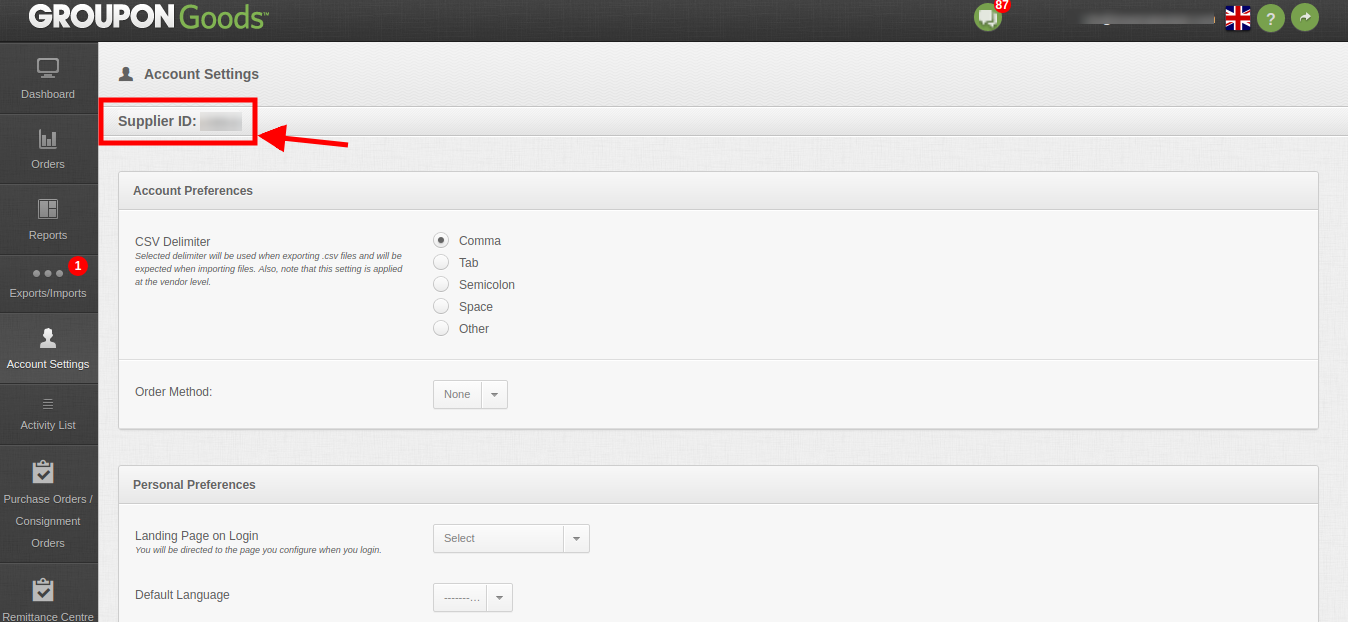
- In the highlighted rectangular box, you will get the supplier Id.
- Now you need to generate the Token.
Click on this link – https://scm.commerceinterface.com/access_tokens/ - A screen will appear as given in the below image.
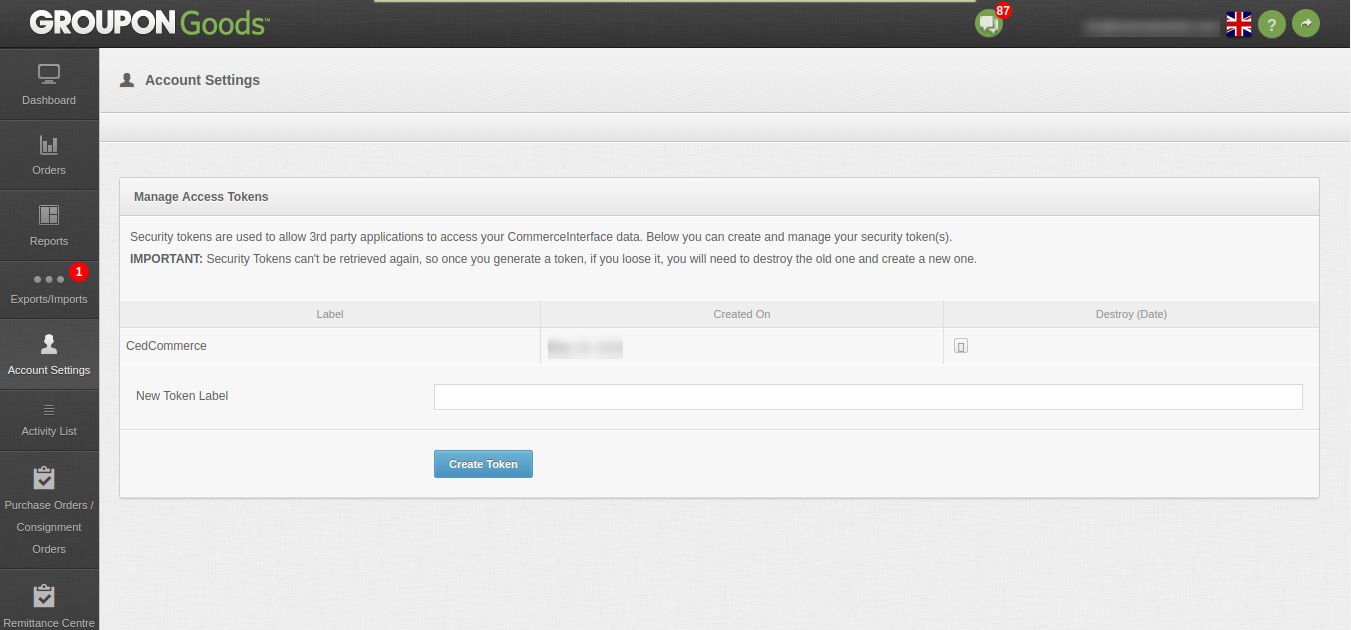
- Enter the New Token Label and click on the Create Token button.
- A new pop-up will appear for the successful message as given in the below image.
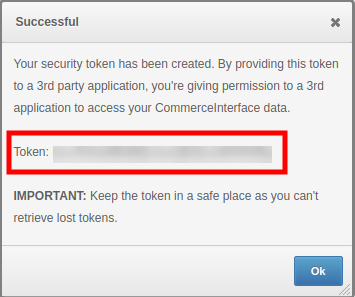
- Copy the Token Code and paste it in your Magento.
- Once you get the Supplier Id and the Token from here move back to the Magento panel to fill all these necessary details in the Supplier ID and Token box.
- Log in to the Groupon seller account.
- Now click on the Save Button to save the account information.
×


