
Configuration
Once the extension is successfully installed in the Magento 2 store, the GROUPON menu appears on the left navigation bar of the Magento 2 store Admin panel now the Magento® 2 store owners have to configure the module in Groupon Configuration page of the admin panel.
To set up the configuration settings in the Magento 2 Admin panel
- Go to the Magento 2 Admin panel.
- On the left navigation bar, click the GROUPON menu.
The menu appears as shown in the following figure:
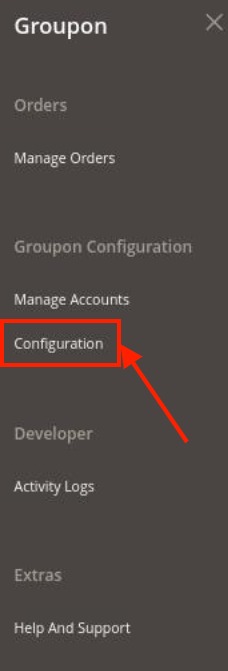
- Click Configuration.
The Configuration page appears as shown in the following figure:
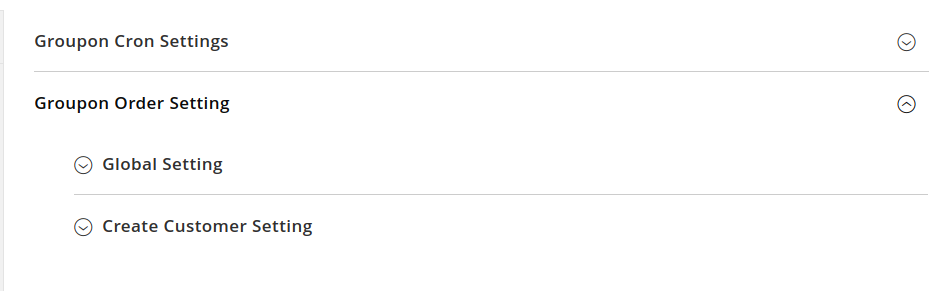
- Click on Groupon Cron Settings section.
The tab will expand as shown in the following figure: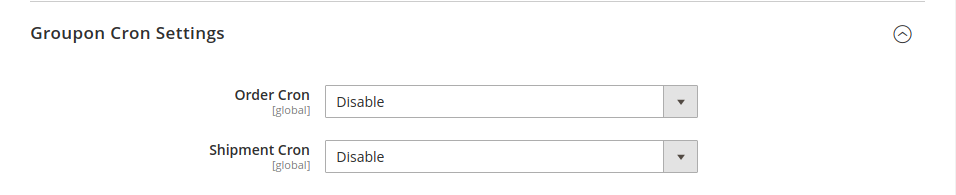
- In the Order Cron list, select the Enable option to enable the fetch order cron.
- In the Shipment Cron list, select the Enable option to enable the shipment cron and to generate shipments automatically.
- Scroll down to the Groupon Order Settings tab,
The tab is expanded and the section appears as shown in the following figure:
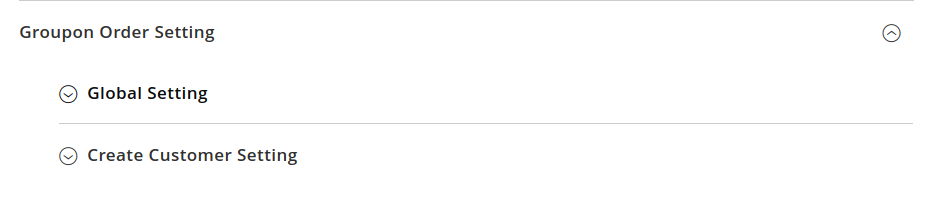
- In the Global Settings, do the following steps:
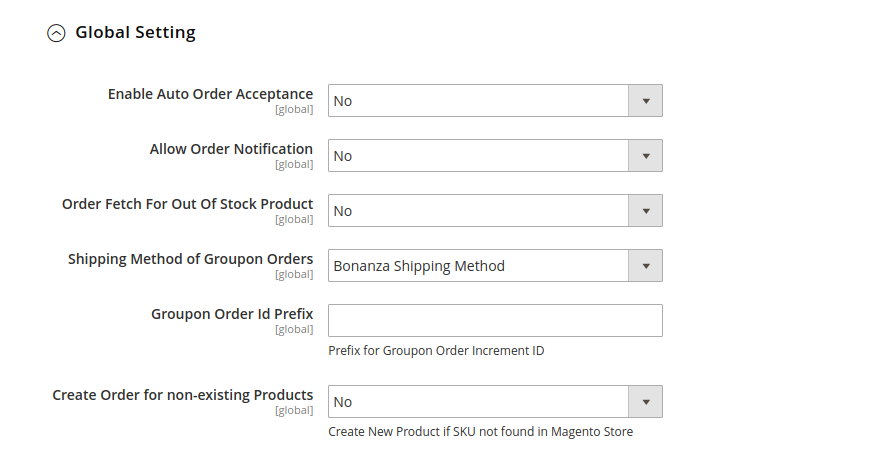
- In Enable Auto Order Acceptance attribute, Select Yes to select accept the order automatically.
- In Allow Order Notification, Select Yes to accept the notification.
- Next is the Order Fetch from Out of Stock, choose yes if you wish to fetch the order even though it’s currently out of stock.
- Users can choose the shipping methods of Groupon orders from the drop-down menu in the next section.
- In the Groupon Order Id Prefix box, enter the required order Id prefix.
- In the Create Order for non-existing Products box, you can create new products if SKU not found in Magento store.
- Now, click on Create Customer Setting, and the section expands as:
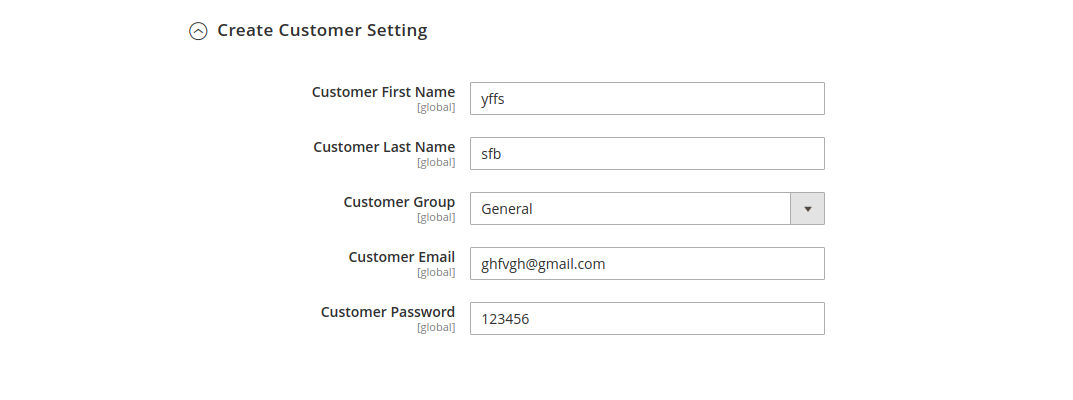
- Enter the Customer First Name in the next row.
- Enter the Customer Last Name in the next row.
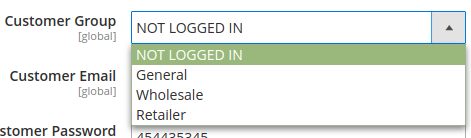
- In the Customer Group, select the type of customer from the drop-down menu:
- Customer Email needs to be entered in the next section.
- Enter the Password of your choice.
- Once all the actions have been taken so far, click on the Save Config button on the top right of the page.
- The configuration will be saved.
×


