
Follow Up Emails Configuration Settings
After installing the Follow Up Emails extension, the admin needs to set up the configuration settings to enable the features of the extension.
To set up the Follow Up Emails configuration settings
- Go to the Admin panel.
- On the left navigation bar, click the FOLLOWUP menu.
The menu appears as shown in the following figure:
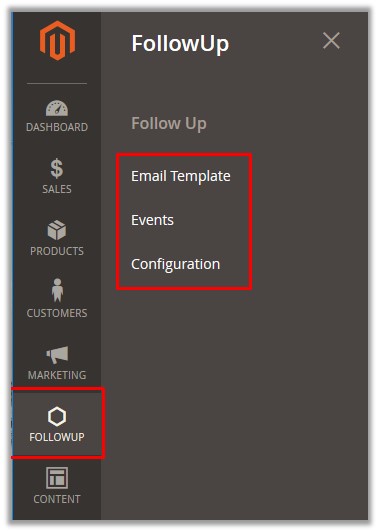
- Click Configuration.
The Configuration page appears as shown in the following figure:

- In the right panel, under the General section, do the following steps:
- In the Enable list, select Yes.
- In the Time Limit to clear Follow Up box, enter the number of days.
- In the Product Limit for Follow Up box, enter the number of products.
- Scroll down to the Sender section.
- Under the Sender section, do the following steps:
- In the Sender Name box, enter the name of the sender.
By default, the sender name is set to Admin. Change it if required. - In the Sender Email box, enter the email Id of the sender.
- In the Sender Name box, enter the name of the sender.
- Click the Save Config button.
×


Leave a Reply
You must be logged in to post a comment.