
Manage Product Listings
After the configuration is done, the seller needs to go to the Products to see the listing products on Facebook.
- Go to the Magento 2 Admin Panel.
- On the top navigation bar, you can see the FBNative.
A menu appears as shown in the following figure: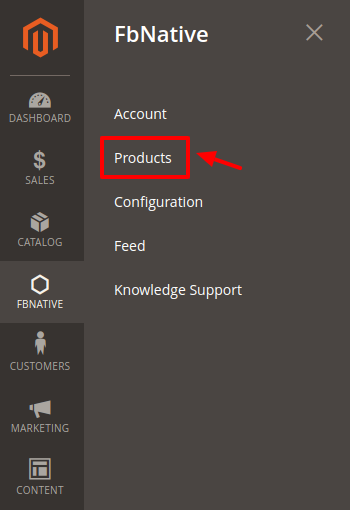
- Click on the Product section
The page appears as shown in the following figure:
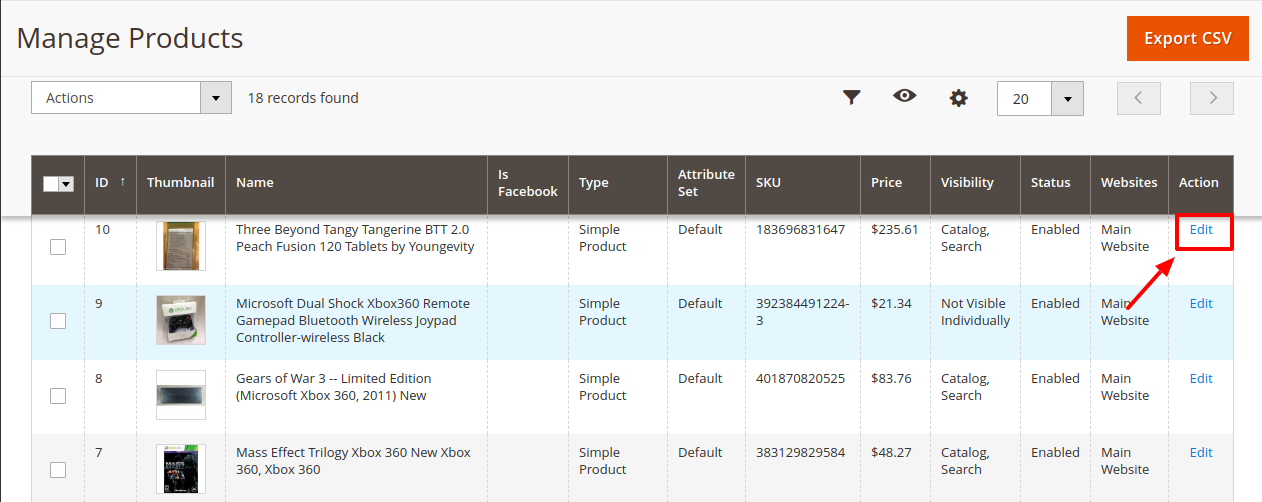
Note: As soon as you create an account, an attribute is generated in the product listings section. The attribute(s) needs to be assigned for products mentioned in the single accounts. - Click on Edit under the Actions column of the products as shown in the image above.
A new window opens up containing all the details about the product.
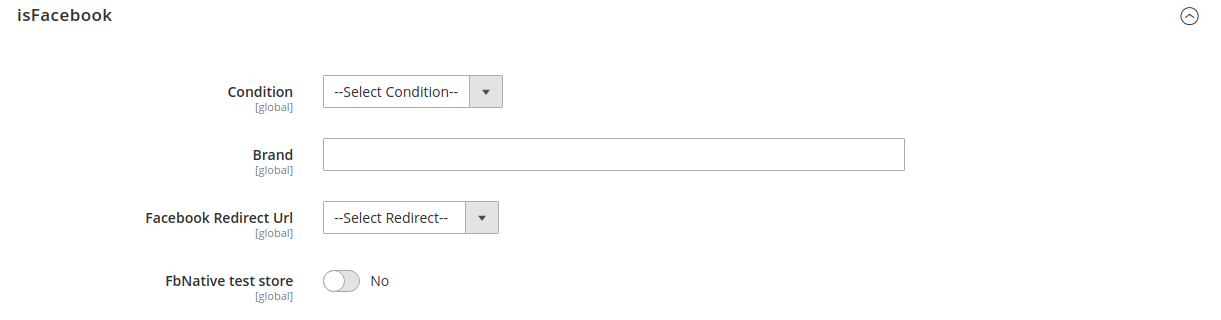
- You can choose the condition of the product you are selling from the drop-down menu in the condition.
- Enter the brand of your product in the next menu.
- Choose the Facebook Redirect URL as either cart page and shopping page from the drop-down menus. Based on your selection the user is redirected from the FB to either the cart page or the shopping page of your Magento Panel.
- In case you did not select any of the options, the user will be redirected to the Product page.
- Now below you must see all the Fb stores linked to your Magento panel. Select Yes on those stores from which you wish to include products.
- Save the product after the changes have been made.
Move back to the product listings.
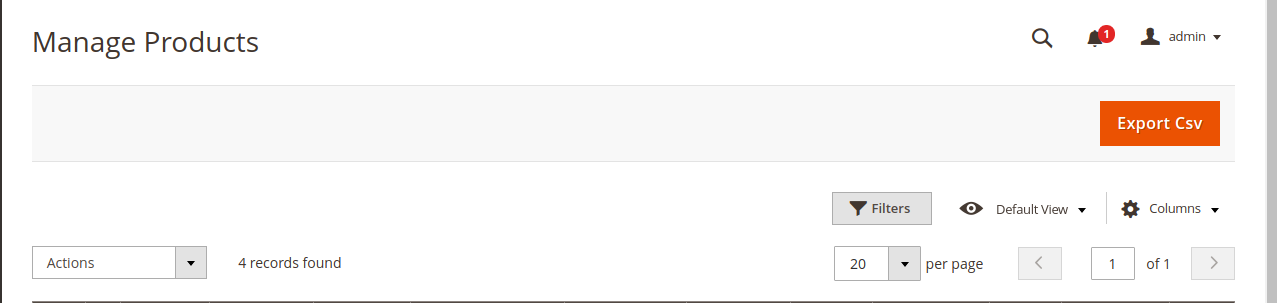
- On clicking on Export CSV you can generate the CSV of products with their status as given in the below image.
×


