6.4.Manage Categories ↑ Back to Top
Note: This is an alternate way to create profiles.
To manage categories for profiles
- Go to the Magento 2 Admin panel.
- On the left navigation bar, click the CATCH INTEGRATION menu.
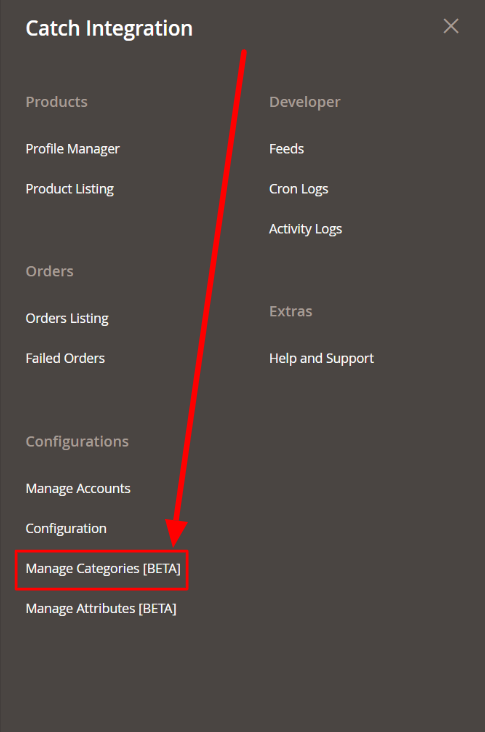
A menu appears as shown in the following figure:

- Click on Manage Categories.
The Manage Categories page appears as shown below:

- To add a new category, click on Add Category button, and you will be navigated to a new page. Here you can choose the Account to which you want to add a new category.
Select Account page will be visible as follows:
- Click on the account code of your preferred Catch Seller Account.
You will be navigated to the new page. The new category page appears as shown below:

- In the left navigation panel, click on Catch Category. Under this do the following steps:
- In Category Code, enter the category code that you have entered in Configuration settings.
- In Leaf Category, select the Category to be mapped.
- In the left navigation panel, click on Product Query Condition. The section appears as shown below:

- In Product Query Condition choose the condition from the list to add for mapping the product.
- Click on Save Button, the category will be saved and displayed in the Categories grid.
- To Edit any category mapping, click on the Edit button in the Actions column.

- Edit Category page appears as shown below:

- Do the required edits and save the details.
Note: Before doing profile creation please make sure you did all the mapping from the Manage Attribute section
To Delete Categories in Bulk,
- Select the categories that you want to delete in bulk.
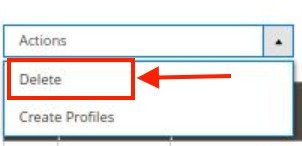
- In the Actions list, click on Delete.

- The selected categories will be deleted.
To Create Profiles in Bulk,
- Select the categories for which you want to create profiles.
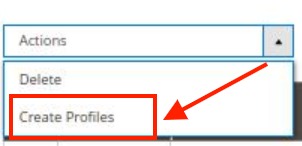
- In the Actions list, click on Create Profiles.

- The profiles will be created automatically in bulk.
Note: To assign product into profile you have go to the Profile Manager & use Assign Product mass action.
×


