
Amazon Integration Configuration Settings
*You can refer to this video for configuration of the extension:*
You can also read these steps to set up the configuration settings in the Magento 2 Admin panel
- Go to the Magento 2 Admin panel.
- On the left navigation bar, click the AMAZON INTEGRATION menu.
The menu appears as shown in the following figure: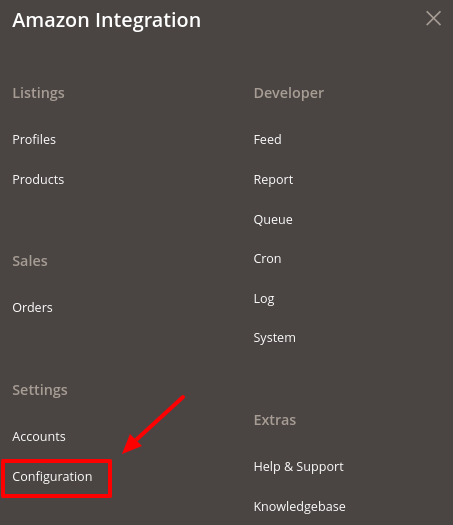
- Click Configuration.
The Configuration page appears as shown in the following figure: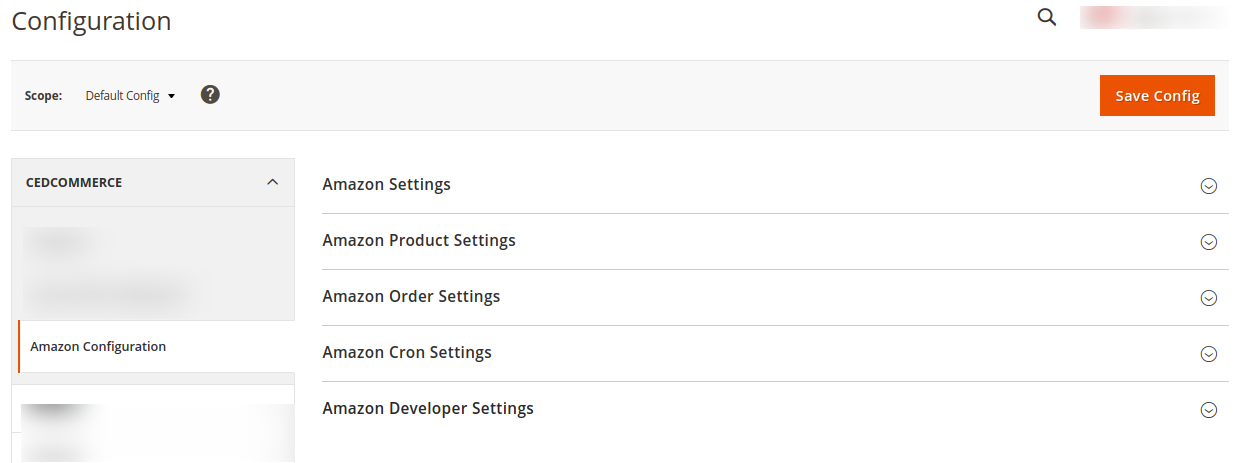
- In the right panel, click the Amazon Settings tab.
The Amazon Settings tab is expanded and the relevant fields appear as shown in the following figure:

- Under Amazon Settings, do the following:
- In the Enabled list, select the Yes option.
- Scroll down to the Amazon Product Settings tab, and then click the tab.
The Amazon Product Settings tab is expanded and the expanded section appears as shown in the following figure:
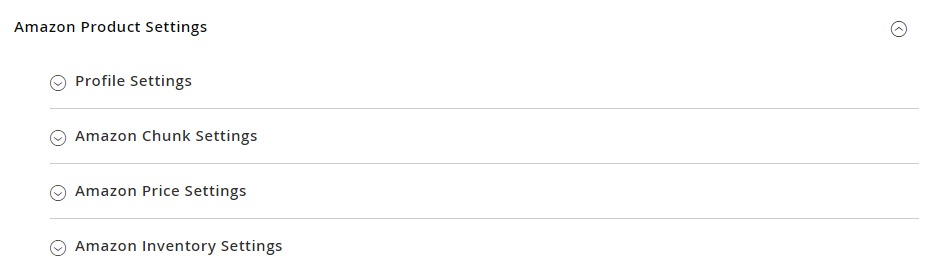
- Click on Profile Settings, the section will expand as:
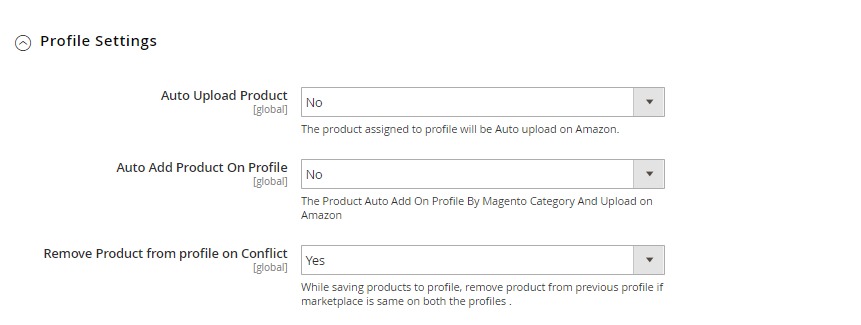
- Under this Profile Settings, do the following steps:
- In Auto Upload Product, select Yes if you to automatically upload the product on Amazon.
- In Auto Add Product On Profile, select Yes if you want to automatically add products to profile and upload on Amazon.
- In Remove Product from Profile on Conflict, select Yes if you want to remove the products from the profile if the marketplace is the same on both the profile while saving the products.
- Click Amazon Chunk Settings, the section will expand as:

-
- In the Product Queue Chunk Size box, enter the size number of a chunk for a product upload queued task.
- In the Product Feed Chunk Size box, enter the size number of a chunk for a product upload feed.
- In the Price Queue Chunk Size box, enter the size number of a chunk for a price queued task.
- In the Price Upload Feed Chunk Size box, enter the size number of a chunk for a price feed.
- In the Inventory Queue Chunk Size box, enter the size number of a chunk for an inventory queued task.
- In the Inventory Feed Chunk Size box, enter the size number of a chunk for an inventory feed.
- In the Status Queue Chunk Size, enter the size of the chunk for the queued status.
- In the Status Feed Chunk Size, enter the size of the chunk for status feed.
-
- Click Amazon Price Settings, the tab gets expanded as:
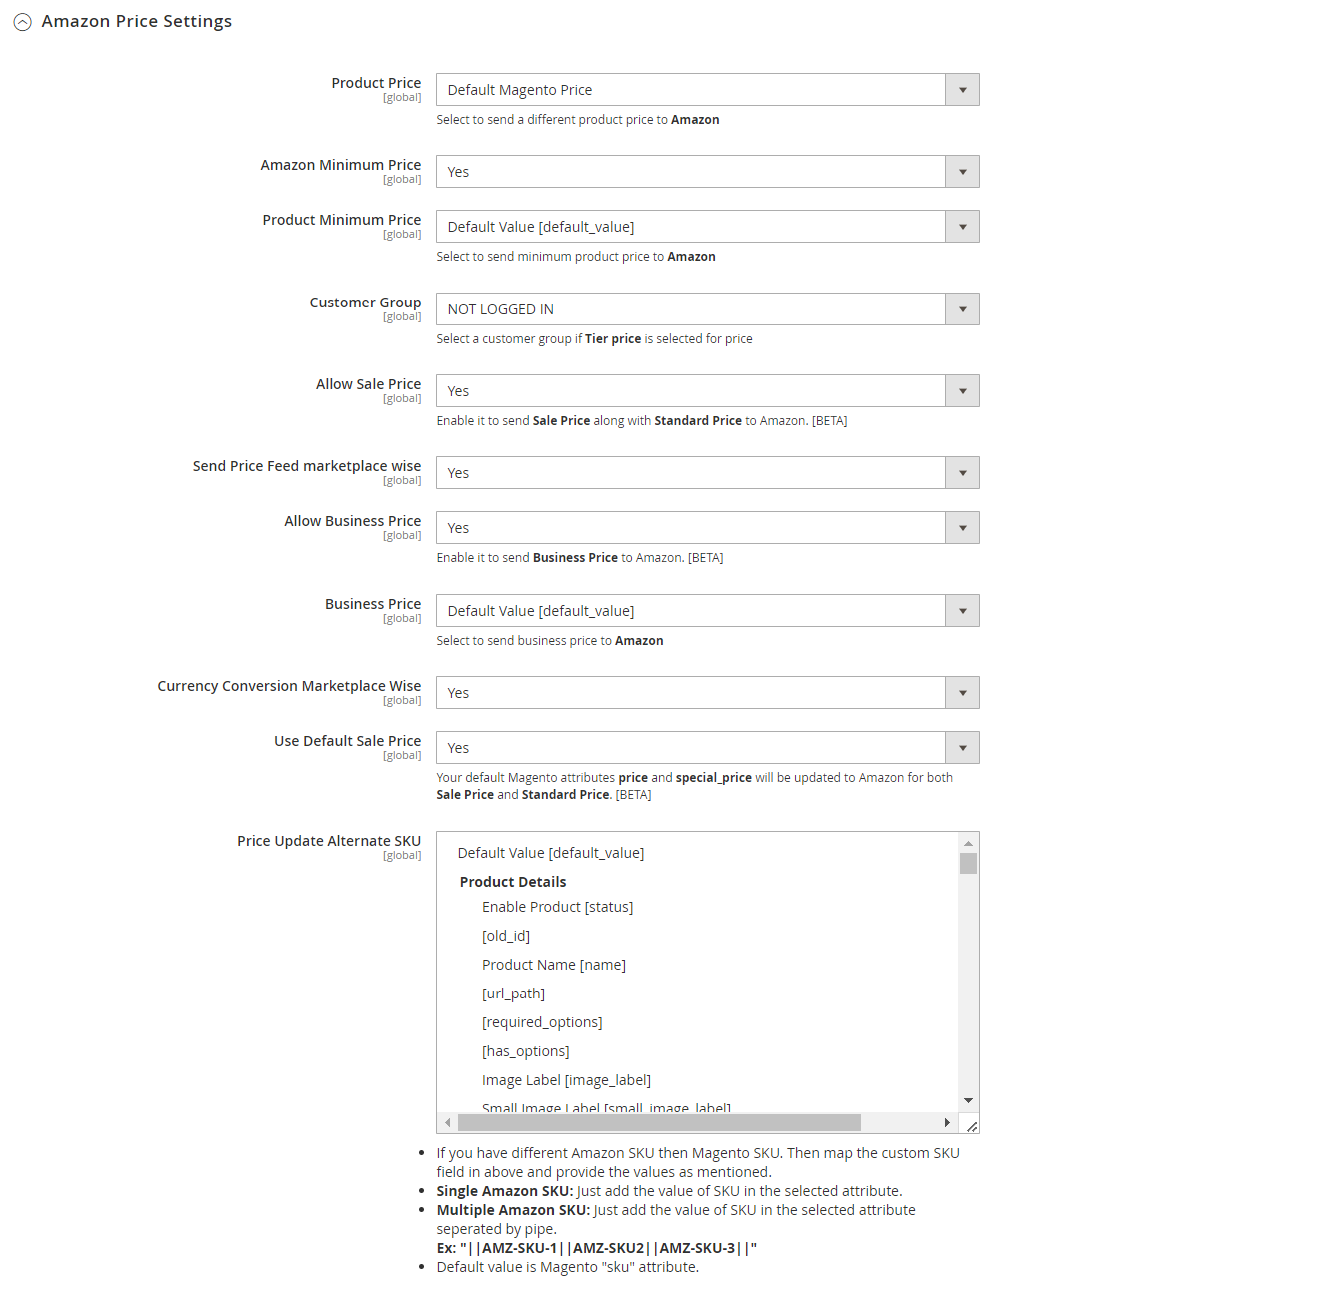
- In the Product Price list, select one of the following options:
- Increase by Fixed Price: If selected, then the Modify by Fix Price field appears.
- Increase by Fixed Percentage: If selected, then the Modify by Percentage Price field appears.
Enter the numeric value to increase the price of the Amazon, product price by the entered value % of the Magento 2 store price.
For Example,
Magento 2 price + 5% of Magento 2 price.
Magento 2 Price = 100 - Select Increase By Fixed Percentage option
Modify by Percentage Price = 5
100 + 5% of 100 = 100 + 5 = 105
Thus, Amazon Product Price = 105 - Decrease by Fixed Price: If selected, then the Modify by Fix Price field appears.
- Decrease by Fixed Percentage: If selected, then the Modify by Percentage Price field appears.
Enter the numeric value to decrease the price of the Amazon product price by the entered value % of Magento 2 price
For Example,
Magento 2 price – 5% of Magento 2 price.
Magento 2 Price = 100 - Select Decrease By Fixed Percentage option
Modify by Fix Price = 5
100 – 5% of 100 = 100 – 5 = 95
Thus, Amazon Product Price = 95
- In Amazon Minimum Price, if you want to set the minimum price.
- In Product Minimum Price, select to send minimum product price to Amazon.
- In Customer Group, select a customer group if tier price is selected for price.
- In Allow Sale Price, select Yes if you want to enable the Sale Price along with the standard price.
- In Send Price Feed Marketplace wise, select Yes to send separate price feed for every marketplace
- In Allow Business Price, select Yes to send the business price to Amazon.
- In Business Price, select the business price to send to Amazon.
- In Currency Conversion Marketplace wise, select Yes if you want to send the price after converting it to marketplace currency.
- In Use Default Sale Price, your default Magento attributes price and special price will be updated to Amazon for both Sale Price and Standard Price.
- In Price Update Alternate SKU, select the price update for alternate SKU.
- In the Product Price list, select one of the following options:
- Now click on Amazon Inventory Settings, the section is expanded as:
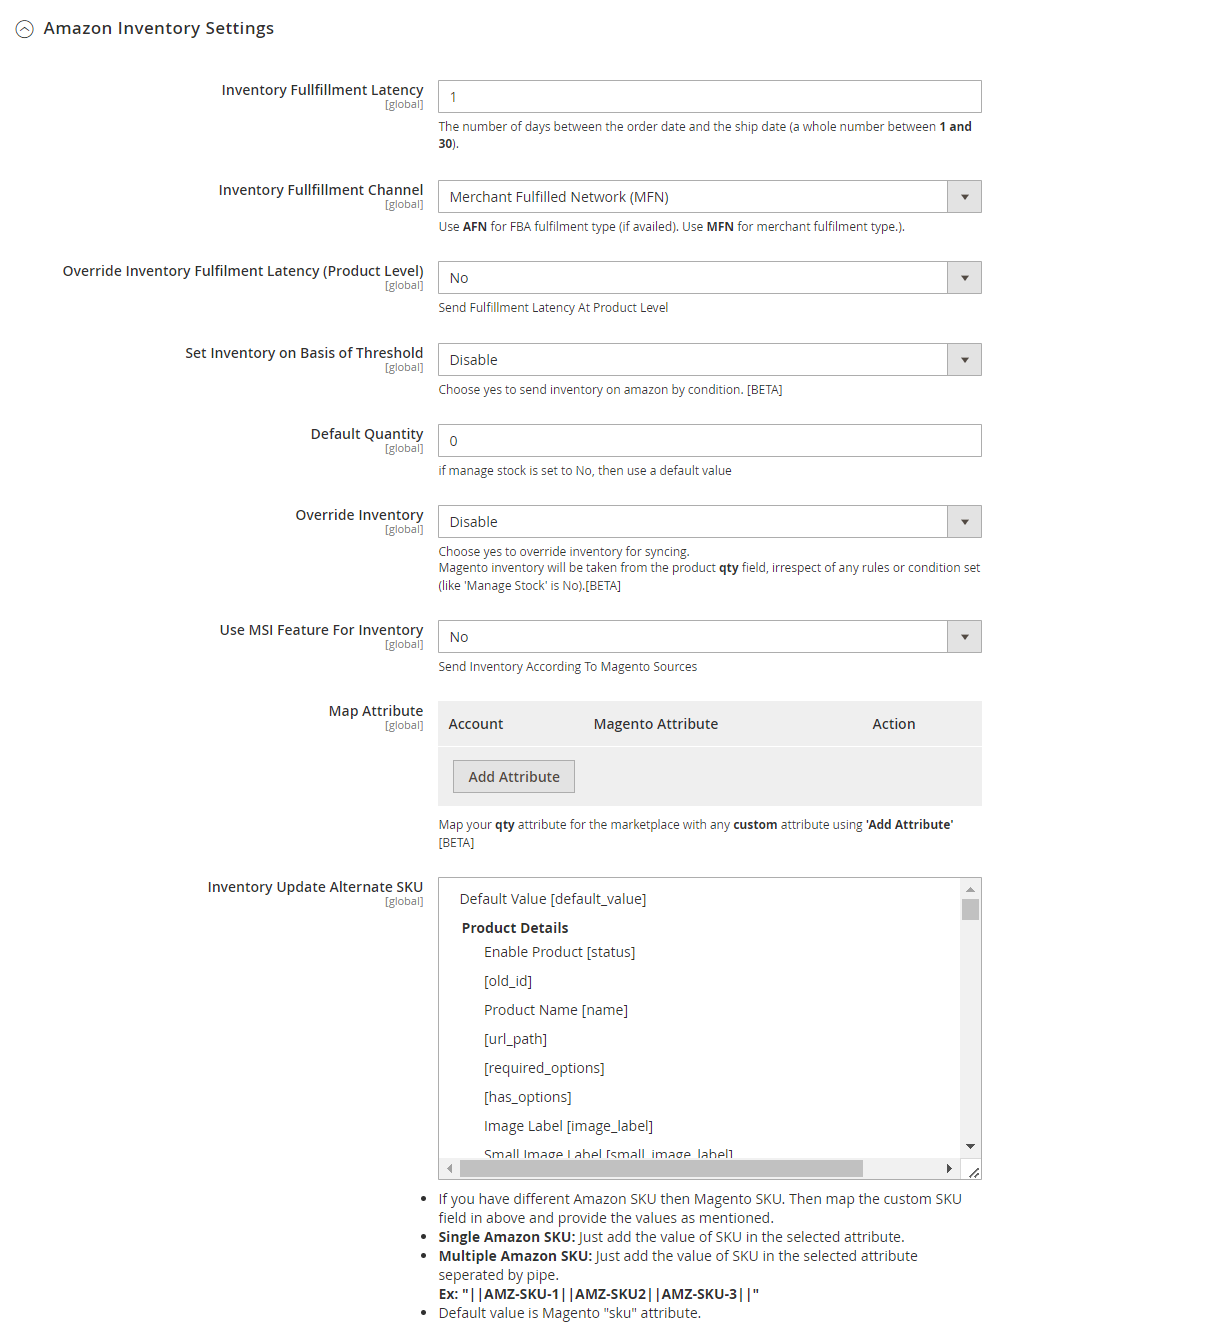
- Under Amazon Inventory Settings, do the following steps:
- In Inventory Fulfilment Latency, enter the number of days for the inventory fulfilment from the order date to the Shipment date.
- In Inventory Fulfilment Channel, select the channel for fulfilment i.e, FBA or FBM.
- In Override Inventory Fulfilment Latency (Product Level) , select Yes to send fulfillment latency at product level.
- In Set Inventory on Basis of Threshold, select Enable it if you want Threshold value for your inventory.
- In Inventory Threshold Breakpoint Value, enter the threshold quantity for inventory.
- In Inventory Value for Less Than, enter the inventory value which will send to Amazon if it is less than the set threshold value.
- In Inventory Value for Greater Than, enter the inventory value which will send to Amazon if it is greater than the set threshold value.
- In Default Quantity, enter the default value.
- In Override Inventory, select Enable if you want the inventory to be synced from product ‘qty’ field despite any other setting or customization for inventory.
- In Use MSI Feature for Inventory, select Yes if you want to send inventory according to Magento sources.
- In Map Attribute, map Amazon qty attribute with the Magento Attribute.
- In Inventory Update Alternate SKU, select the SKU from the field.
- Scroll down to the Amazon Order Settings tab, and then click the tab.
The tab is expanded and the section appears as shown in the following figure:
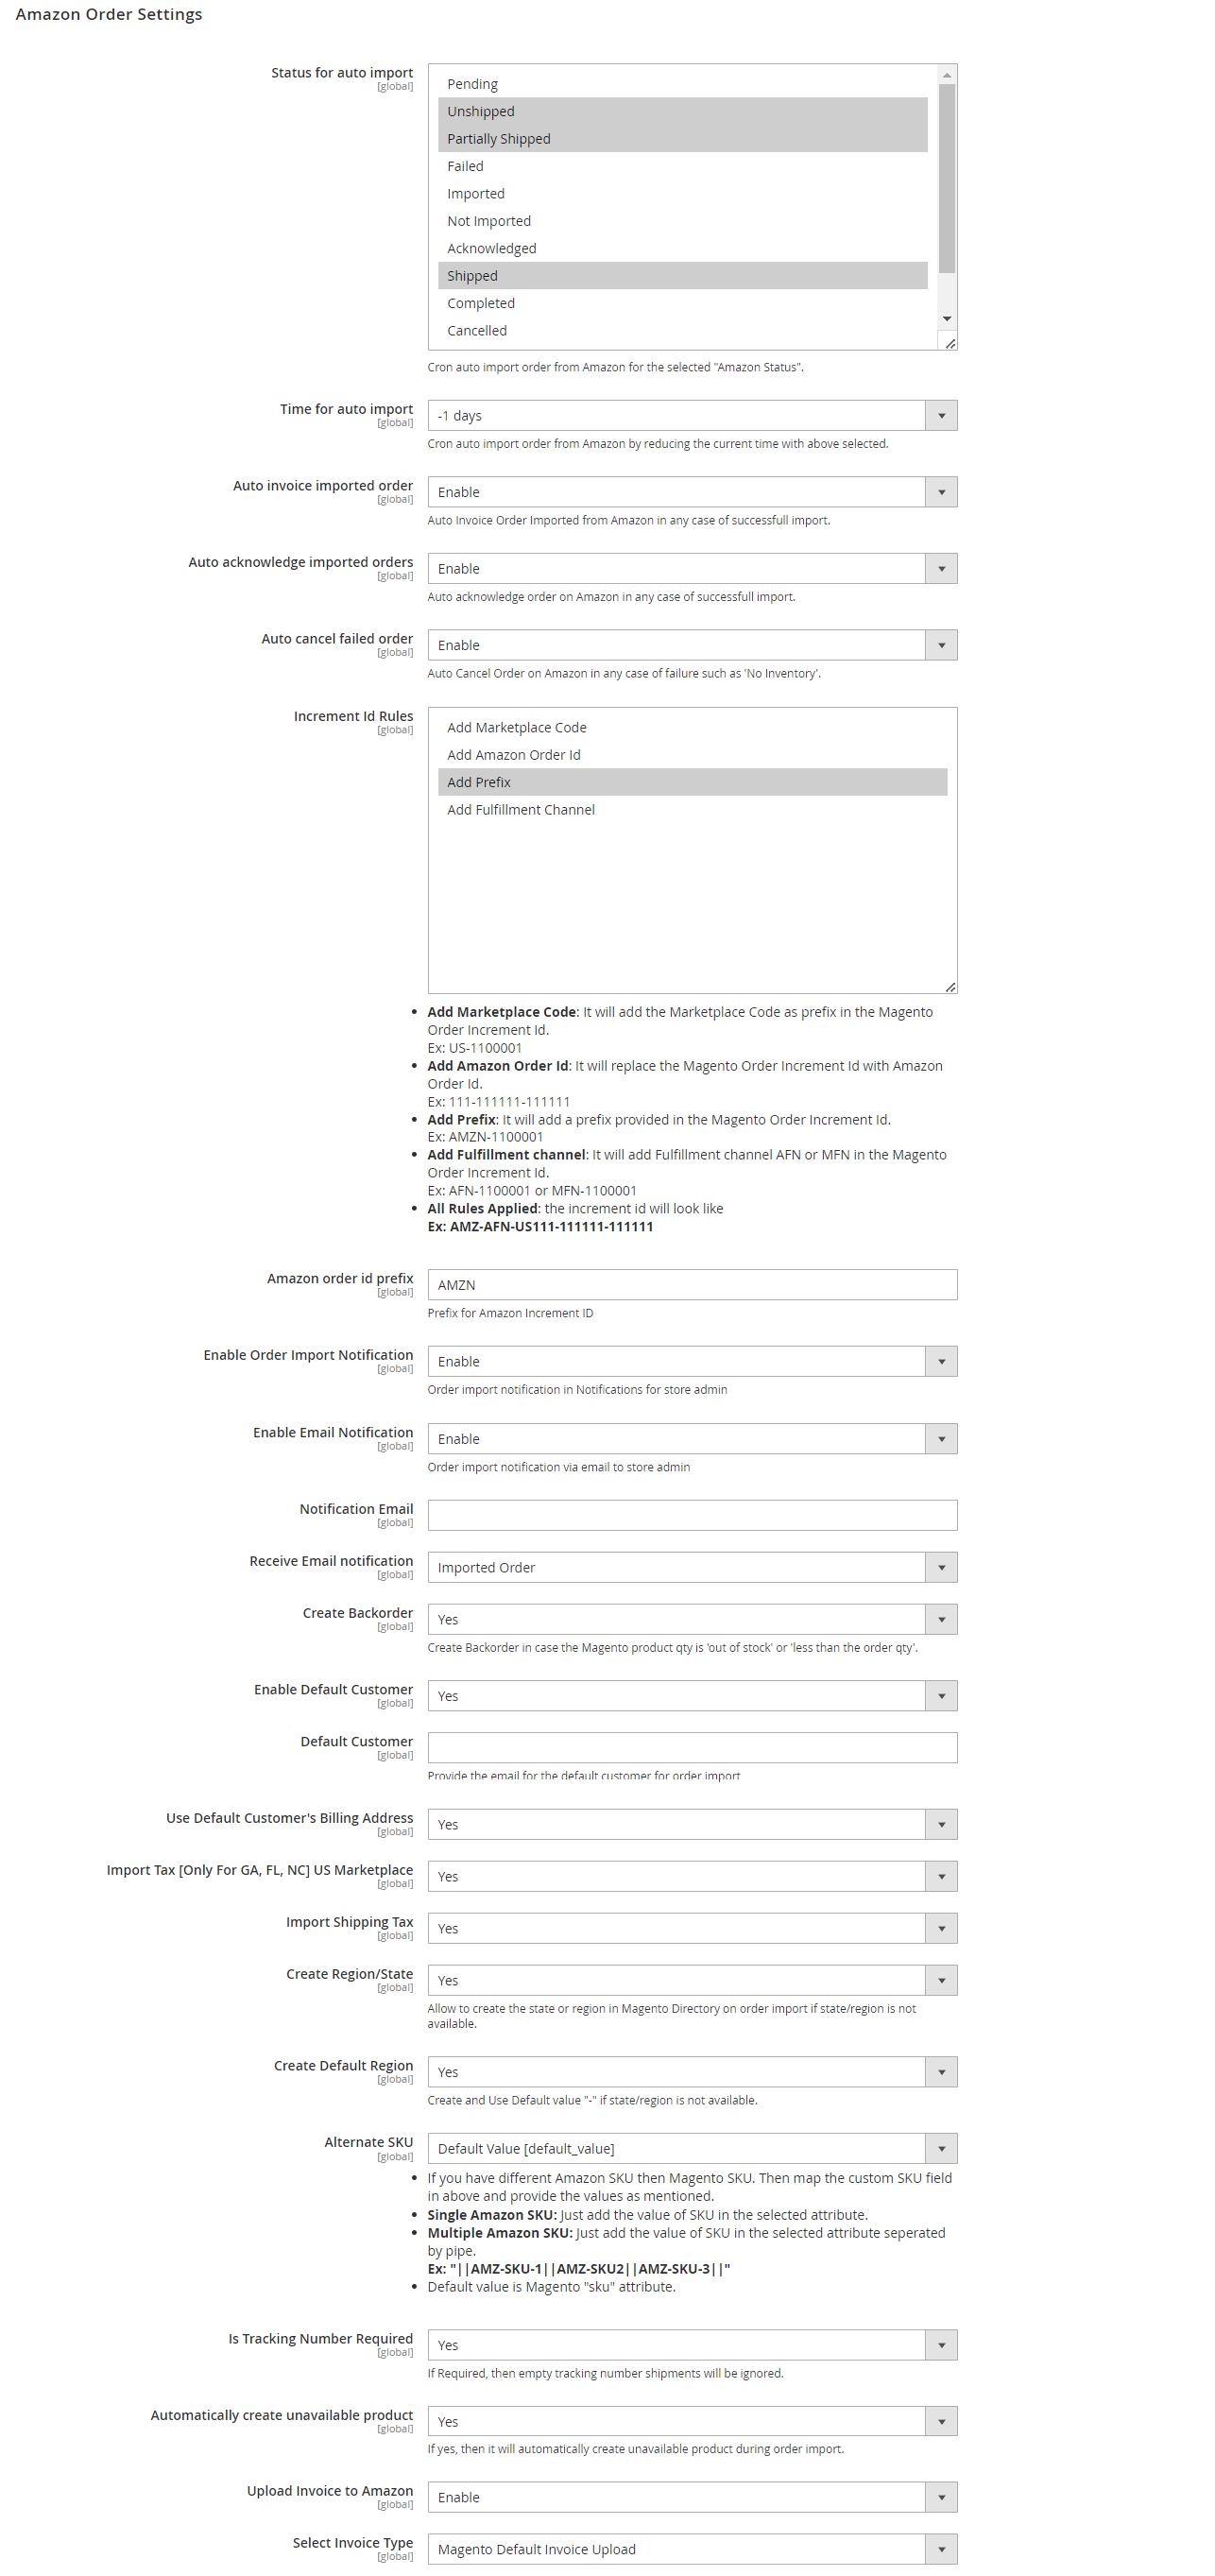
- In Status for Auto Import, select the status of the Amazon orders for auto import.
- In Time for Auto Import, select the time for which cron will automatically import the order.
- In Auto Invoice Imported Order, select Enable to create an invoice in Magento for imported order.
- In Auto Acknowledge Imported Orders, select Enable if you want to automatically acknowledge the imported orders on Amazon.
- In the Auto Cancel Failed Order box, select the Enable option to auto-cancel the orders on Amazon in any case of failure such as No Inventory.
- In Increment Id Rules, you have the rules to Add Marketplace Code, Add Amazon Order Id, Add Prefix, Add Fulfillment Channel.
- In the Amazon Order Id Prefix box, enter the required order Id prefix.
- In Enable order Import Notification, select Enable to receive notifications of orders import.
- In Enable Email Notification, select Enable to receive notifications via email.
- In the Create Backorder, select Yes if you want to create an order if the product is out of stock.
- In Enable Default Customer, select Yes if you want to create an order with default customer, no new customer will be created during order import.

- Once you select Yes, a field appears of Default Customer, enter the email of the customer.
- In Use Default Customer’s Billing Address, select Yes if you want to use the billing address of the customer.
- In Enable Guest Customer, select Yes if you want to create guest customers on order import.
- In Import Tax [Only For GA, FL, NC] US Marketplace, select Yes if you want to add the tax in order for these regions in the US.
- In Import Shipping Tax, select Yes if you want to enable the tax on Shipping.
- In Create Region/State, select Yes if you want to create the region or state in the Magento directory if it is not present at the time of order import.
- In Create Default Region, select Yes if you want to create the region for the order by default.
- In Alternate SKU, select the alternate Amazon SKU.
- In Is Tracking Number Required, select Yes if you want to sync tracking number for the order to amazon.
- In Automatically create unavailable product, select Yes to create the product automatically if it is not available.
- In Upload Invoice to Amazon, select Enable to upload the Amazon order invoice.
- In Select Invoice Type, select the type of invoice.
- Click Amazon Cron Settings and the section will expand as:
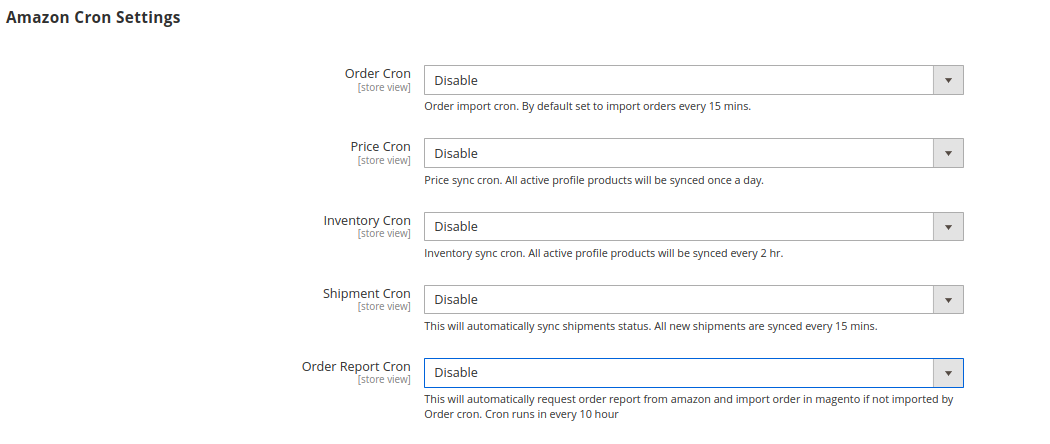
- In the Order Cron list, select the Enable option to enable the fetch order cron.
- In the Price Cron list, select the Enable option to enable the price sync cron.
- In the Inventory Cron list, select the Enable option to enable the inventory sync cron.
- In the Shipment Cron list, select the Enable option to enable the shipment cron and to generate shipments automatically.
- In the Order Report Cron list , select the Enable option to automatically enable request order report from Amazon and import order in Magento if not imported by Order cron. Cron runs in every 10 hours.
- Scroll down to the Amazon Developer Settings tab, and then click the tab.
The tab is expanded and the section appears as shown in the following figure:
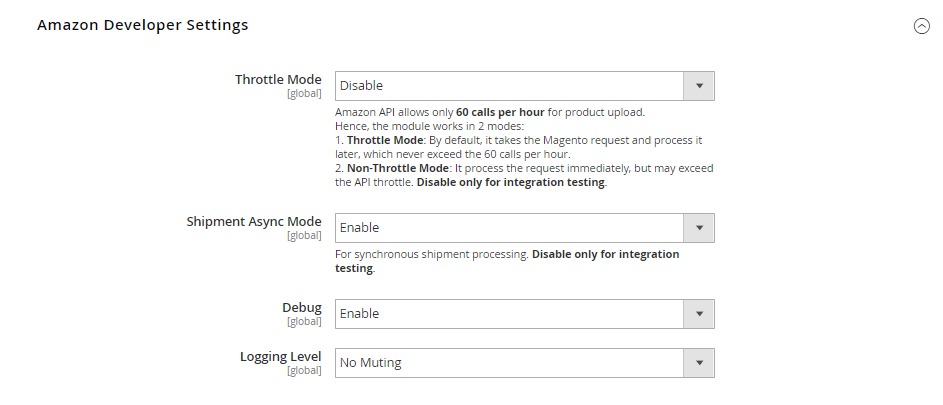
- In the Throttle Mode list, select the Enable option to process the upload and sync task through the queue. Disable only for integration testing.
- In Shipment Async Mode, select Enable to send multiple order shipment in a single feed.
- In Debug, select Enable for the logs to be created.
- In Logging Level, select the level of the logs created, select No Muting for all the levels.
- Click the Save Config button to save the entered values and information. The configuration will be saved.
×


