
Amazon Feeds
After uploading the product on Amazon or after updating the product inventory or the product price, the user can check the status of the feed and sync the selected feeds from the Amazon Feeds page.
To view and manage the product feeds
- Go to the Magento 2 Admin panel.
- On the left navigation bar, click the AMAZON INTEGRATION menu.
The menu appears as shown in the following figure:
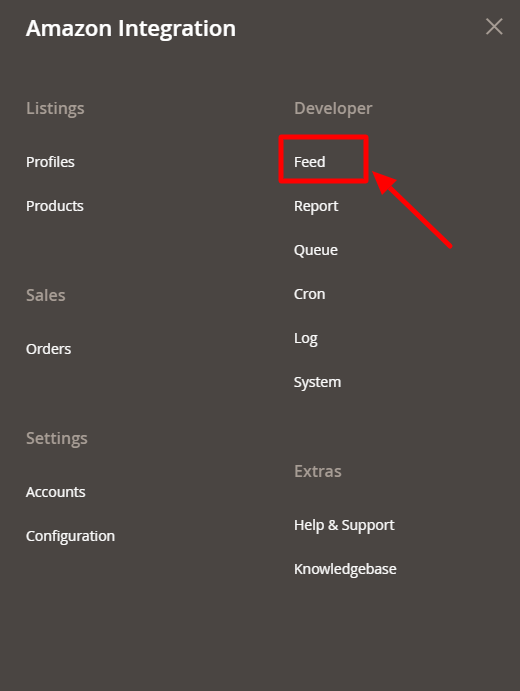
- Click Feeds.
The Amazon Feeds page appears as shown in the following figure:

- Do the following tasks if required:
- View the status of the feed in the Status column.
- To view the Feed File, do the following steps:
- Scroll down to the required row.
- In the Feed File column of the respective row, click the View Feed file
 icon.
icon.
The page appears as shown in the following figure:
- To download the Feed File, do the following steps:
- Scroll down to the required row.
- In the Feed File column of the respective row, click the Download file
 icon.
icon.
A dialog box appears as shown in the following figure:
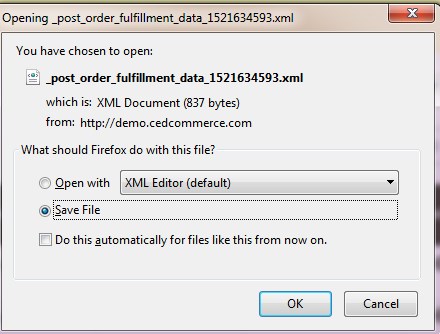
- Click to select the required option to Save the file, and then click the OK button.
- To resend the specific feed, do the following steps:
- Scroll down to the required row.
- In the Feed File column of the respective row, click the Upload
 icon.
icon.
A message appears as shown in the following figure:

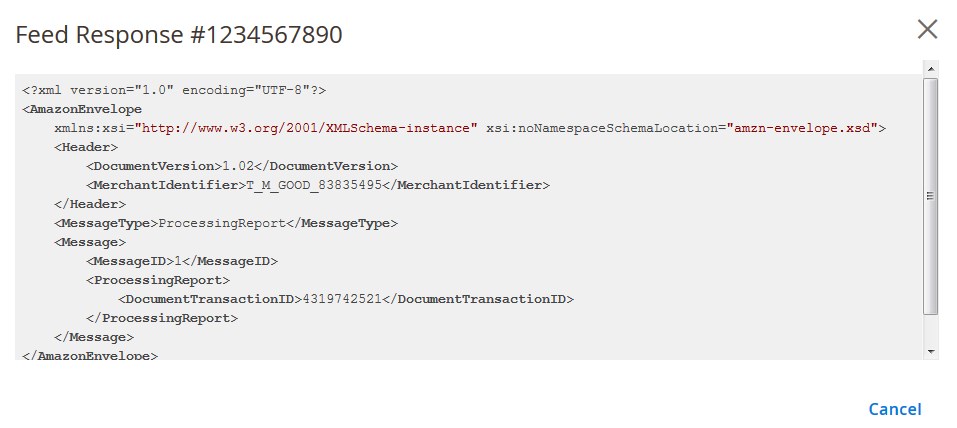
- To view the Feed response, do the following steps:
- Scroll down to the required row.
- In the Response column of the respective row, click the View Feed Response icon.
The page appears as shown in the following figure:
- To download the Response File, do the following steps:
- Scroll down to the required row.
- In the Response File column of the respective row, click the Download file icon.
A dialog box appears as shown in the following figure: - Click to select the required option to Save the file, and then click the OK button.
- To synchronize the specific feed between Amazon and Magento 2, do the following steps:
- Scroll down to the required row.
- In the Response column of the respective row, click the Sync
 icon.
icon.
- To delete the specific feed, do the following steps:
- Scroll down to the required row.
- In the Actions column of the respective row, click the Delete Feed
 icon.
icon.
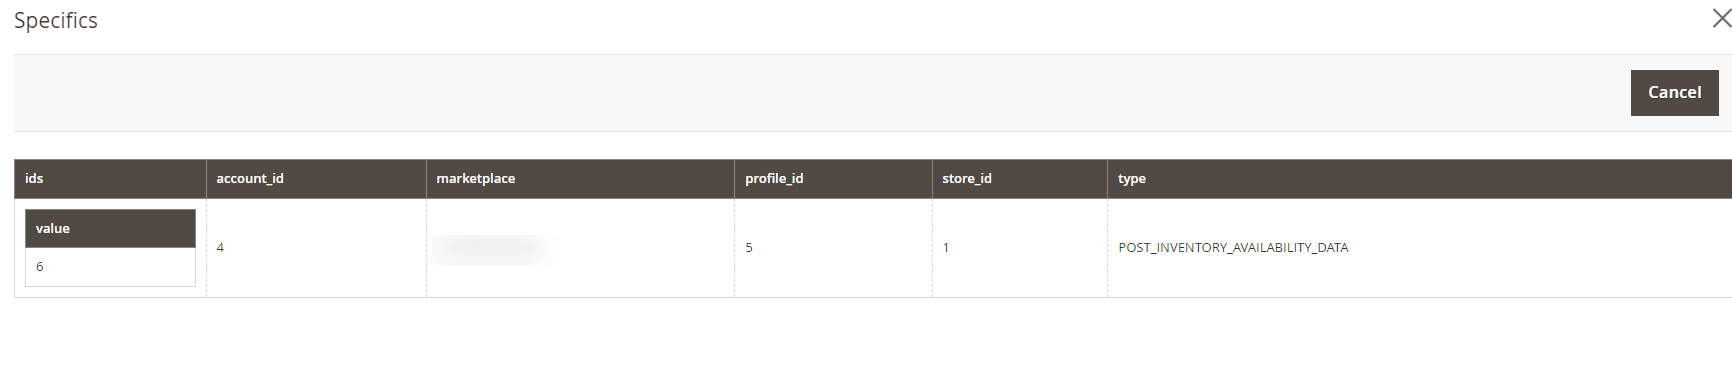
- To view the Specifics, do the following steps:
- Scroll down to the required row.
- In the Specifics column of the respective row, click the View icon.
The Specifics page appears as shown in the following figure:
To perform a bulk action on selected feeds
- Select checkboxes associated with the required feeds.
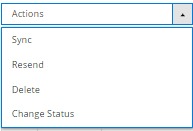
- Click the Arrow button next to the Actions field.
The Actions list appear as shown in the following figure:
- Select the required option.
A confirmation dialog box appears. - Click the OK button.
The action is performed and a success message appears if there is no error.
×


