6.1.Add a New Profile ↑ Back to Top
To add a new profile
- Go to the Magento Admin panel.
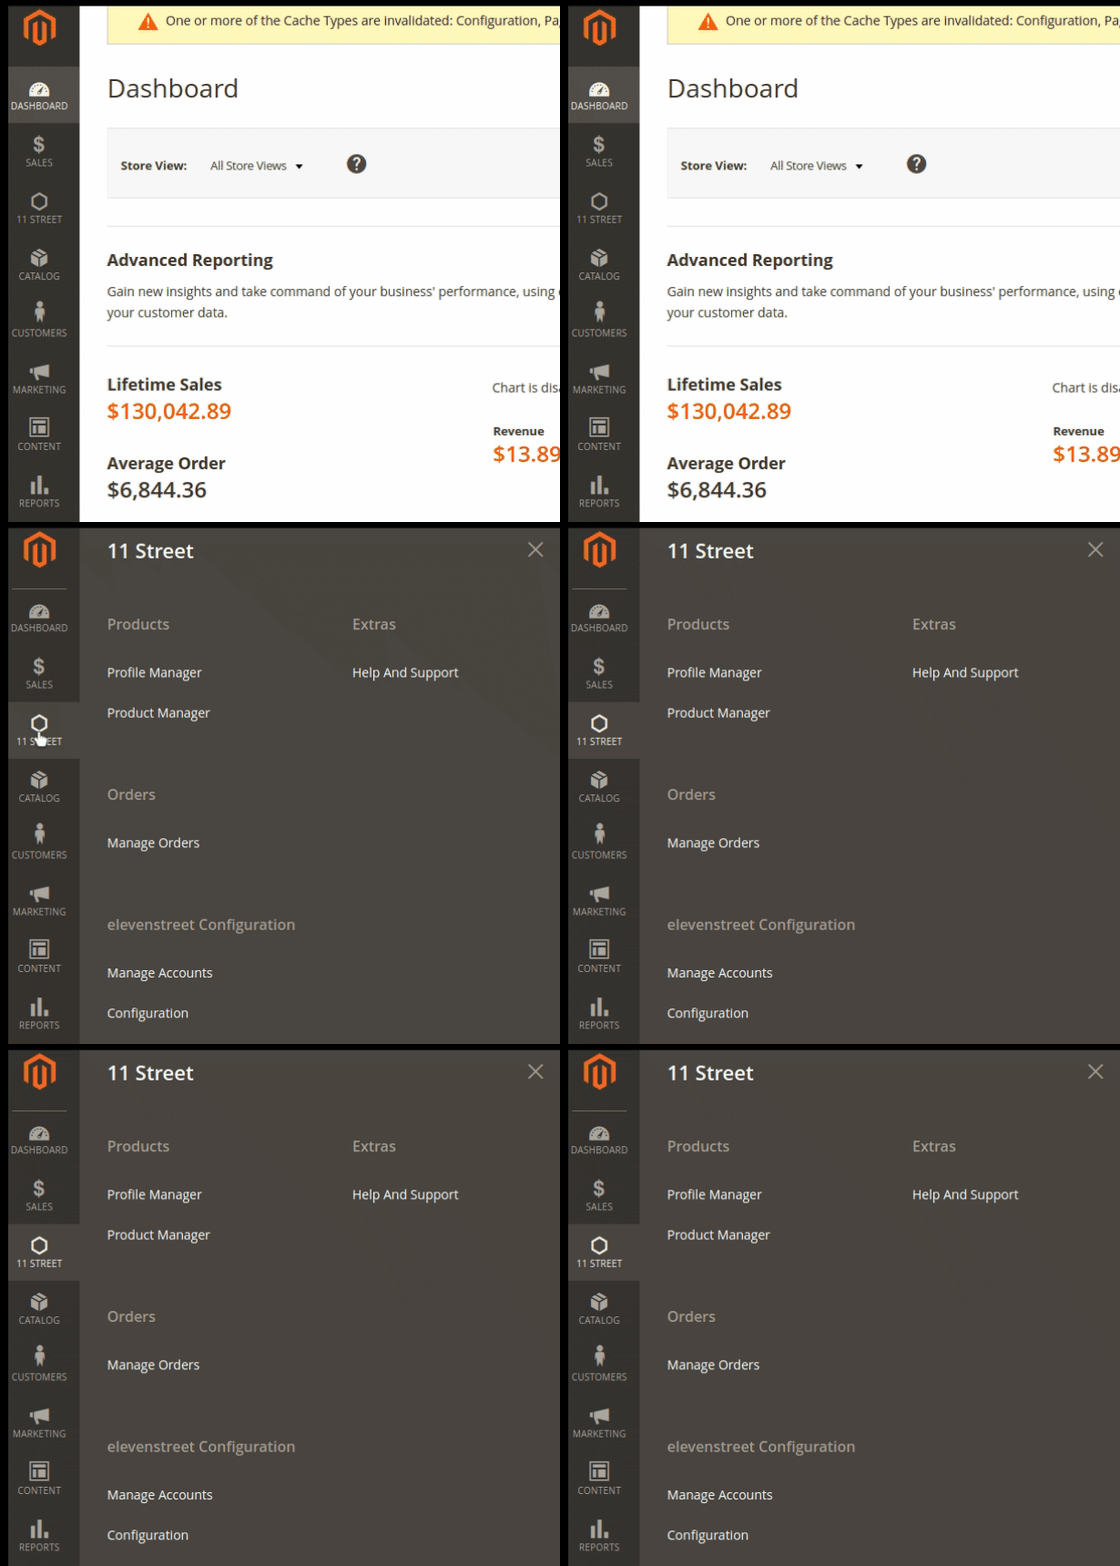
- On the left navigation bar, click the 11 Street Integration menu.

The menu appears as shown in the following figure:
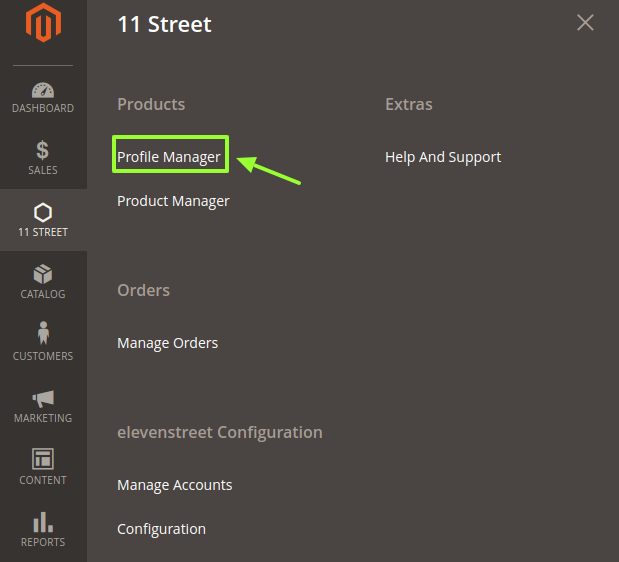
3. Click the Profiles Manager menu.

The 11 Street Profile Listing page appears as shown in the following figure:
4. Click the Add New Profile button.
The page appears as shown in the following figure: 
Choose the account you wish to create a profile for and click on the edit button.
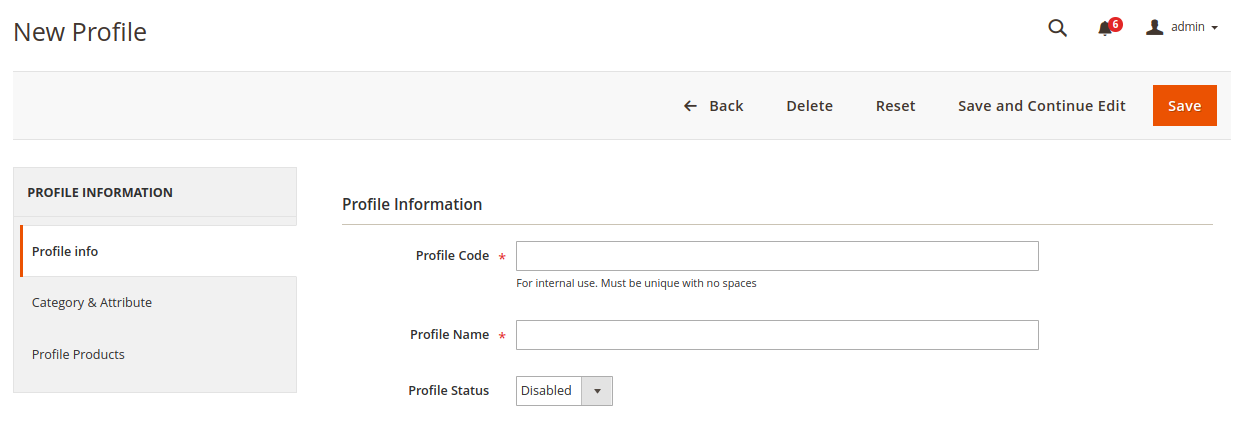
The New Profile page appears as shown:

5. In the Profile Code box, enter a profile code.
Note: It is only for the internal use. Use the unique profile code with no spaces. Start with small letters.
6. In the Profile Name box, enter the name of the profile.
Note: Use the unique name to identify the profile.
7. In the Status list, select Enabled to enable the profile.
Note: The Disabled option disables the profile.
8. Click the Save and Continue Edit button.
9. In the left navigation panel, click the Category & Attribute menu.
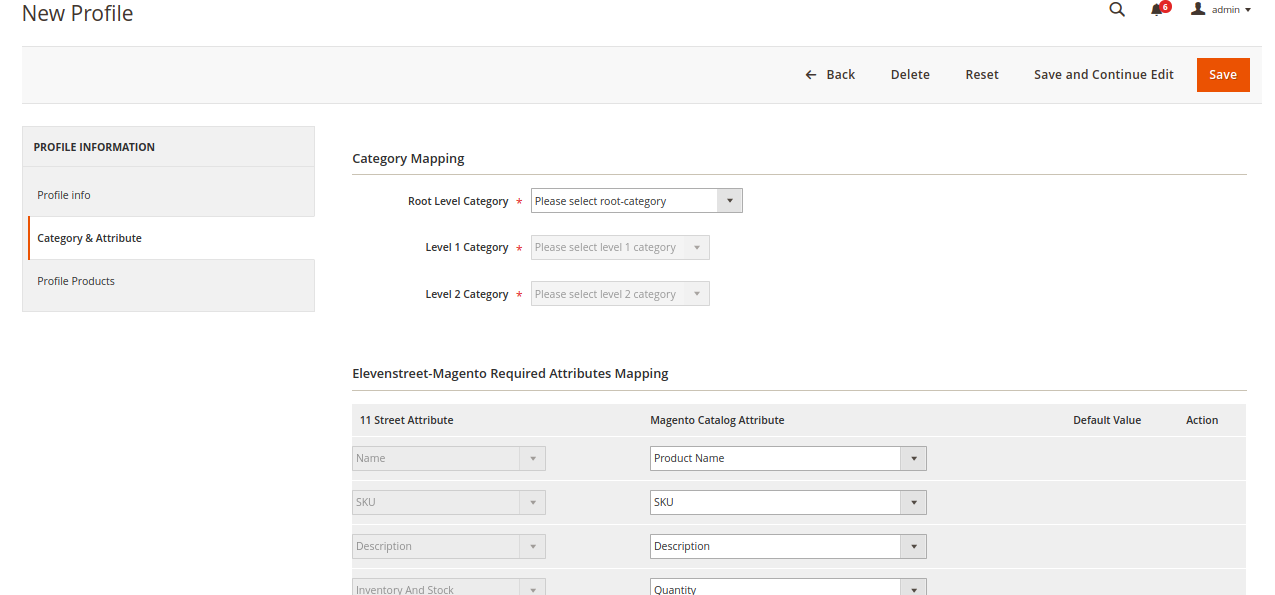
The page appears as shown in the following figure:
10. In the right panel, under Category Mapping, do the following steps:
- In the Root Level Category, select the preferred 11 Street category that the admin wants to map.
- In the right panel, under 11 Street / Magento Attribute Mapping (Required/Optional mapping), do the following steps:
-
In the Magento Catalog Attribute column, select the required Magento Store attribute to map it with the corresponding 11 Street attribute.
- Repeat the mapping of all the required or optional Magento Store attributes listed with the corresponding 11 Street attributes.
- Click the Add Attribute button to add more attributes.
-
11. Click Save and Continue Edit.
12. In the left navigation panel, click the Profile Products menu. The page appears as shown in the following figure:
Since no products as assigned to the profile, there are no products listed in the table.
Click on Save Button on the top left corner to save the profile.
A confirmation message appears as shown:


