
Sears Carrier Mapping
Currently, Sears accepts only specific shipping carriers and their specific methods, so the store owners have to map their Shopify carriers with the Sears carriers and their specific methods to ignore the order rejection. To check sears accepted carriers list, click here.
The store owner can add the Carrier mapping and delete the mapping those are no more required.
To manage the Sears Carrier mapping
- Go to the Sears Marketplace Integration App.
- On the top navigation bar, click the Order menu.
The menu appears as shown in the following figure:
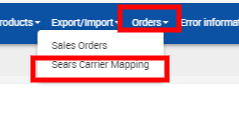
- Click Sears Carrier Mapping.
The Shopify-Sears Carrier Mapping page appears as shown in the following figure:

- To add the carrier mapping, do the following steps:
- Click the Add Mapping button.
The page appears such as shown in the following figure:
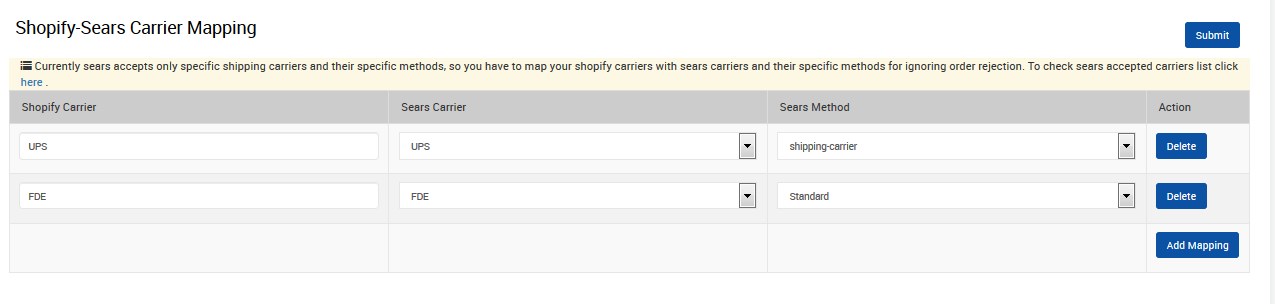
- In the Shopify Carrier column, enter the required carrier name.
- In the Sears Carrier column of the respective row, select the corresponding carrier from the list to map it to the corresponding Shopify Carrier.
- In the Sears Method column of the respective row, select the required Sears method from the list.
- Click the Add Mapping button to add more carrier names if required.
- Click the Submit button.
A success message appears on the page.
- Click the Add Mapping button.
- To delete the carrier mapping, do the following steps:
- Scroll down to the required carrier row.
- In the Action column of the respective row, click the Delete button.
The respective carrier mapping is deleted and remove from the Shopify-Sears Carrier Mapping page.
×


