
Add a Simple Product
The vendors can use the Magento 2 simple product feature to add a single item without any specific variations. For instance, a coffee cup, a table, and so on.
To add a simple product
- Go to the Vendor Panel.
- On the left navigation bar, click the New Product menu.
The menu appears as shown in the following figure:
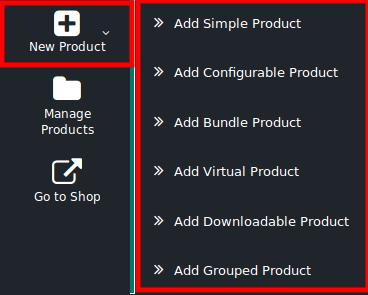
- Click Add Simple Product.
The New Product page appears as shown in the following figure:
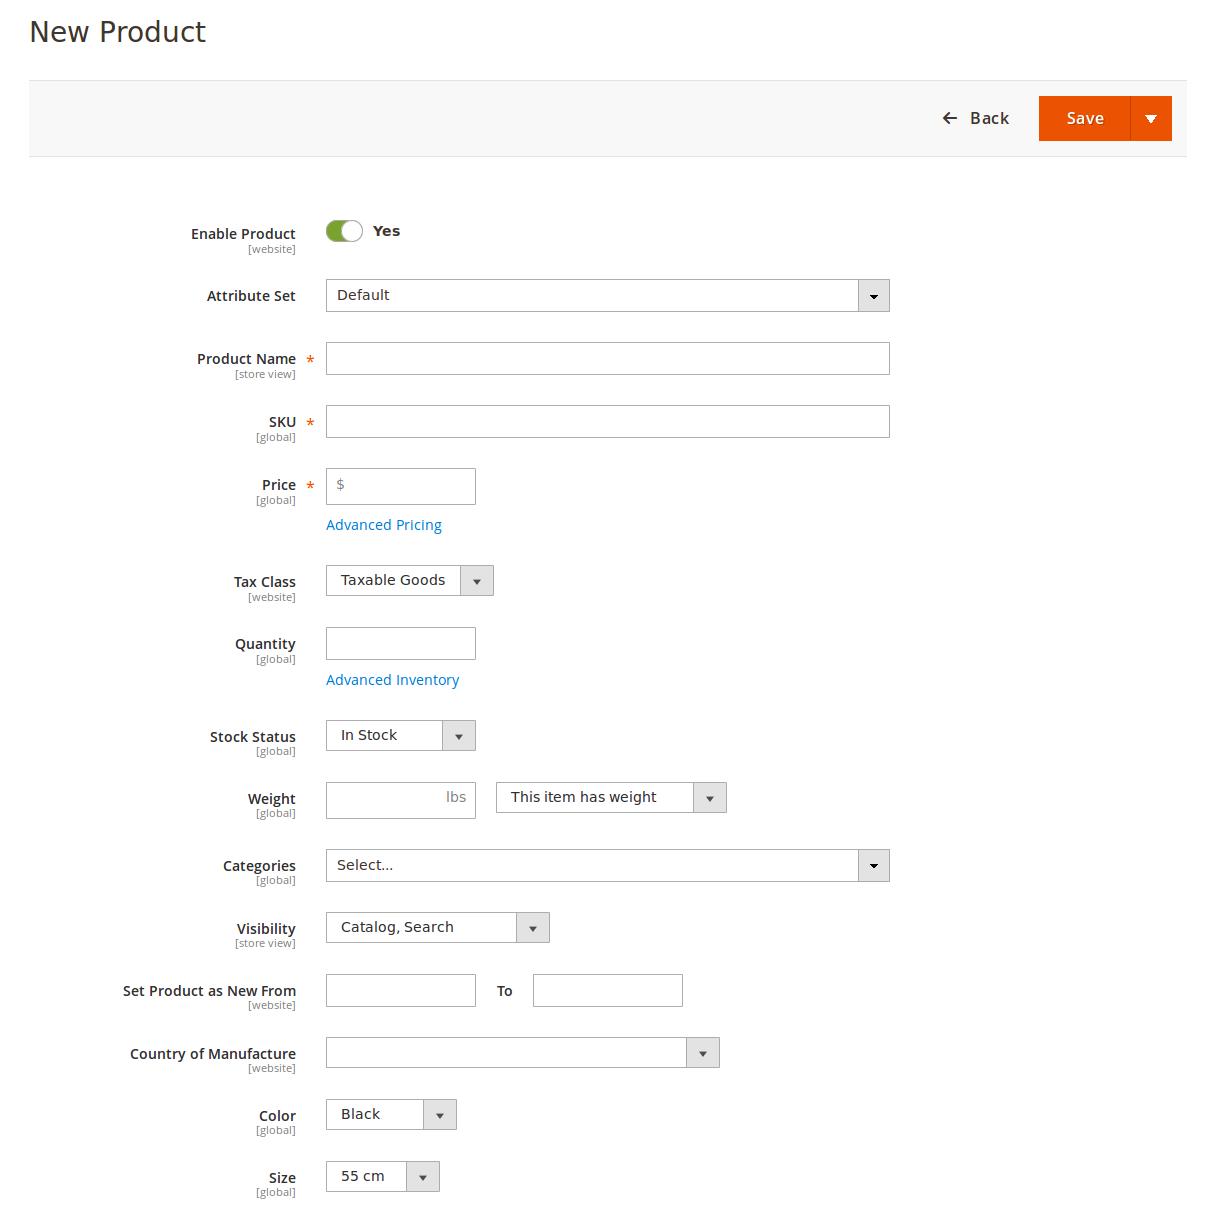
- Click the Enable icon to enable the Product creation feature of the add-on.
- In the Attribute Set list, select the required option.
Note: Based on the selection, other relevant fields appear. - Enter the required values in the respective fields.
- In the Product Name box, enter the name of the product.
- In the SKU box, enter the product SKU.
Note: By default the SKU is same as Product Name, But the vendor can change it if required. - In the Price box, enter the product price.
- Click the Advanced Pricing link.
The Page appears as shown in the following figure:

- Do the following steps:
- In the Special Price box, enter the required offer price value.
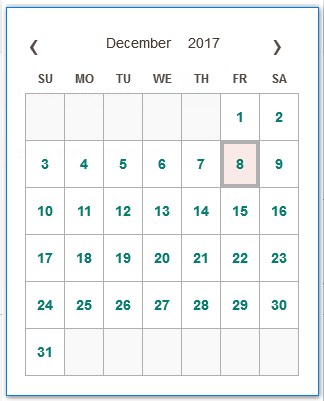
- In the Special Price From and To boxes, click to select the required date from the appeared Calendar.
- In the Cost box, enter the actual cost of the product.
- Move to the Tier Price area, and do the following steps:
Tier Price: It is a way to encourage the front-end users to buy larger quantities of a product by applying discounts based on the quantity ordered.- Click the Add button.
The fields appear as shown in the following figure:
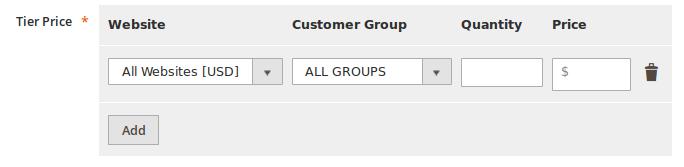
- In the Website list, select the required website.
- In the Customer Group list, select the required group of users.
- In the Quantity box, enter a value.
A quantity value to which the tier pricing is applicable. - In the Price box, enter a value.
An amount value that is being charged to front-end users when they buy the specified quantity of the product.
- Click the Add button.
- In the Manufacturer’s Suggested Retail Price box, enter the required value.
- In the Display Actual Price list, select the required option.
Select the location where to display the actual price of the product. - Click the Done button.
- In the Tax Class list, select the required option.
- In the Quantity box, enter the required number of products.
- Click the Advanced Inventory link.
The Page appears as shown in the following figure:
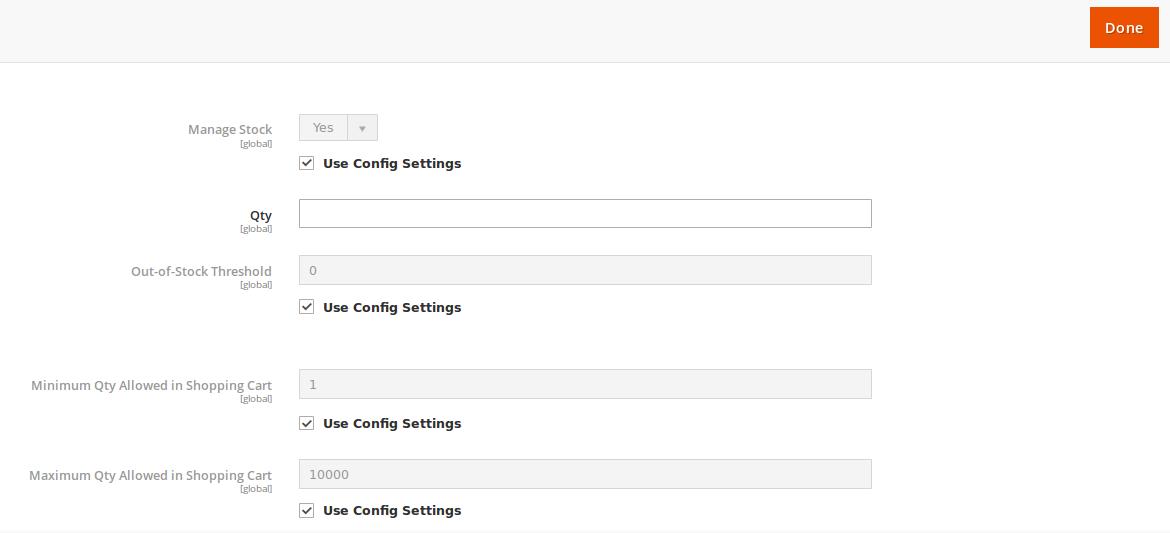
- On the page, do the following steps:
- In the Qty box, enter the required value.
- Select the corresponding Use Config Settings checkbox, to use the default value.
Or
Clear the check box to activate the corresponding field, and then enter the required value in the respective box.
- In the Stock Status list, select the In Stock option.
- In the Weight list, select the required option.
If selected the This item has weight option, then enter the actual weight of the product. - In the Categories list, select the required option.
- In the Visibility list, select the required option.
- In the Set Product as New From and To boxes, enter the date range.
- In the Country of Manufacture list, select the required country name.
- In the Color list, select the required color.
- In the Size list, select the required size.
- Scroll down to the Content tab, and then click the tab.
The tab is expanded and the relevant fields appear as shown in the following figure:
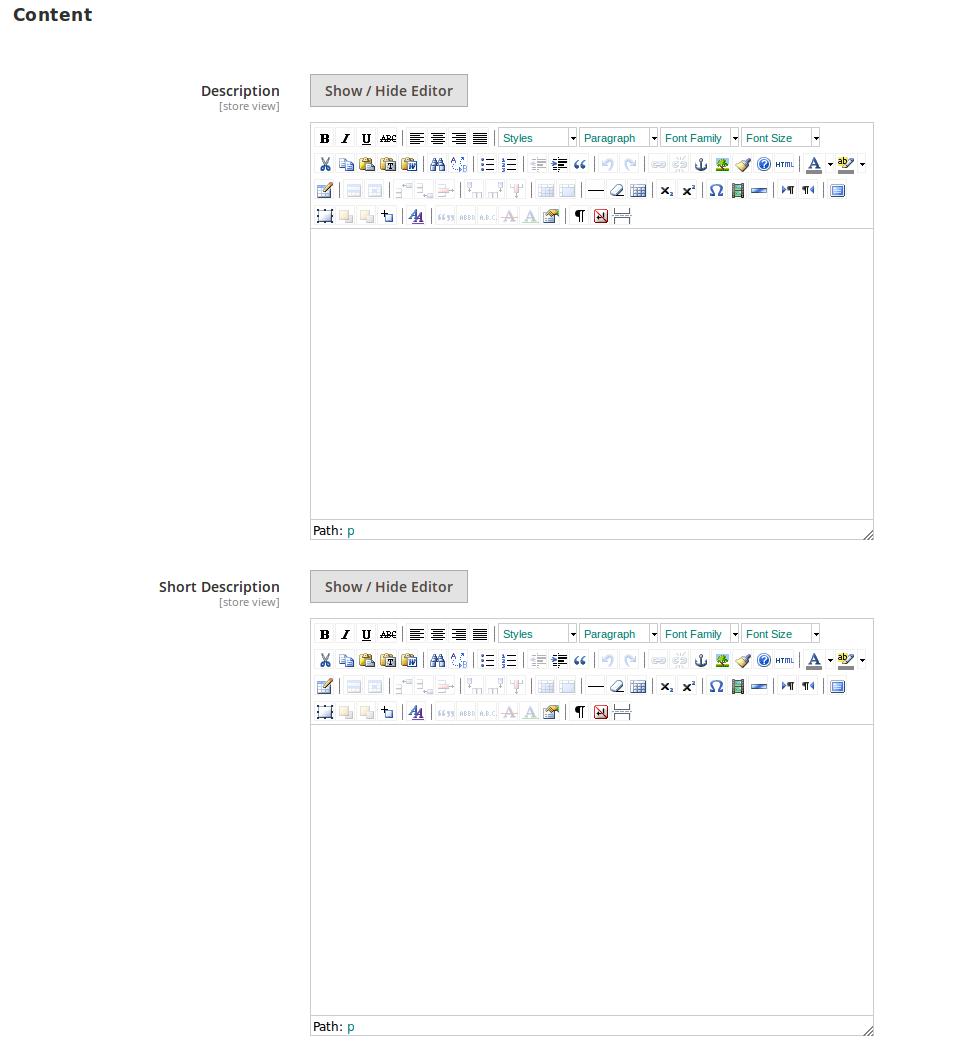
This section is used is used to provide some common information related to the product such as the product Name, SKU, Price, Tax Class, Images & Videos, Quantity, Weight, Category, Description, and so on.
The Description and the Short Description fields in the Vendor Product add-on are supported by WYSIWYG editor through which the vendor can provide a formatted description of the product using the font-style, font-size, text-alignment, text-color, images, tables and so on. The vendors (sellers) can choose the layout to display the description of the products in the front-end view. - Under Content, do the following steps:
- In the Description box, enter the product description in detail.
- Click the Show/Hide button to show or hide the editor respectively.
- In the Short Description box, enter the short description of the product.
- Click the Show/Hide button to show or hide the editor respectively.
- In the Description box, enter the product description in detail.
- Scroll down to the Images And Videos tab, and click the tab.
The tab is expanded and the section appears as shown in the following figure:
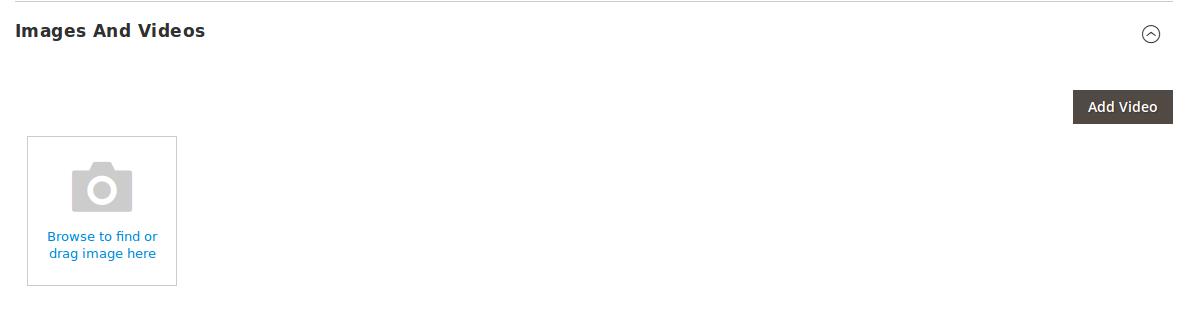 Use this section to display the videos showcasing the products, features or benefits, and so on. This tab has been customized in the Vendor Product Addon to include mass image upload feature. The vendor can upload multiple images simultaneously and choose to decide the image to set as the default image.
 - Under Images And Videos, do the following steps:
- Click the Browse area to upload or drag the image from the local system.
- Click the Add Video button to add the product relevant video if required.
- Scroll down to the Search Engine Optimization tab, and then click the tab.
The tab is expanded and the section appears as shown in the following figure:
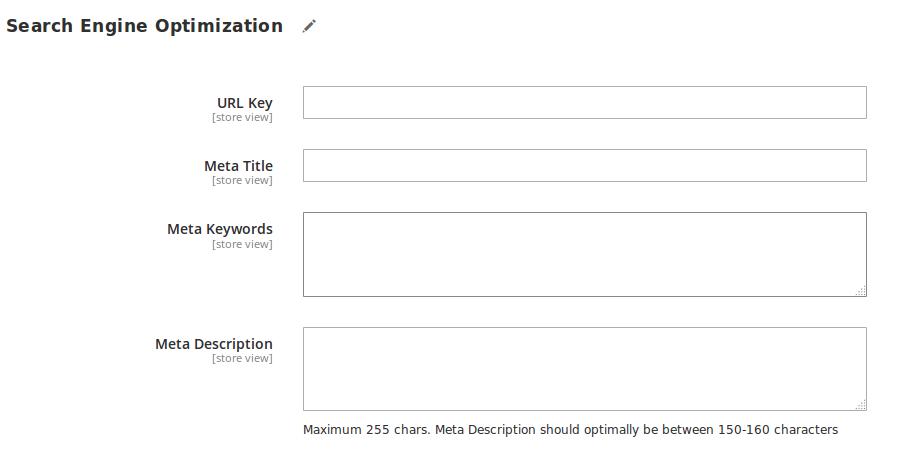
The Search Engine Optimization page of the basic product settings includes the primary fields used by search engines to index the product. It is used to provide the keywords or tags, which makes the searching process easier. It means while searching any product with the keywords listed in the Meta Keyword box, the customers are redirected to the page that includes those keywords.
- Under Search Engine Optimization, do the following steps:
- In the URL Key box, enter the required URL link.
- In the Meta Title box, enter the required title.
- In the Meta Keywords box, enter the required title.
- In the Meta Title box, enter the required title.
- Scroll down to the Related Products, Up-Sells, and Cross-Sells tab and then click the tab.
The tab is expanded and the section appears as shown in the following figure:
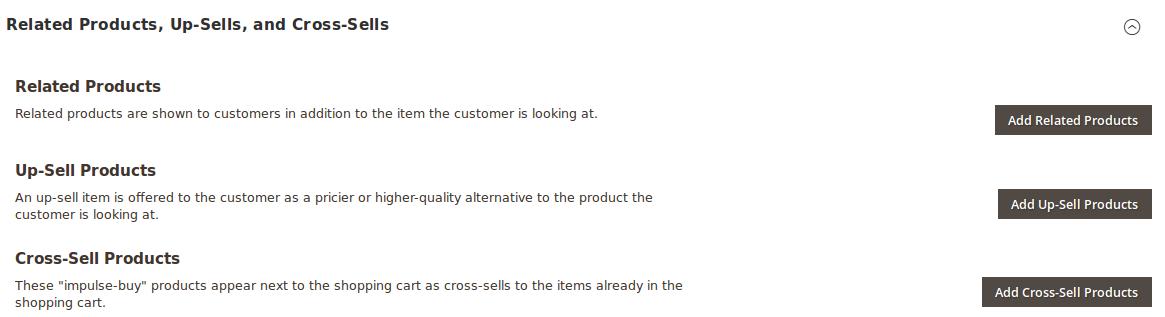
- Related products are shown to the customers in addition to the item they can look for.
- An up-sell item is offered to the customer as a pricier or higher-quality alternative to the product the customer is looking for.
- The Cross-Sell products are the impulse buy products that appear next to the shopping cart as the cross-sells to the items already existing in the shopping cart.
- Under Related Products, Up-Sells, and Cross-Sells, do the following steps:
- To add the Related Products, do the following steps:
- Click the Add Related Products button.
The page appears as shown in the following figure:
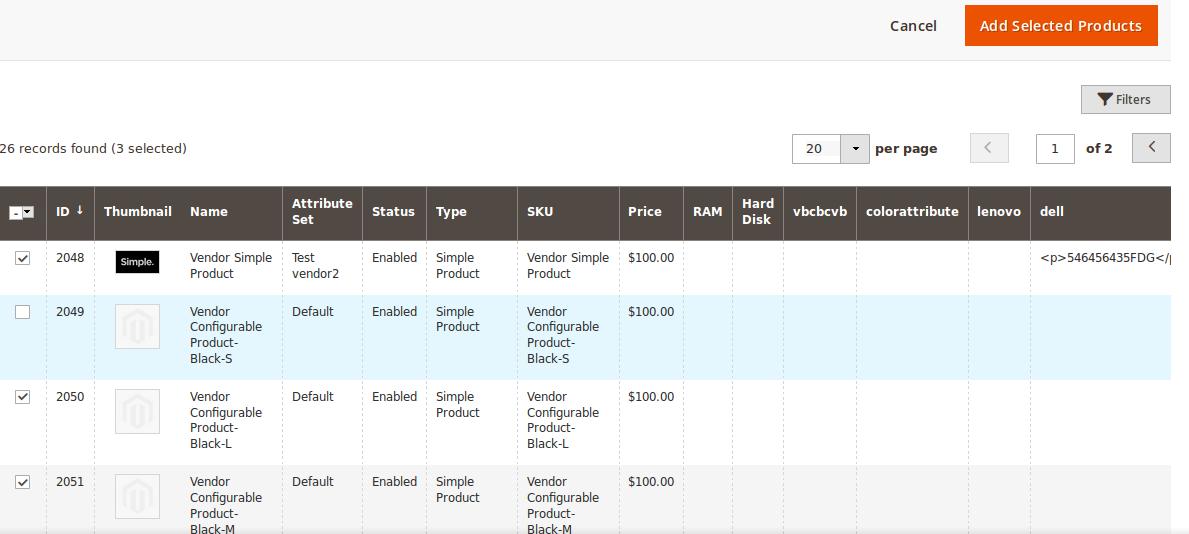
- Select the check boxes associated with the required products, and then click the Add Selected Products button.
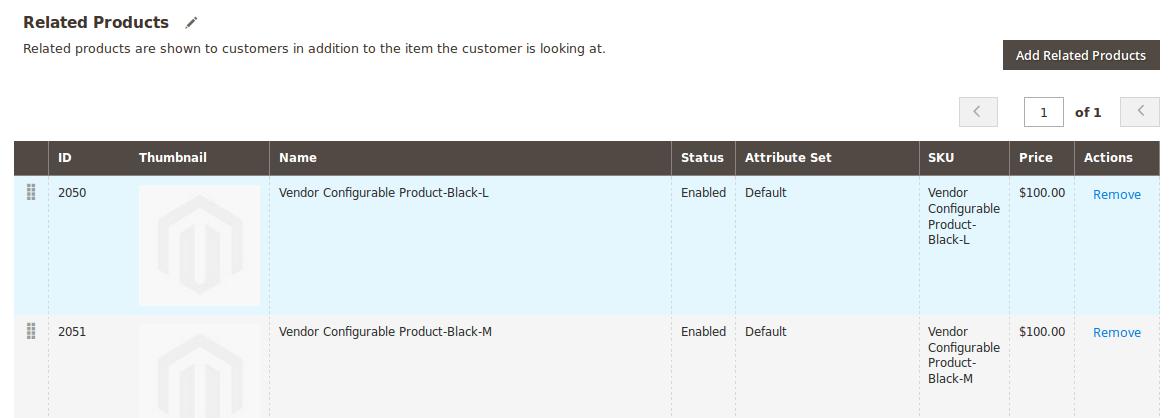
The selected products are added under Related Products as shown in the following figure:
- Click the Add Related Products button.
- To add the Up-Sell Products, do the following steps:
- Click the Add Up-Sell Products button.
The page appears as shown in the following figure:
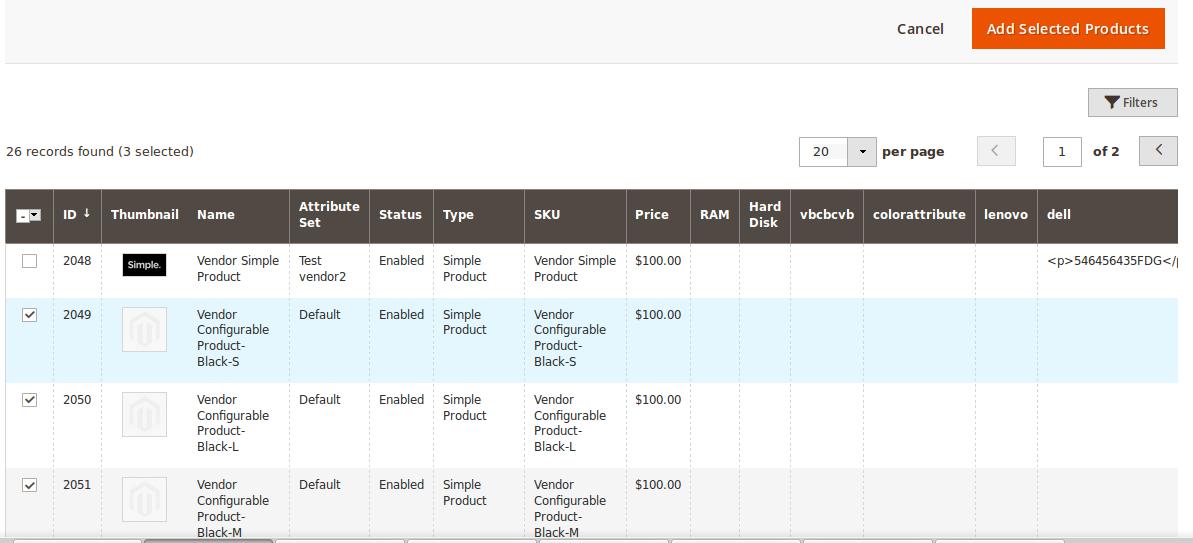
- Select the check boxes associated with the required products, and then click the Add Selected Products button.
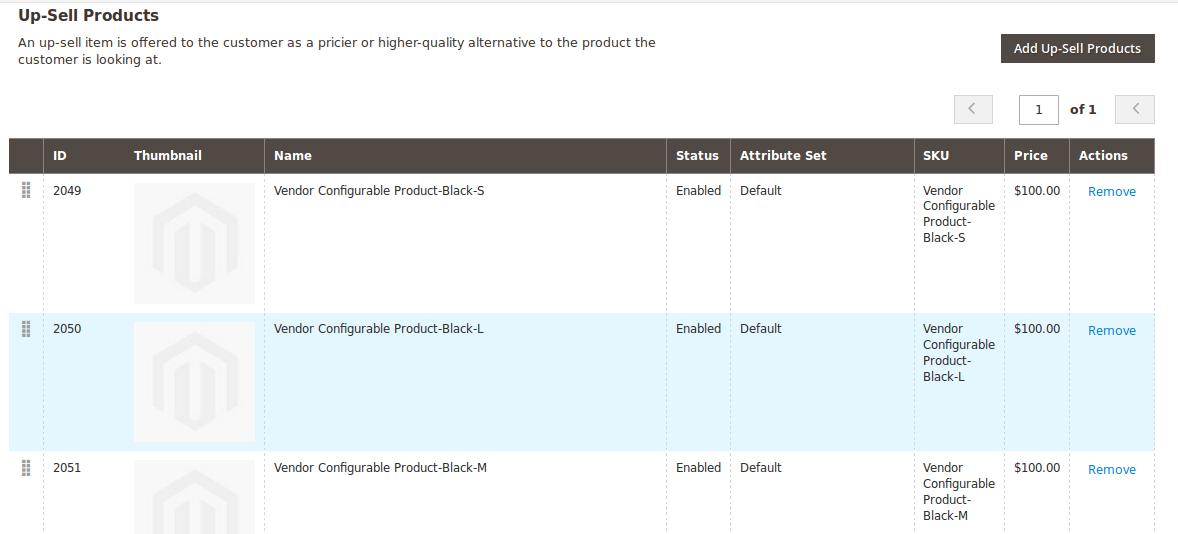
The selected products are added under Up-Sell Products as shown in the following figure:
- Click the Add Up-Sell Products button.
- To add the Cross-Sell Products, do the following steps:
- Click the Add Cross-Sell Products button.
The page appears as shown in the following figure:
- Select the check boxes associated with the required products, and then click the Add Selected Products button.
The selected products are added under Cross-Sell Products as shown in the following figure:
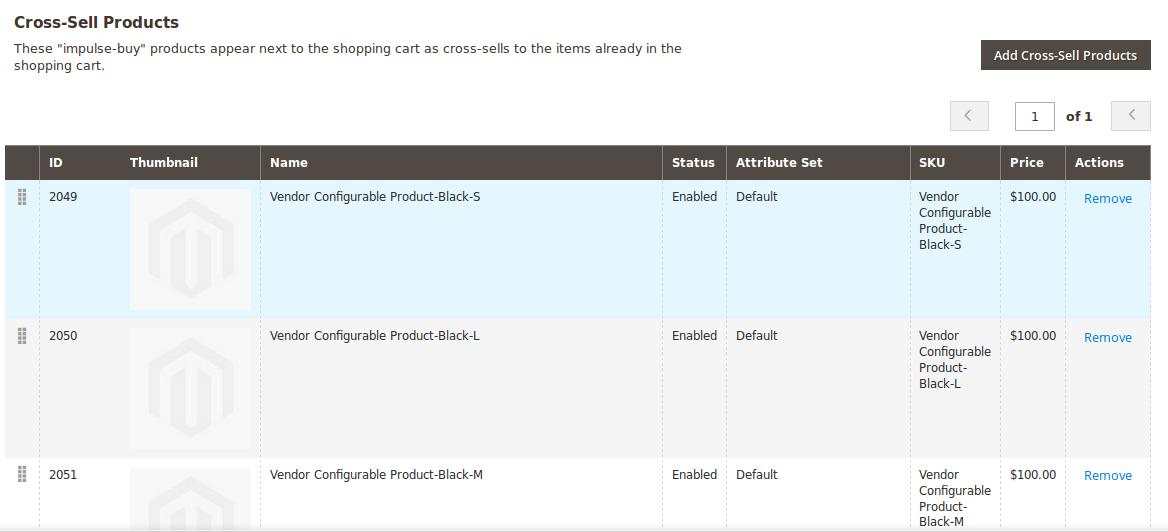
- Click the Add Cross-Sell Products button.
- To add the Related Products, do the following steps:
- Scroll down to the Customizable Options tab, and then click the tab.
The tab is expanded and the section appears as shown in the following figure:

- Under Customizable Options, do the following steps:
- Click the Add Option button.
The Option Title and the Option Type fields appear. - In the Option Title box, enter the required value.
- In the Option Type list, select the required option.
Based on the selected Option Type, the related fields appear as shown in the following figure:
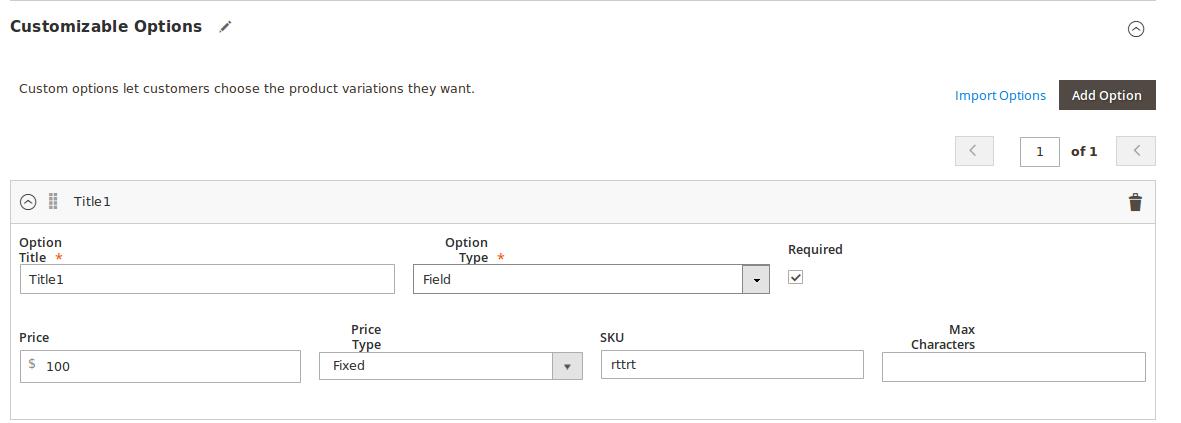
- Enter the required values in the respective fields.
Note: To remove the option, click the respective Delete icon.
- Click the Add Option button.
- Scroll down to the Product in Websites tab, and then click the tab.
The tab is expanded, and the relevant fields appear as shown in the following figure:
 All the created websites, if any, are listed in this section.
 - Under Product in Websites, do the following step:
- Select the checkbox associated with the required website.
- Scroll down to the Design tab, and click the tab.
The tab is expanded, and the relevant fields appear as shown in the following figure:
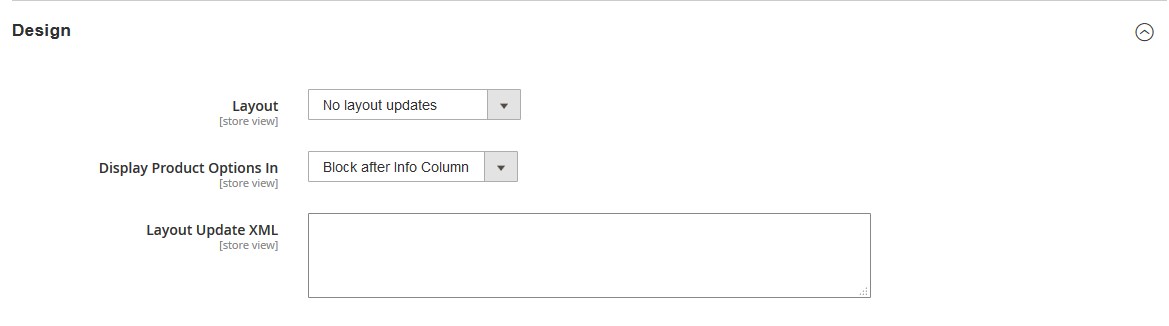
The vendor can set the layout for the product page. - Under Design, do the following steps:
- In the Layout list, select the required option.
- In the Display Product Options In list, select the required option.
-
In the Layout Update XML box, enter the layout update in the XML format.
-
Scroll down to the Schedule Design Update tab, and then click the tab.
The tab is expanded, and the relevant fields appear as shown in the following figure:
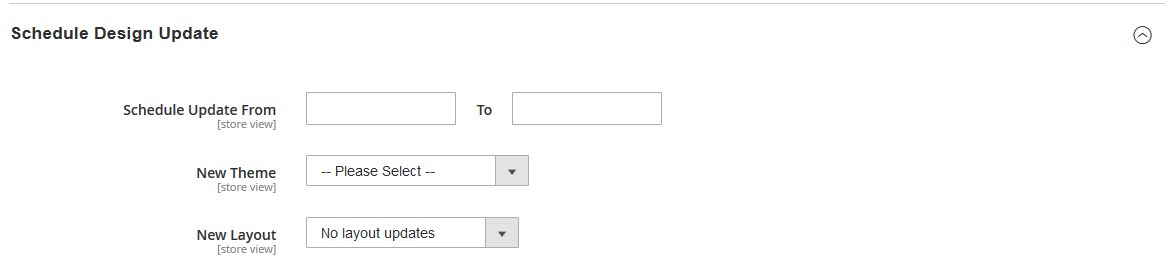
- Under Schedule Design Update, do the following steps:
- In the Schedule Update From and To boxes, click to select the date range from the calendar.
- In the New Theme list, select the required theme.
- In the New Layout list, select the required layout.
- In the Schedule Update From and To boxes, click to select the date range from the calendar.
- Scroll down to the Gift Options tab, and then click the tab.
The tab is expanded, and the relevant fields appear as shown in the following figure:

- Under Gift Options, do the following step:
- In the Allow Gift Message list, select the required option to enable or disable the Gift message option.
- Click the Save button.
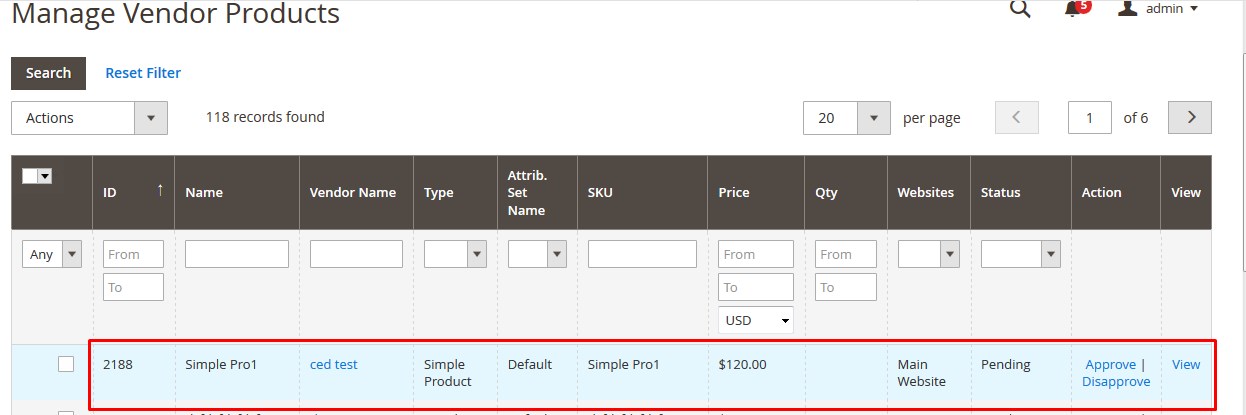
The simple product is created and a success message appears on the created product page. The created product is listed on the Manage Product page.

Created Product listed in the Vendor Panel

Created Product listed in the Admin Panel
×


