
Configuration
To Set up the Configuration Settings in the Magento 2 Admin Panel,
- Go to the Magento 2 Admin panel.
- On the left navigation bar, click the SELLERCENTER INTEGRATION Menu.
The menu appears as shown in the figure:
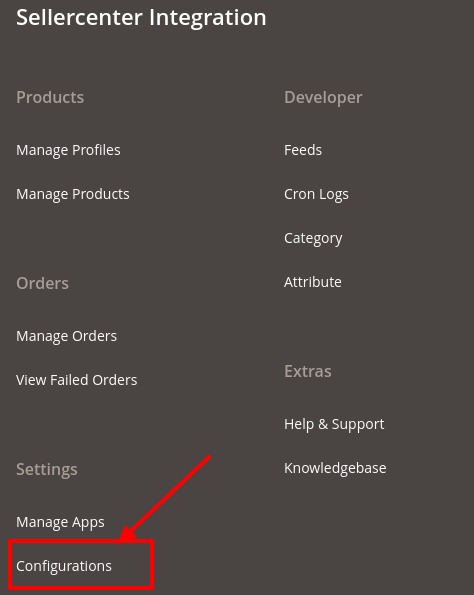
- Click Configuration.
The SellerCenter Configuration page appears as shown:
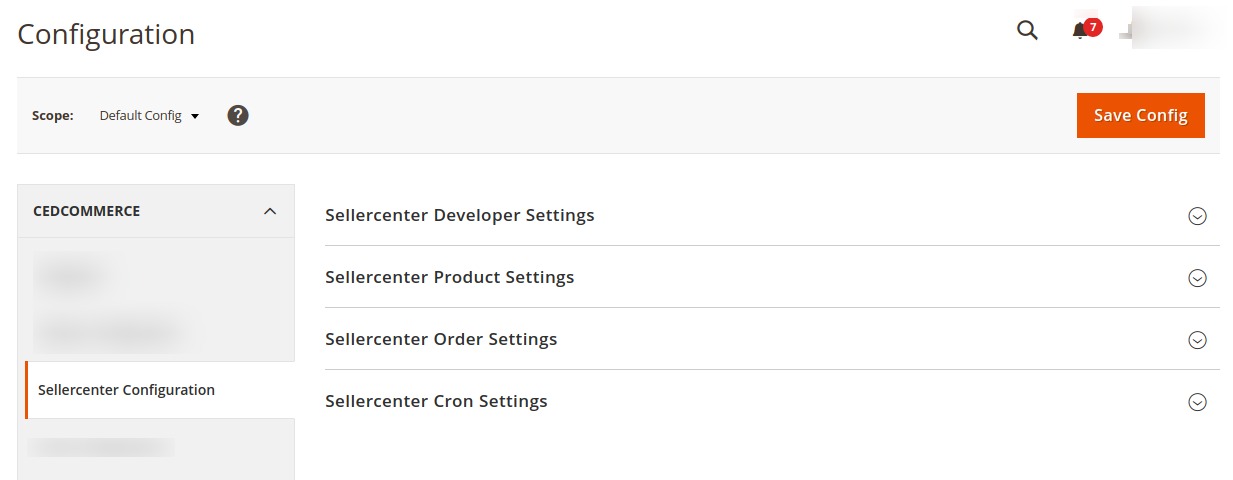
- In the right panel, click the Sellercenter Developer Settings.
The Sellercenter Developer Settings tab is expanded and the relevant fields appear as shown in the following figure:
- Under Sellercenter Developer settings, do the following steps:
- In Debug, select Yes to enable the debugging for the developer.
- In the right panel, scroll down to SellerCenter Product Settings.
The tab is expanded as:
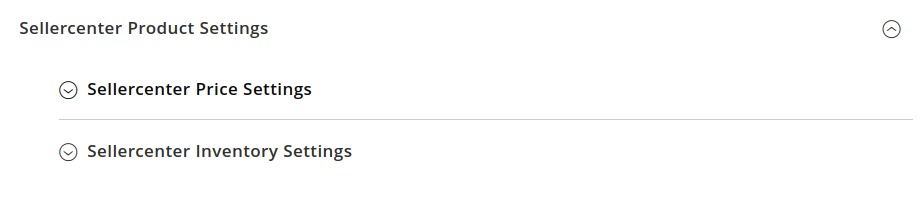
- Under Sellercenter Product Settings, click on Sellercenter Price Settings and the tab is expanded as:
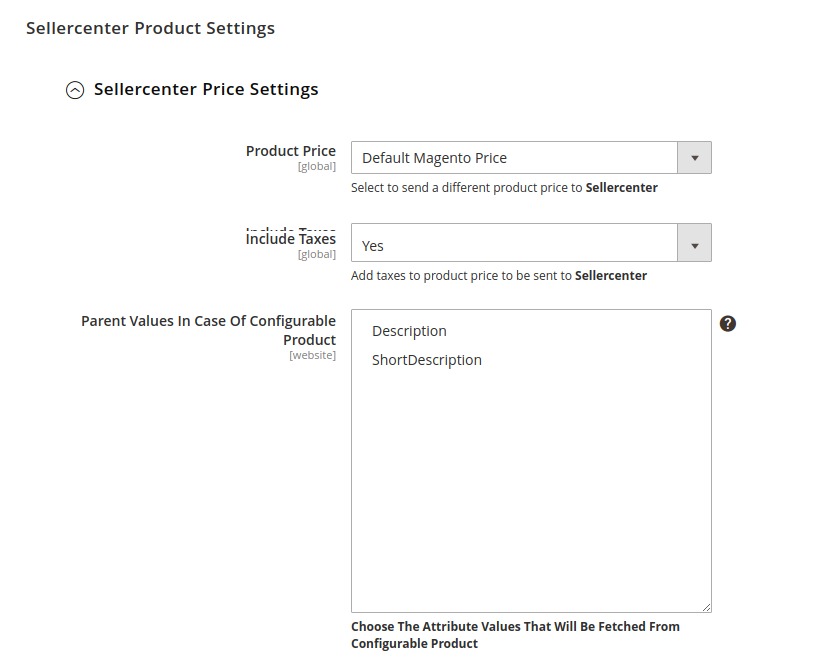
- Under this Sellercenter Price Settings, do the following steps:
- In the Product Price, you may select a price option in accordance with which the price for your products will be sent or reflected on Sellercenter.
The options are:
Increase by Fixed Price
Increase by Fixed Percentage
Decrease by Fixed Price
Decrease by Fixed Percentage - Increase by Fixed Price: If selected, then the Enter Amount field appears.
Now suppose if you enter 50 in the field and your product is available on Magento for 100, the product will be available on Sellercenter for 150 as you have chosen increased by fixed price and have entered the amount of 50; so it will be added to the price for which the product is available on Magento and the resultant amount will be reflected on Sellercenter, which is 150 in this case. - Increase by Fixed Percentage: If selected, then the Enter Percentage field appears. Enter the numeric value to increase the price of the SellerCenter, product price by the entered value % of Magento price
For Example,
Magento price + 5% of Magento price.
Magento Price = 100
Select Increase By Fixed Percentage option
Enter Percentage = 5
100 + 5% of 100 = 100 + 5 = 105
Thus, Sellercenter Product Price = 105 - Decrease by Fixed Price: If selected, then the Enter Amount field appears. Now suppose if you enter 50 in the field and your product is available on Magento for 100, the product will be available on Sellercenter for 50 as you have chosen decreased by fixed price and have entered the amount of 50; so it will be subtracted from the price for which the product is available on Magento and the resultant amount will be reflected on Sellercenter, which is 50 in this case.
- Decrease by Fixed Percentage: If selected, then the Enter Percentage field appears.
Enter the numeric value to decrease the price of the Sellercenter product price by the entered value % of Magento price
For Example,
Magento price – 5% of Magento price.
Magento Price = 100
Select Decrease By Fixed Percentage option
Enter Percentage = 5
100 – 5% of 100 = 100 – 5 = 95
Thus, Sellercenter Product Price = 95 - In Include Taxes, select Yes if you want to add taxes to the product price.
- In Parent values in case of Configurable Product, select the attribute whose value will be fetched from parent product.
- In the Product Price, you may select a price option in accordance with which the price for your products will be sent or reflected on Sellercenter.
- Now scroll down to Sellercenter Inventory Settings, and the tab is expanded as:
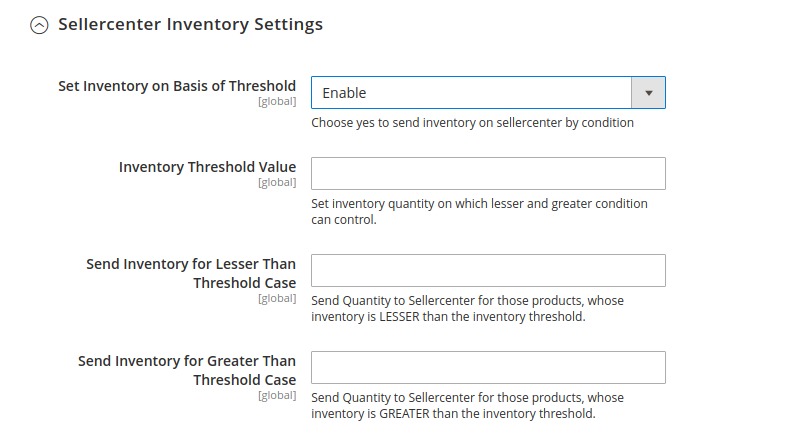
- Under this perform the following steps:
- In Set Inventory on Basis of Threshold, select Enable.
- In Inventory Threshold Value, enter the threshold value for the inventory you want to set up.
- In Send Inventory for Lesser Than Threshold Case, enter the quantity when the inventory is lesser than the threshold so it will be sent to Sellercenter.
- In Send Inventory for Greater Than Threshold Case, enter the quantity when the inventory is greater than the threshold so it will be sent to Sellercenter.
- Under Sellercenter Product Settings, click on Sellercenter Price Settings and the tab is expanded as:
- Now in the right panel, scroll to Sellercenter Order Settings.
The tab is expanded as:
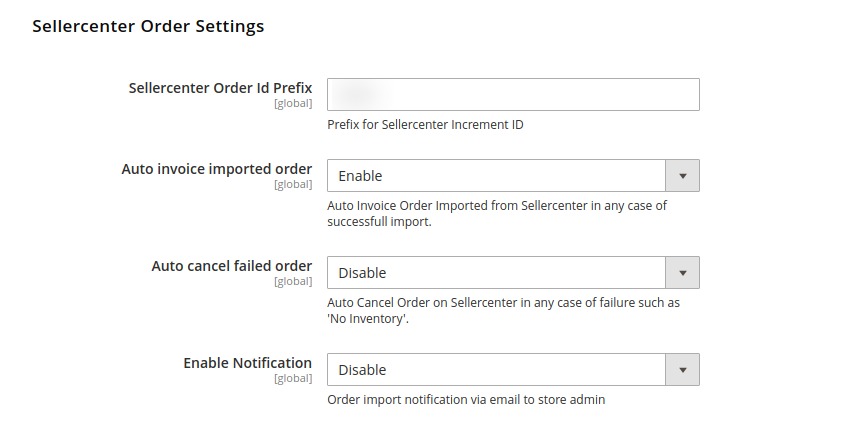
- Under this Sellercenter Order Settings, do the following steps:
- In Sellercenter Order ID Prefix, enter the required order id prefix.
- In Auto invoice imported order, select Enable if you want to automatically import orders from Sellercenter.
- In Auto Cancel failed order, select Enable if you want to automatically cancel failed order on Sellercenter.
- In Enable Notification, select Enable if you want to receive notifications via email.
- In the right panel now scroll to Sellercenter Cron Settings.
The tab is expanded as:
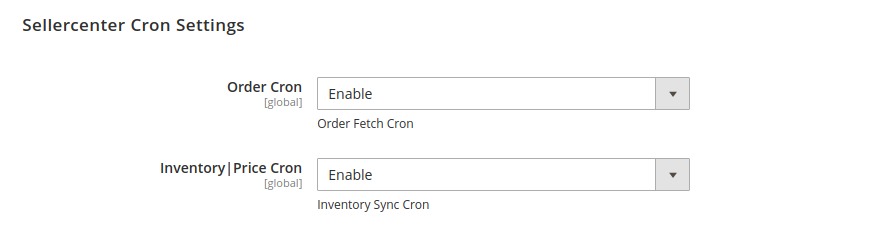
- Under this Sellercenter Cron Settings, do the following steps:
- In Order Cron, select Enable to enable the order cron for fetching.
- In Inventory/Price Cron, select Enable to enable the inventory and price syncing cron.
×


