
Zalando Seller Account Configuration
To accomplish the integration, the very first and mandatory step that needs to be taken by store owners is to complete the configuration process.
To set up the configuration settings in the WooCommerce Admin panel
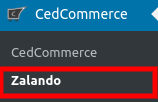
- Go to the WooCommerce admin panel, below the CedCommerce menu which is on the left navigation bar.
- Click Zalando on the panel as mentioned in the screenshot:
- The appearing page will provide the Zalando Shop Name, Merchant Id, Account Id, Account Status & Configure.

- To add an account, it’s just a ”ONE CLICK AUTHORIZATION” step as mentioned in the screenshot below:

- Once you will click on Add Account, will appear a popup where you have to fill in some details as mentioned in the screenshot:
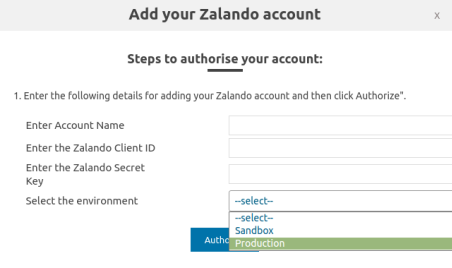
- As mentioned in the above screenshot, the store owners have to provide-
a) Enter Account Name.
b) Enter the Zalando Client Id.
c) Enter the Zalando Secret Key.
d) Select the environment from the dropdown.
1. Sandbox Mode- which means the test mode.
2. Production Mode- which means on the live mode.
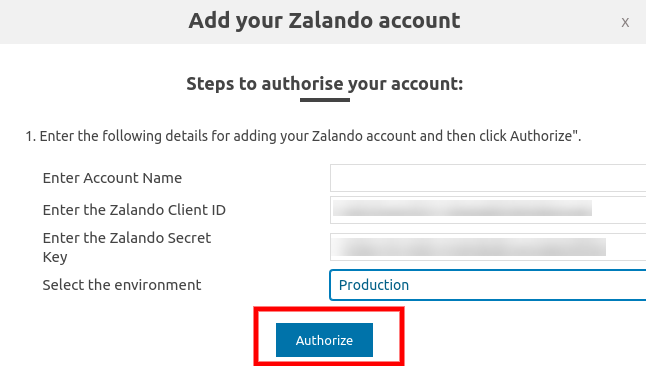
- Once you have performed the above step then click on the Authorize button as mentioned in the screenshot below:
- After this, the account name of store owners will be visible with their Zalando Shop Name, Merchant Id, Account Id, Account Status & Configure, the store owners have to click on configure tab as mentioned in the screenshot below:

- On clicking “CONFIGURE” the store owners will be redirected to the page where the Account Details will be visible as mentioned in the screenshot below:

×


