
Etsy WooCommerce Configuration
Once you have completed the above process, you can start accomplishing the integration, the first mandatory step that needs to be taken by the admin is to complete the Configuration.
To do the Configuration
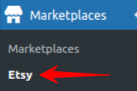
Go to your WordPress admin panel, below the Marketplaces which is on the left navigation.
Click on the Etsy section of the panel:
Now, you need to follow these steps to add an Etsy Account.
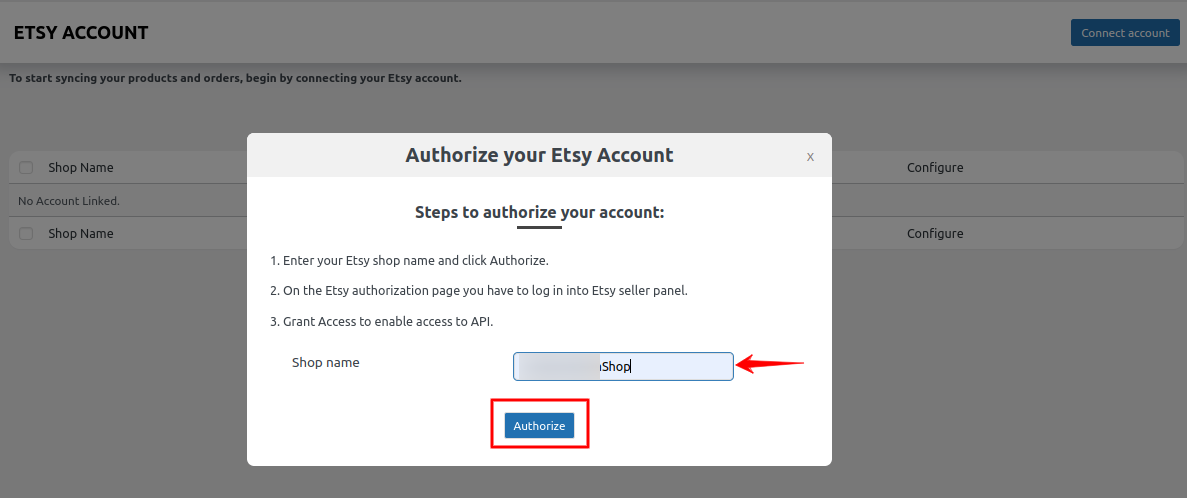
Click on the Connect account button as specified in the screenshot:

A pop-up will appear, here you need to enter your Etsy shop name, and click the Authorize button, as specified in the screenshot:
After that, you will be redirected toward the Etsy seller login page, where you have to enter the Email Id and Password and hit the Sign In button as specified in the screenshot:

After that hit the Sign in button, as specified in the screenshot:
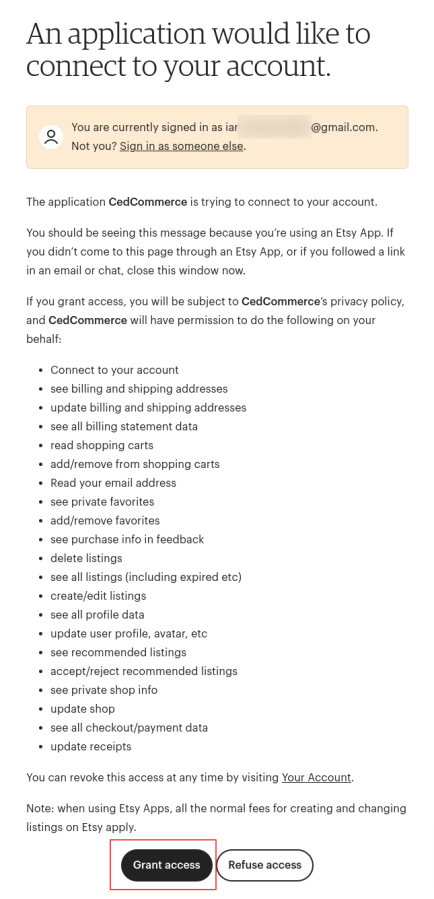
a page will appear where you have to hit on Grant Access tab, and after that, your Etsy shop will be added as specified in the screenshot:
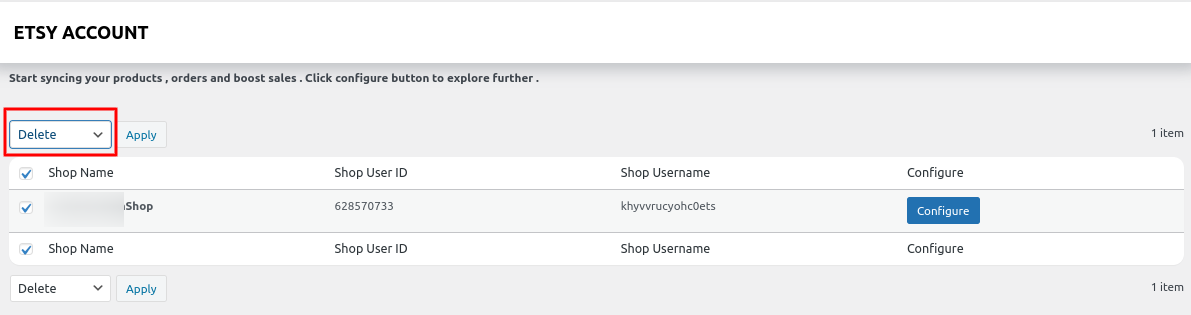
Here, you can see the Shop Name, Shop User ID, and Shop Username.
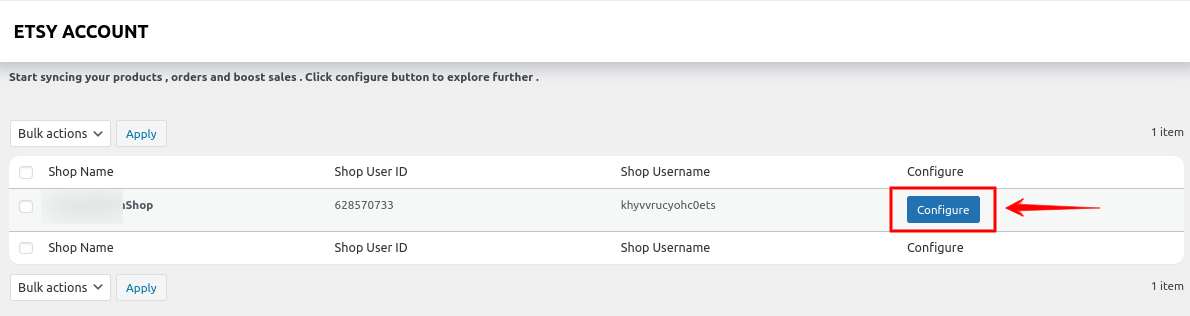
After this, you have to hit on Configure as specified in the screenshot
Also, you can delete your account just by selecting the checkbox placed before it, and selecting Delete from the dropdown as specified in the screenshot:
Note 1: If you change your Etsy shop login password then you have to reconnect your Etsy shop with the plugin.
Note 2: If you reconnect your Etsy shop with the plugin then there will be no saved data or settings will be wiped off.


