
Newegg Configuration Settings
After obtaining the Seller ID, Authorization Key, and the Secret Key values from the Newegg marketplace, the WooCommerce store owner has to paste them on the NEW EGG CONFIGURATION page of the admin panel of the merchant.
To Set up the Newegg Configuration settings in the WooCommerce Admin panel:
- Go to the WooCommerce Admin panel.
- On the left navigation bar, click the NEWEGG menu.
The menu appears as shown in the following figure:
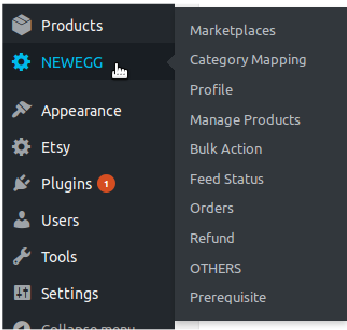
- Click Marketplaces.
The NEW EGG CONFIGURATION page appears as shown in the following figure:
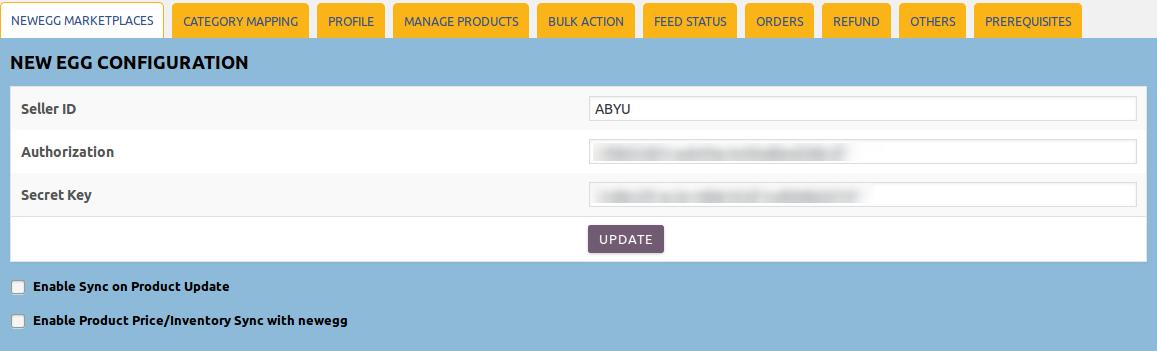
- In the Seller ID box, enter the Seller ID provided by Newegg.
- In the Authorization box, enter the Authorization Key provided by Newegg.
- In the Secret Key box, enter the Secret Key provided by Newegg.
- Click the UPDATE button.
A success message and the Validate button appears as shown in the following figure:
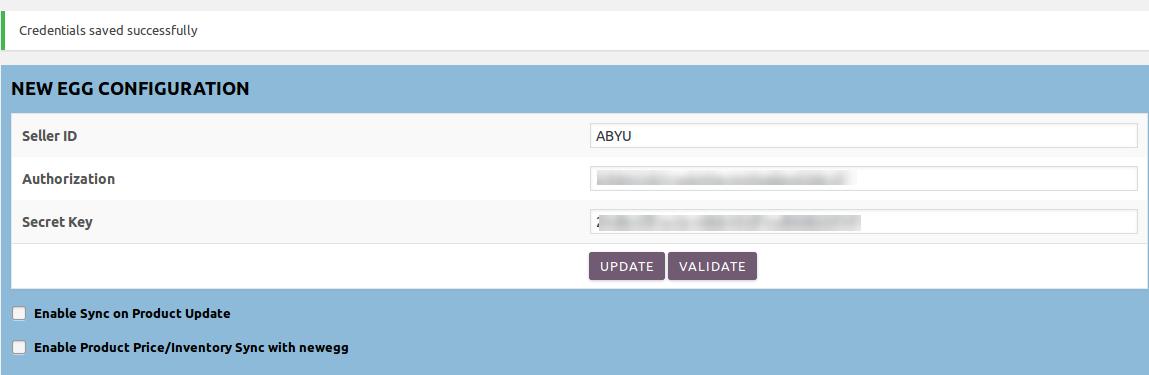
A success message appears such as “Configuration setting is Validated Successfully“. The VALIDATE button disappears. - Select the Enable Sync on Product Update checkbox to enable the synchronization of product edits between WooCommerce store and the Newegg Marketplace if required.
- Select the Enable Product Price/Inventory Sync with newegg checkbox to enable the synchronization of product price and inventory with Newegg.
×


