
Other Configuration Settings
Once the store owners have installed the app in the store and completed the six steps procedure of registration and the Walmart Configuration settings, they have to proceed further with the other configuration settings through the app.
To set up the other configuration settings
- Go to the Jet Integration app.
The page appears as shown in the following figure:

- On the top navigation bar, click the Settings
 icon.
icon.
The Setting page appears as shown in the following figure:
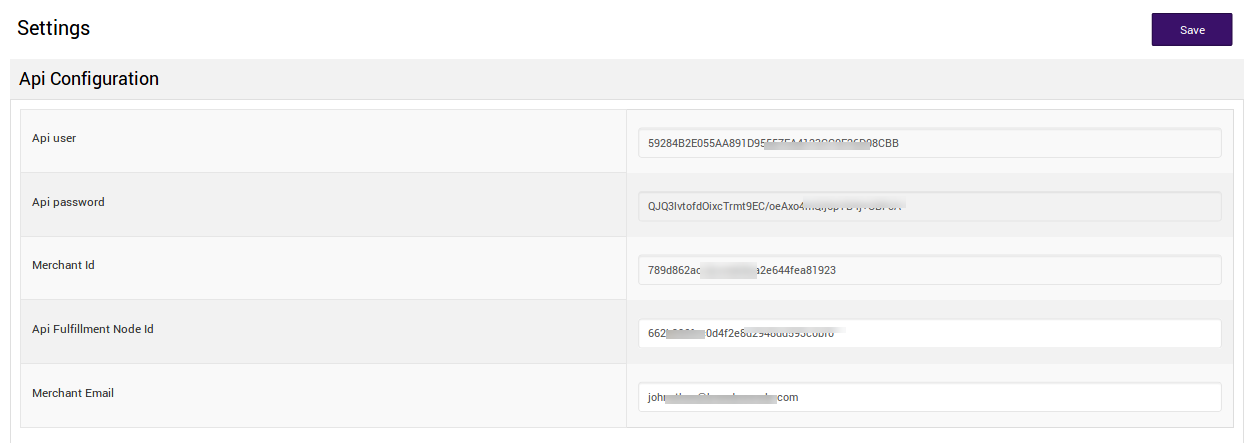
- Under Settings, make the changes in the API user, API password, Merchant Id, API Fulfillment Node ID and the Merchant Email values if you have changed it.
- Scroll down to the Return Configuration section.
The section appears as shown in the following figure:
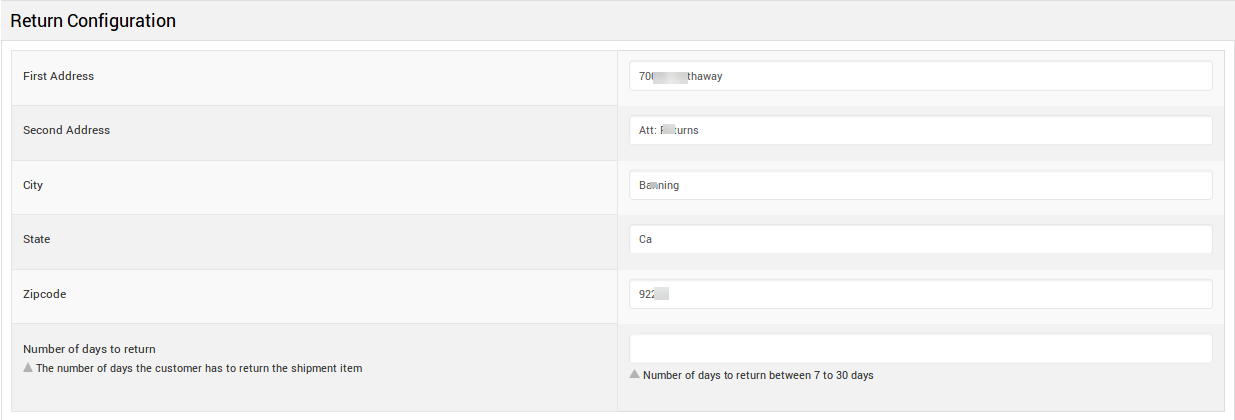
- Under Return Configuration, enter the following information:
- First Address: The address, where the customers can return the item if required.
- Second Address: Another address, where the customers can return the item if required.
- City
- State
- Zip Code
- Number of Days to return
- Scroll down to the Product Management Configuration section.
The section appears as shown in the following figure:
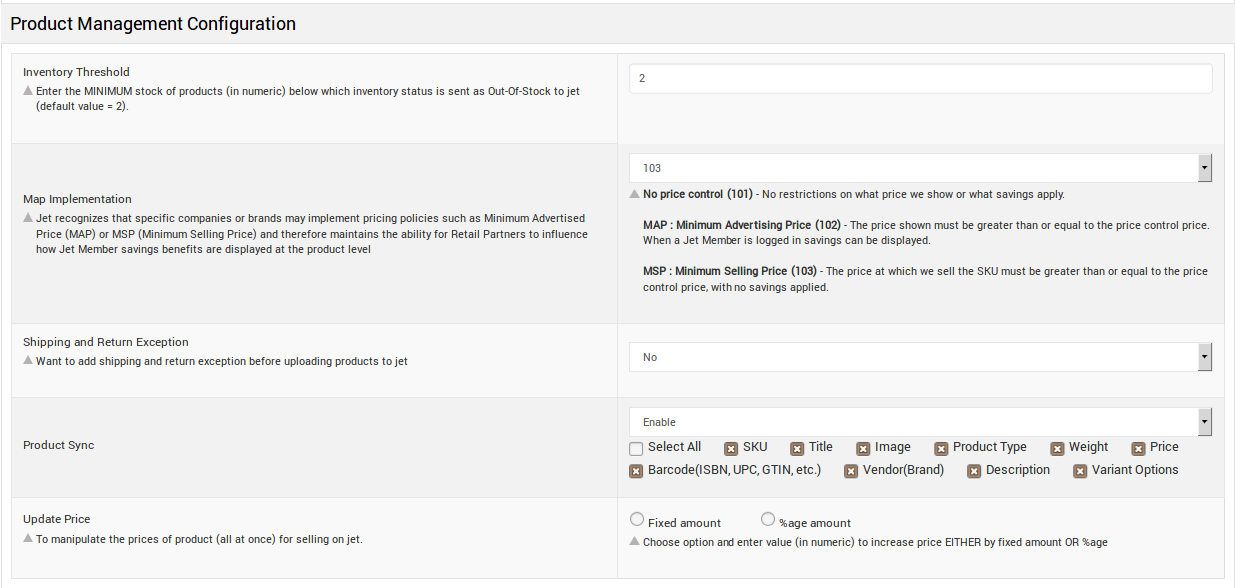
- In the Threshold Product Inventory box, enter the minimum count of an item that the store owner wants to keep in stock when your product inventory reached that count it will be shown as Out of Stock on walmart.com and you will get a notification for those products on the app dashboard.
- Map Implementation, from here you can set the pricing rule that you want to apply to your product.
- In the Product Sync area, select Enable from the list to enable the Product synchronization between the Shopify store and the Walmart Marketplace Integration app.
- Select the checkbox associated with the Select All option to synchronize all the attributes of the products.
OR
Select the checkboxes associated with the required product attributes to get synchronized with the store. - In the Update Price, select “Fixed amount” or “%age amount” to enable it. This will “Increase Price” the price of all your products on the jet by that value.
- Scroll down to the Walmart Order section.
The section appears as shown in the following figure:

- Set “YES” if you want to automatically cancel the orders for the products that don’t exist on the Shopify store or if the inventory is not available for the ordered SKU.
- Scroll down to the Email Subscription Setting section.
The section appears as shown in the following figure:

- Under Email Subscription Setting, select the check-boxes associated with the required email subscription.
- Click the Save button.
The Walmart Configuration settings are saved.
Note: All the Information saved in the Walmart Configuration settings will be applied to all the products available in the app.
×


