
Sales Order
Admin can perform the following tasks on the Sales Orders page:
- Fetch Fruugo Orders
- Sync Shopify Shipment
- View Order Details
- Cancel Order
- Ship Order
- Return and Refund
To manage the sales orders
- Go to the Fruugo Marketplace Integration App.
- On the top navigation bar, click the Order menu.
The menu appears as shown in the following figure:
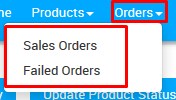
- Click Sales Order.
The Fruugo Order Details page appears as shown in the following figure:
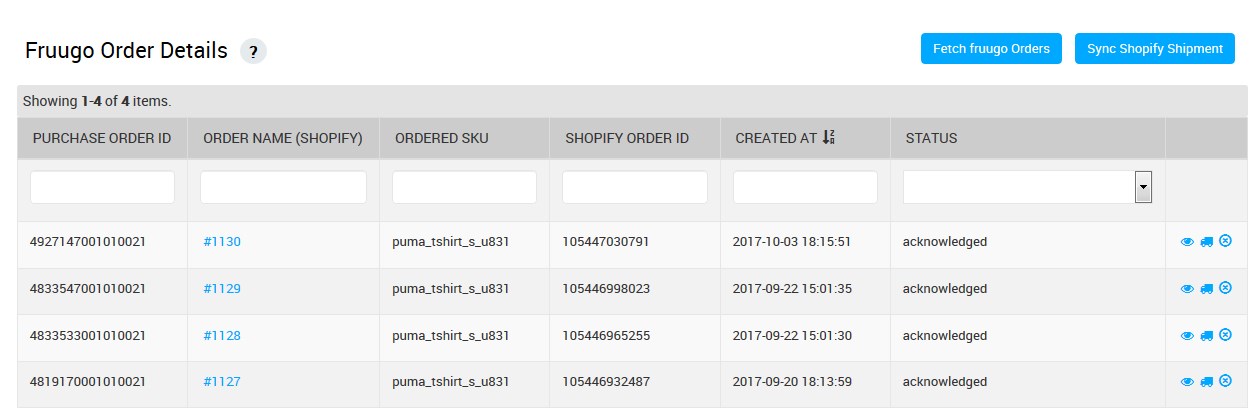
- To fetch the new orders from fruugo.com, click the Fetch fruugo Orders button.
The new orders if available are fetched from fruugo.com and are listed on the page and a success message appears. If the new order is not created on Fruugo, then the relevant message appears on the page. - To update the shipment information of the order on fruugo.com, click the Sync Shopify Shipment button.
The shipment information is updated successfully and a success message appears on the page. If there is no order ready to ship, then the relevant message appears on the page. - To view the current order details, do the following steps:
- Scroll down to the required sales order.
- In the respective row of the sales order, click the View
 icon.
icon.
The page appears as shown in the following figure:
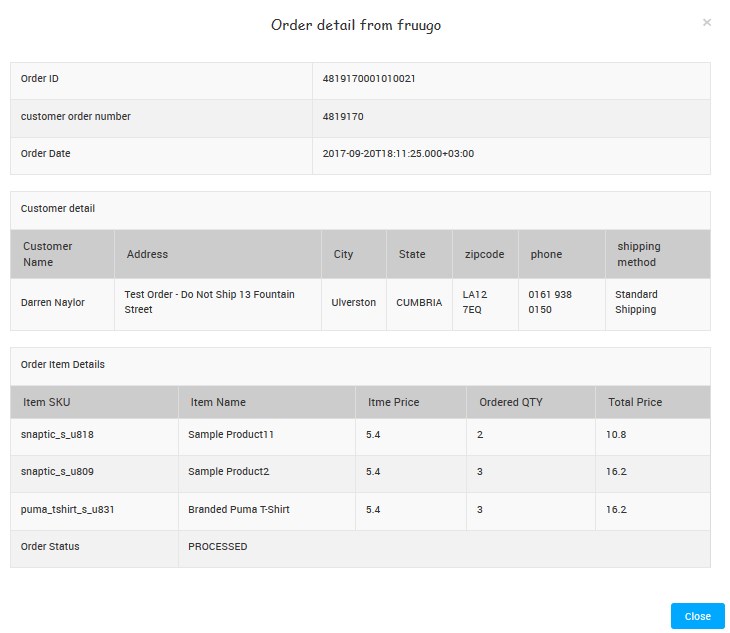 All the details of the current order appear on this page.
 - Click the Close button.
To cancel Order
- Go to the Fruugo Marketplace Integration App.
- On the top navigation bar, click the Order menu.
The menu appears as shown in the following figure:
- Click Sales Order.
The Fruugo Order Details page appears as shown in the following figure:
- Scroll down to the order row that is no more required.
- In the respective row, click the Cancel icon.
A dialog box appears as shown in the following figure:
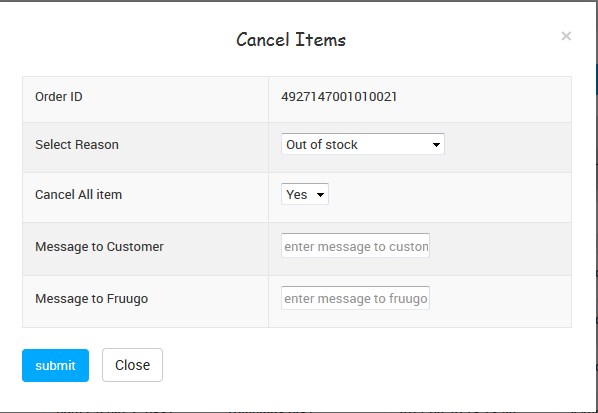
- In the Select Reason list, select the required reason for order cancelation.
- In the Cancel All item list, select Yes to cancel all the items.
If selected No, then the corresponding section appears to select the required item to cancel.
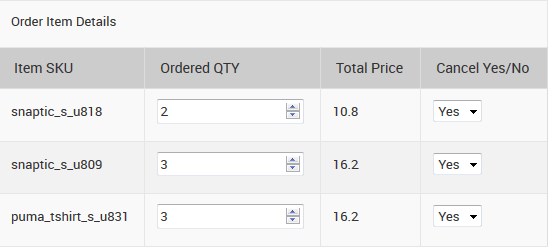
- In the Cancel Yes/No column of the respective row, select the required option.
- In the Message to Customer box, enter the required message.
- In the Message to Fruugo box, enter the required message.
- Click the Submit button.
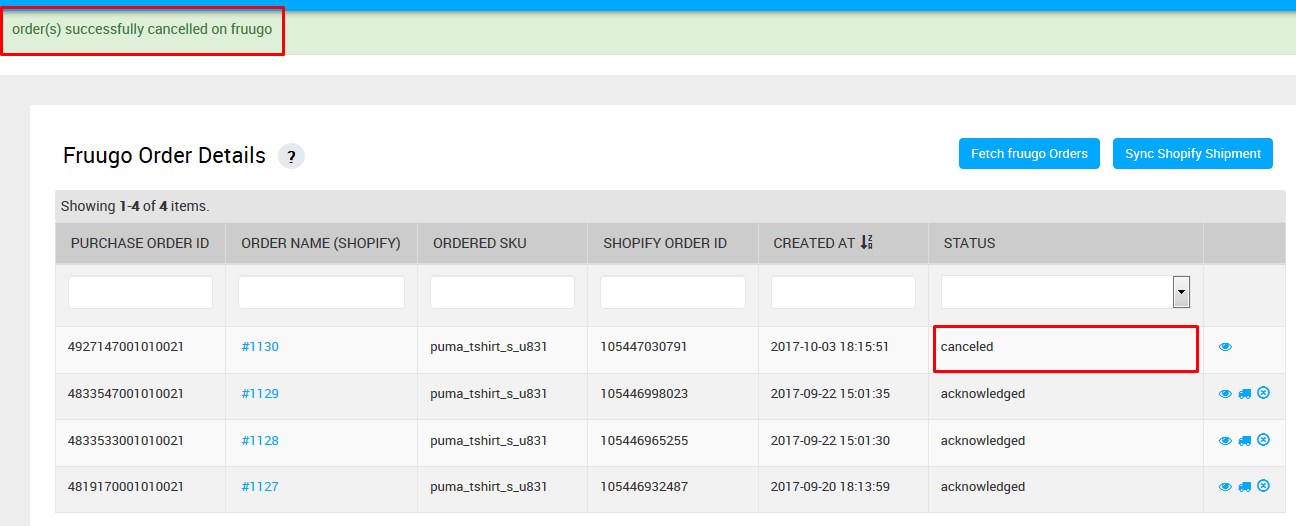
The order is canceled and a success message appears on the top of the page as shown in the following figure. Also, the status of the order changes to canceled as highlighted in the figure.
To Ship the Order
- Go to the Fruugo Marketplace Integration App.
- On the top navigation bar, click the Order menu.
The menu appears as shown in the following figure:
- Click Sales Order.
The Fruugo Order Details page appears as shown in the following figure:
- Scroll down to the required order row.
- Click the Ship
 icon.
icon.
A dialog box appears as shown in the following figure: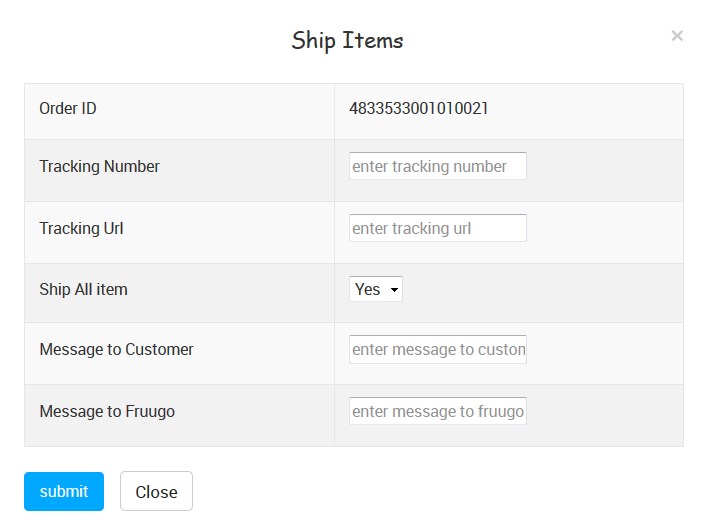
- In the Tracking Number box, enter the tracking number.
- In the Tracking URL box, enter the required URL.
- In the Ship All item list, select Yes to ship all the items.
If selected No, then the corresponding section appears to select the required item to ship.
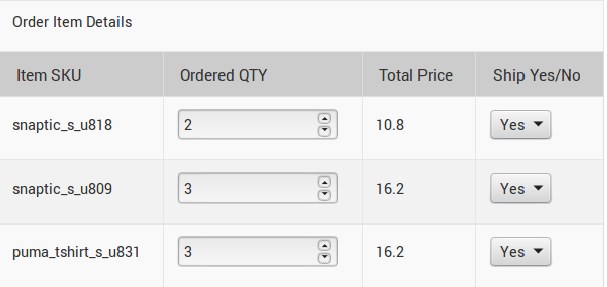
In the Ship Yes/No column of the respective row, select the required option. - In the Message to Customer box, enter the required message.
- In the Message to Fruugo box, enter the required message.
- Click the Submit button.
The order is shipped and a success message appears on the top of the page as shown in the following figure. Also, the status of the order changes to shipped as highlighted in the figure.
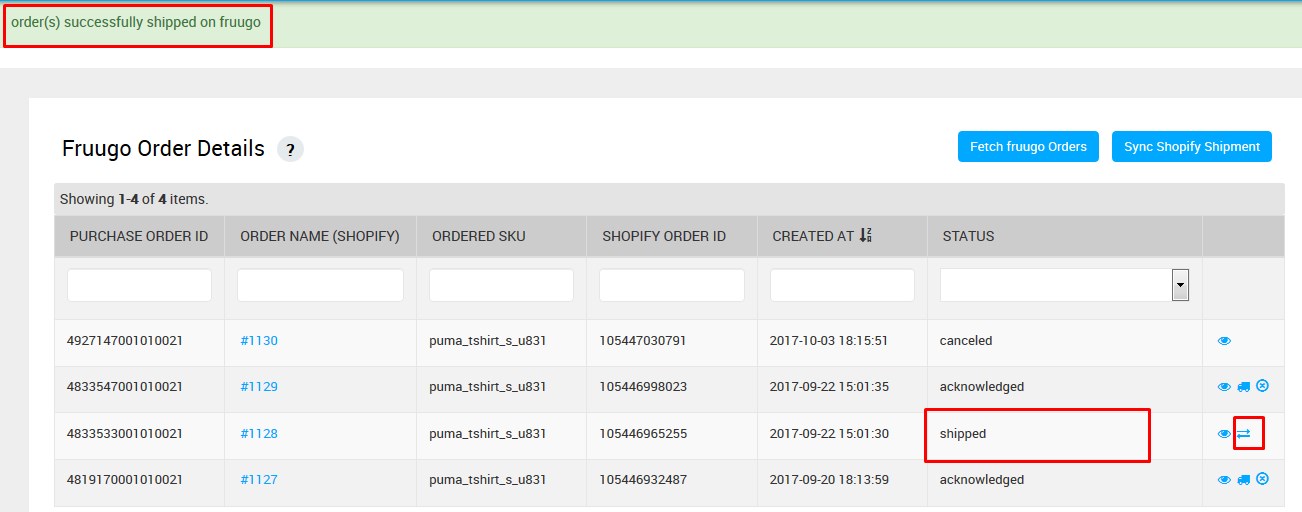
The Refund and Return icon appears as highlighted in the figure.
To create return and refund
- Go to the Fruugo Marketplace Integration App.
- On the top navigation bar, click the Order menu.
The menu appears as shown in the following figure:
- Click Sales Order.
The Fruugo Order Details page appears as shown in the following figure:
- Scroll down to the required order row.
- Click the Refund and Return
 icon.
icon.
A dialog box appears as shown in the following figure:
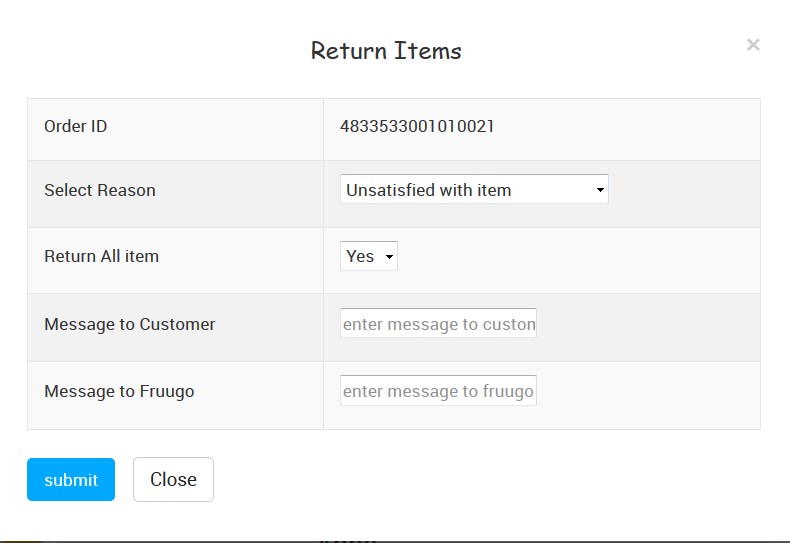
- In the Select Reason list, select the required reason for order cancelation.
- In the Return All item list, select Yes to cancel all the items.
If selected No, then the corresponding section appears to select the required item to return.
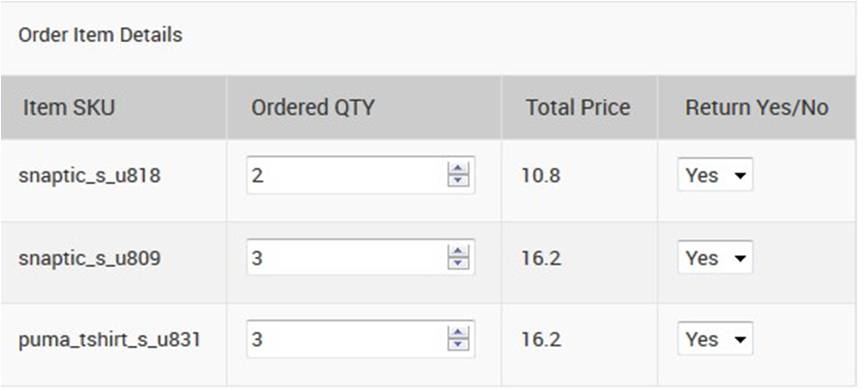
- In the Return Yes/No column of the respective row, select the required option.
- In the Message to Customer box, enter the required message.
- In the Message to Fruugo box, enter the required message.
- Click the Submit button.
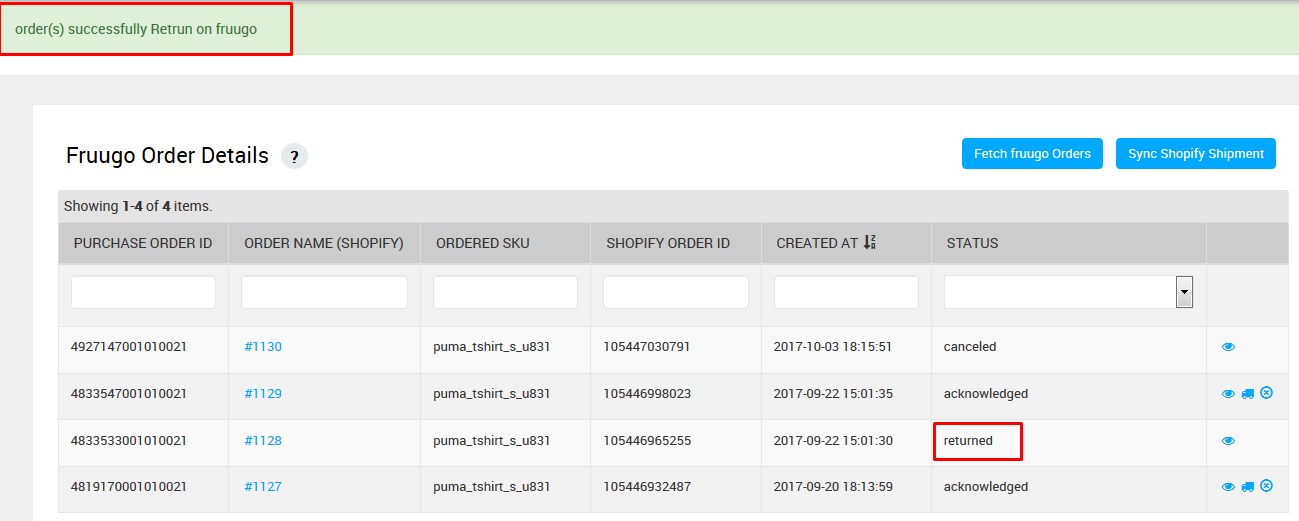
The order is returned on Fruugo and a success message appears on the top of the page as shown in the following figure. Also, the status of the order changes to returned as highlighted in the figure.
×


