
Product Import
In the last step, you connected the app with your Etsy shop which automatically redirected you to the Product Import step, which appears as shown below.
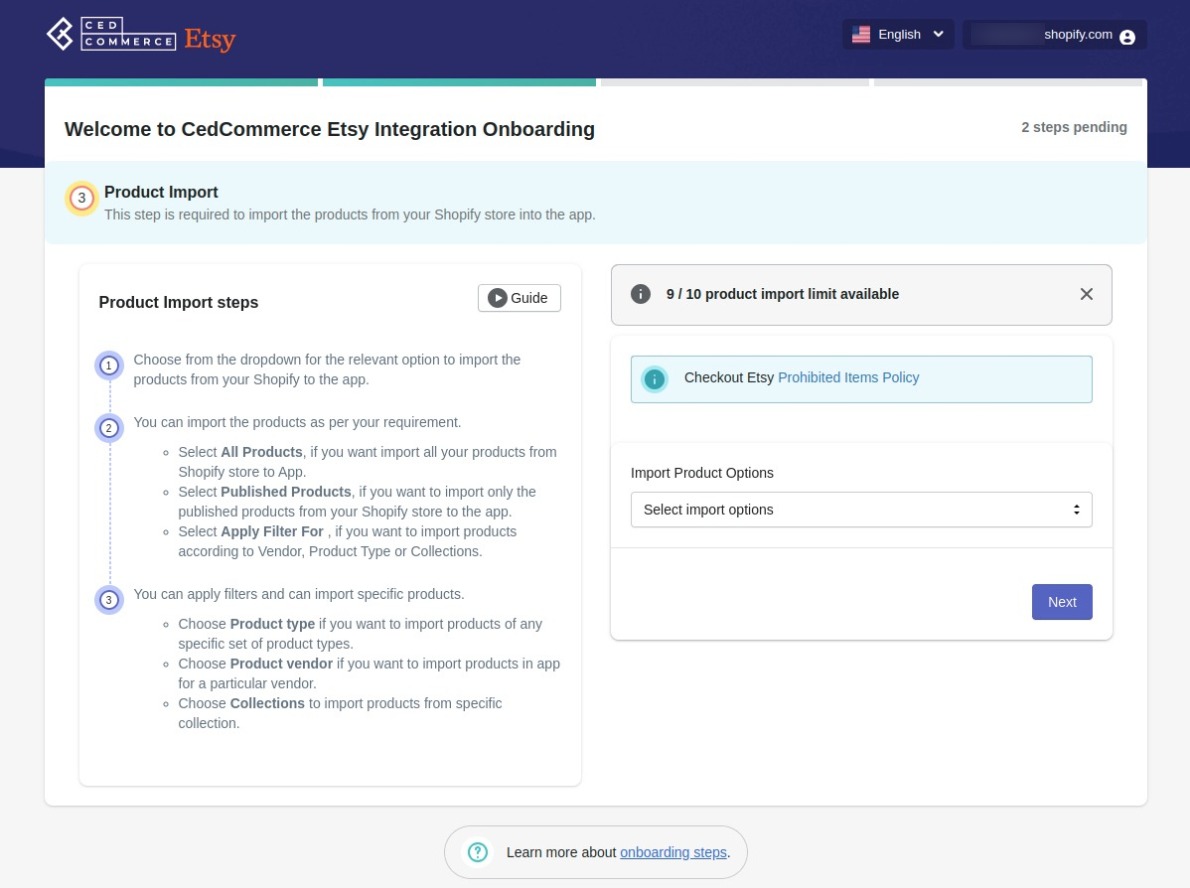
Note – It is important to understand that importing the products will only fetch them from Shopify and create them on the app. The products will not be listed on Etsy until and unless you create a profile which we will talk about in the next step.
On the left of this page, you will see that we’ve listed all the steps for importing your products. But since we’re going to cover everything in much more detail, just skip it and focus on the dialogue box on the right side, as shown below.
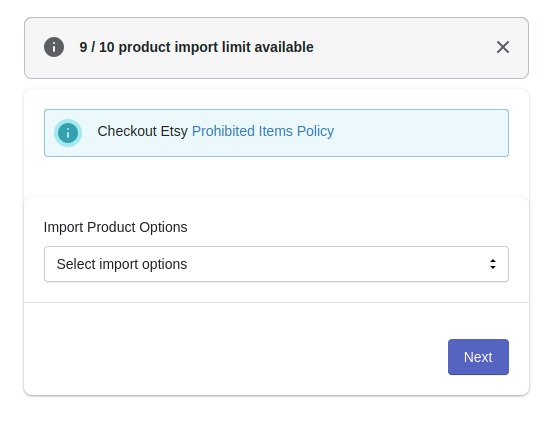
In this box, you can see the available product import limits in the right-hand section along with the Import Options.
Product Import Options
In the Import Product Options, click on the dropdown where it says ‘Select import options.’ You will get three different choices as seen in the image below:
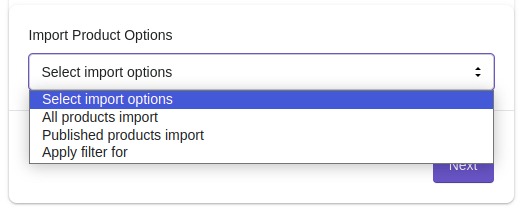
These are three options available for product import:
- All products import
- Published products import, and
- Apply filter for
Now let’s talk about how to use these options.
1. All products Import
If you choose All products import, the app will fetch all the products from your Shopify store. It doesn’t matter if a product is in the draft state or published. This option will simply pull all your products into the app.
When you click on it, a confirmation box will pop up.
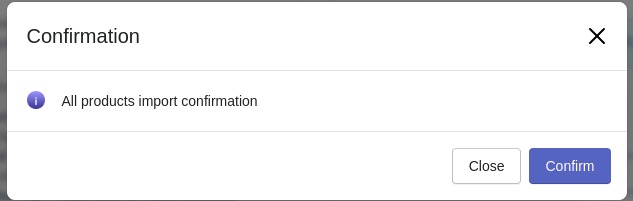
Click on Confirm.
Your products will get imported instantly but you might have to wait for some time depending on how many products you have on your Shopify store.
Once imported you will receive a confirmation message.
Note: The import process may get halted in case you have reached the maximum import limit associated with your subscribed plan. You’ll receive a warning message as shown below:

Let’s move to the next import option.
2. Published products import
If you choose Published products import, the app will fetch only those products from Shopify that are published and live for sale.

3. Apply Filter for
If you choose the third option, Apply Filter For, you will get even more options to select the products you want to fetch into the app. You can apply the filter for the following –
- Product Type
- Product Vendor
- Collection

Click on the radio buttons next to each option to select them. Let’s talk about each filter in detail.
Product Type
The first option, Product type, will allow you to fetch products based on the “product type” you assigned when you created the product on Shopify. As soon as you select it, the app will give you 2 options for fetching your products. You can either type in the name of the product type in the text field, hit the enter key to input the value, and click on Start Import to import your products.
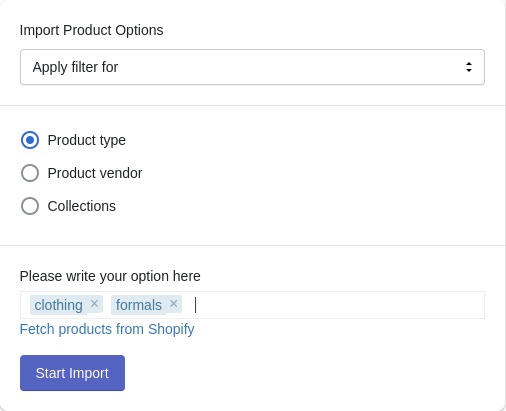
Or you can just click on ‘Fetch products from Shopify’, and the app will pull all the different product types you have on your Shopify store. Select the product type one by one or use the Select All button to select all of them. Once you have selected the product types you want to fetch, click on Start Import to import your products.
Product Vendor
The second option, Product Vendor, will allow you to fetch products based on the “Vendor” you assigned when you created the product on Shopify. Similar to the product type filter, you can either type in the vendor’s name, hit enter to input the value, and click on Start Import to import your products.

Or just click on Fetch products from Shopify, and the app will pull all the different product vendors you have on your Shopify store. Select the vendors one by one or use the Select All button to select all of them. After you have selected the vendors whose products you want to fetch, click on Start Import to import your products.
Collections
If you have created an automated collection of products in your Shopify store then this filter will fetch products from that collection. Similar to the previous two filters, you can either type in the name of the collection, hit enter to input the value, and click on Start Import to import your products.

Or just click on Fetch products from Shopify, and the app will pull all the automated collections that you have created on your Shopify store. Select the collections one by one or use the Select All button to select all of them. Once you have selected the collections from which you want to fetch the products, click on Start Import to import your products.
Note: If you encounter any issues that prevent you from completing the onboarding steps for the CedCommerce Etsy Integration App, please contact our support channels for further assistance.
The term 'Etsy' is a trademark of Etsy, Inc. This application uses the Etsy API but is not endorsed or certified by Etsy, Inc.


